1964 Chrysler 300K Ram Coupe
Page 2
|
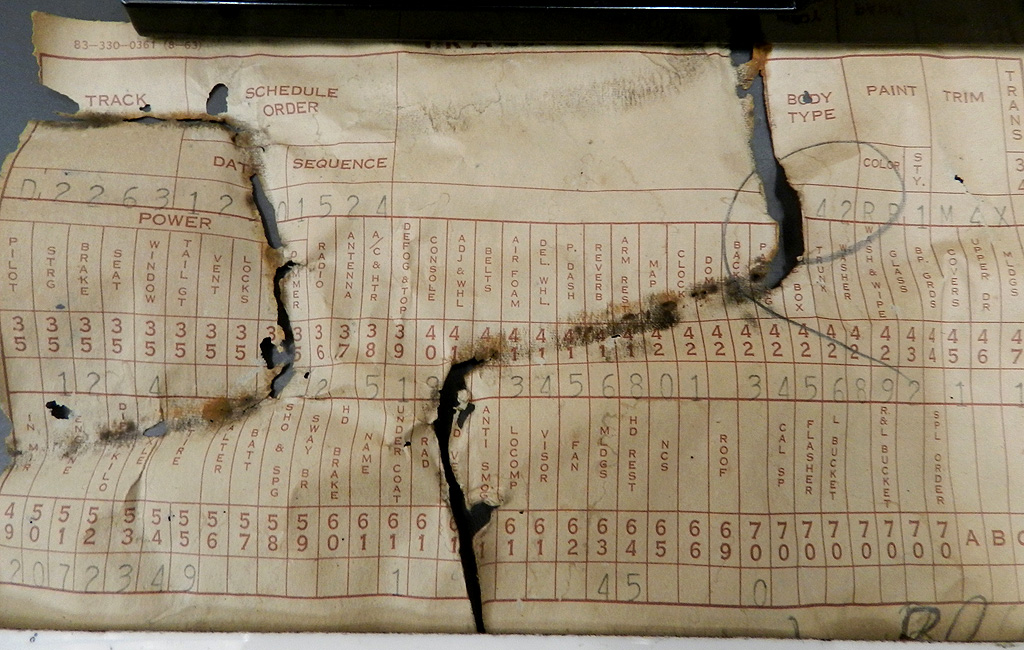
Click here for a video of the interior removal, a look at the seats and disassembly. We find a build sheet in the rear seat cushion. Click here and here for sample ram K window stickers. |
|
|
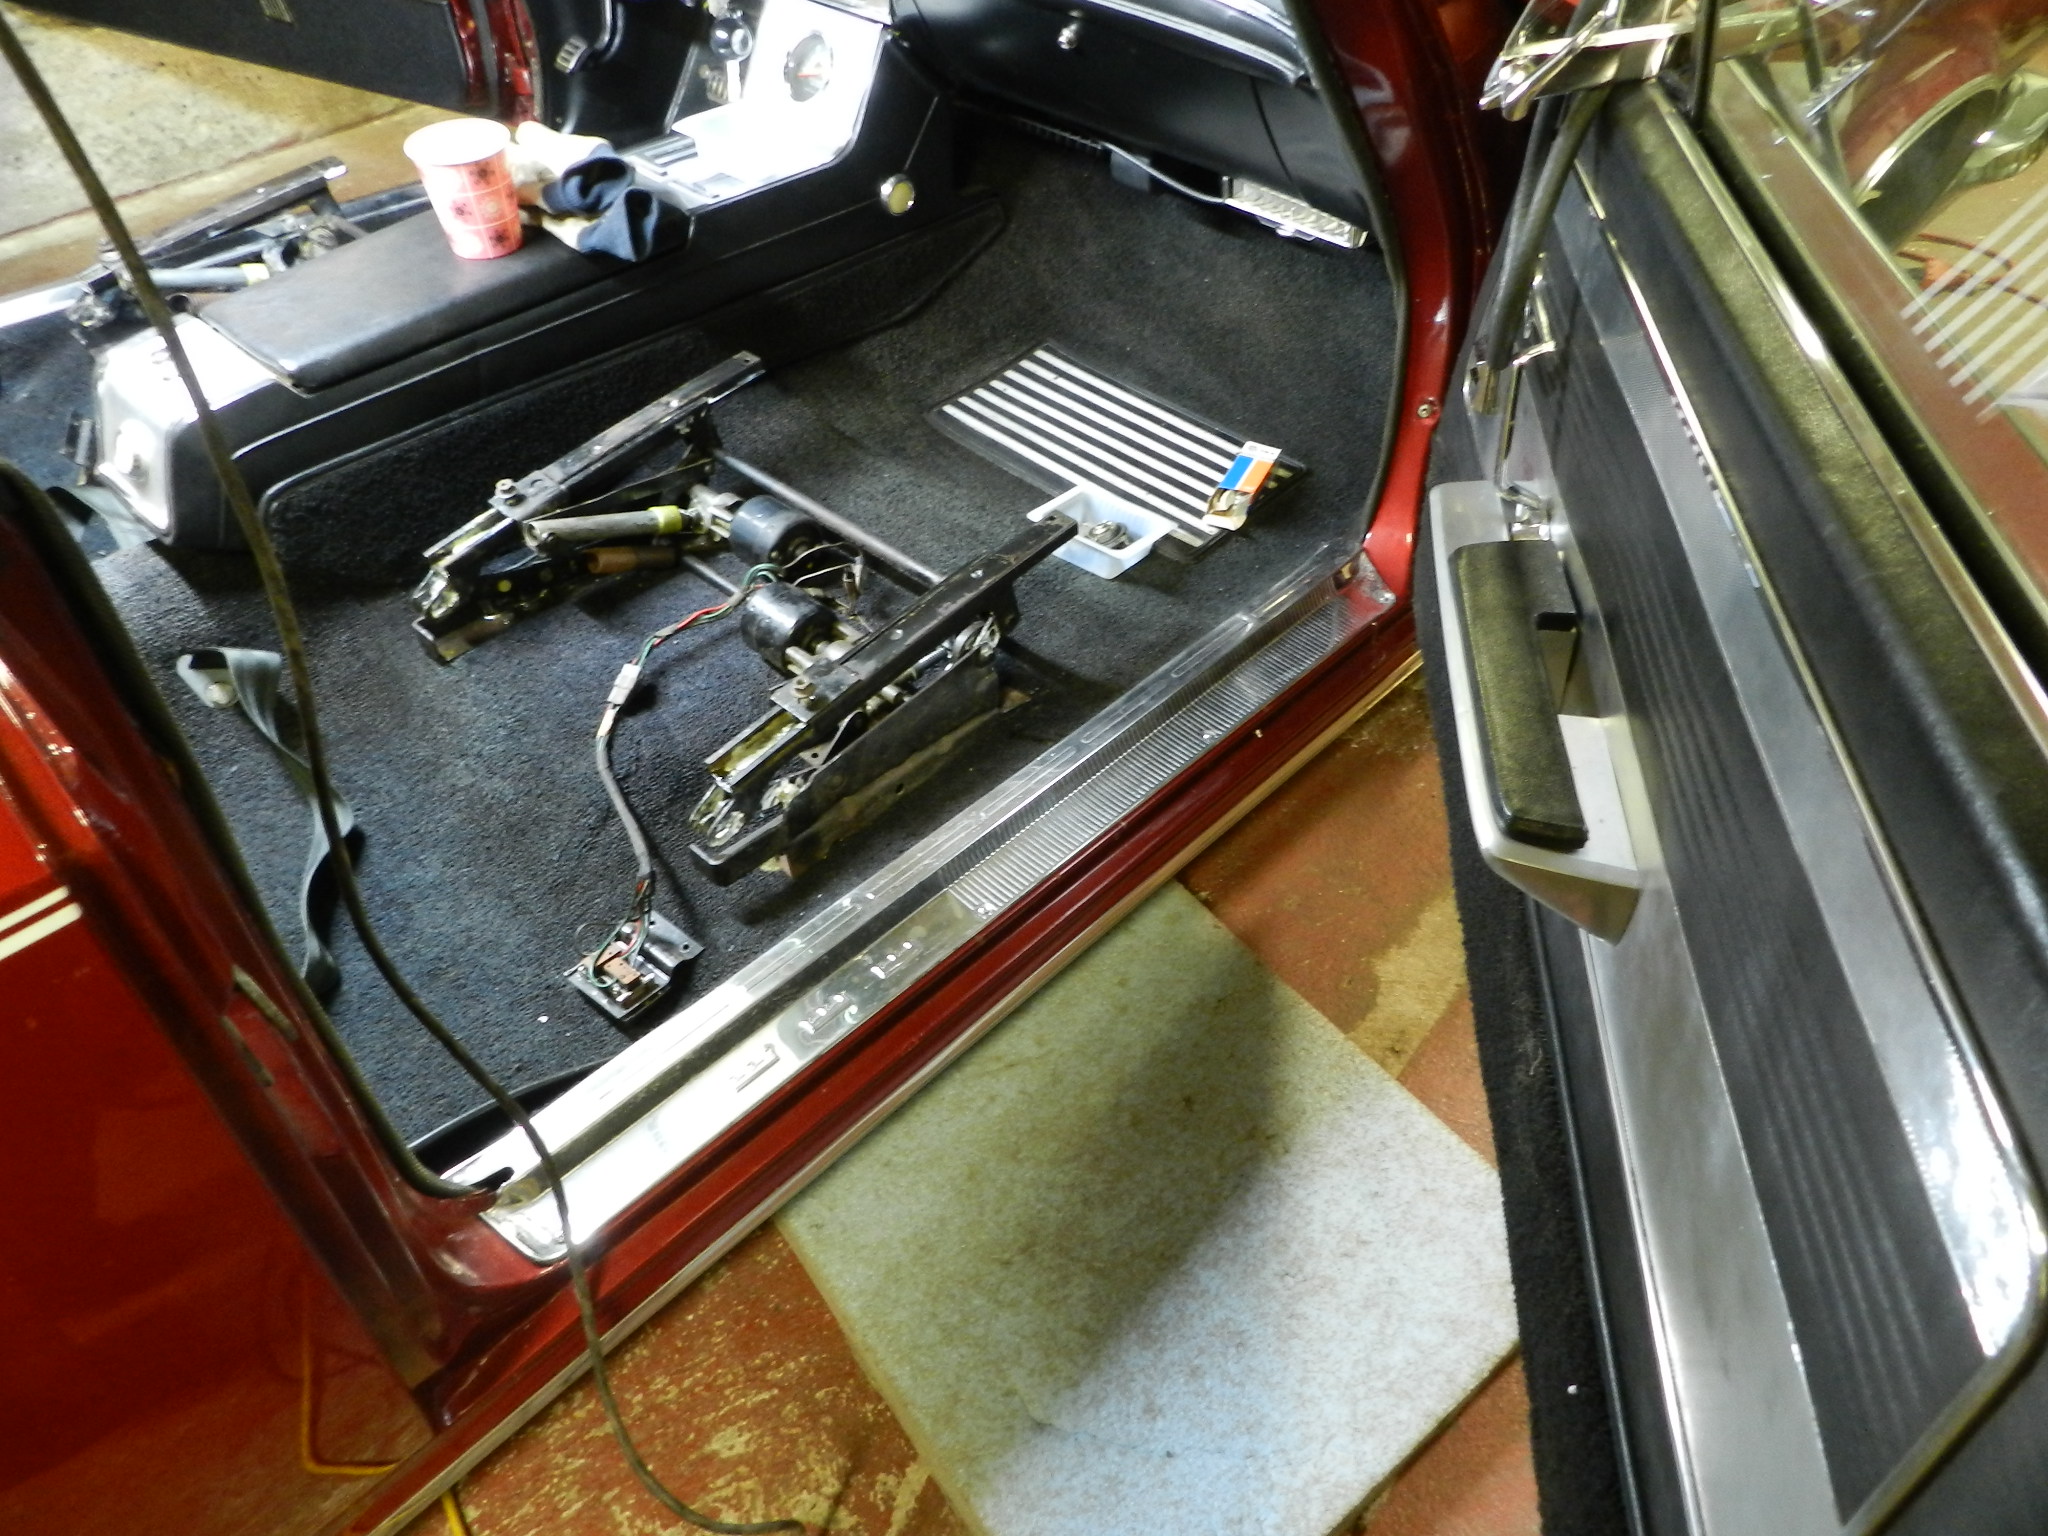
In this video we continue with the interior work
and take a look at the power seat mechanisms. |
|
|
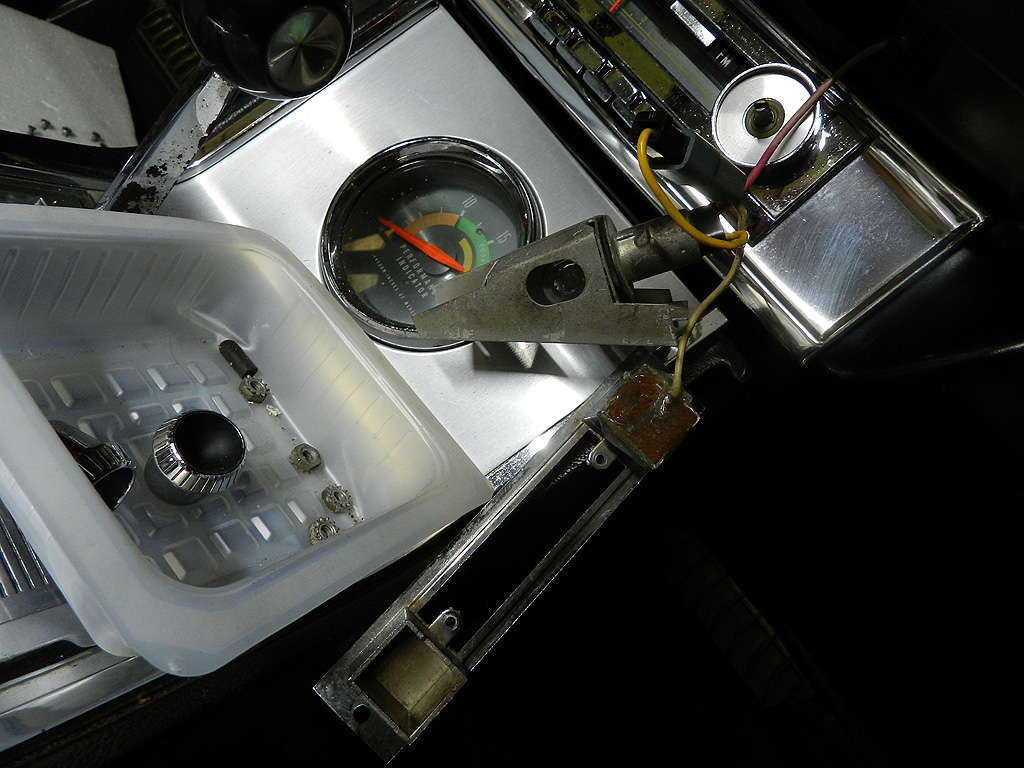
The next repair is the heater control buttons. They move so stiffly I have
to pull one out in order to get one pushed. Also, nothing happens with the
heater vacuum motors when buttons are pushed. I have a new heater control switch for
AC cars so we will get into the removal and swap.
If you find yourself in this project, do yourself a favor and remove the radio grille and speaker. Then you will have a lot more access to the heater control and its components. |
|
I have a video of the heater control removal and installation of the new switch. Click here for the video. Once the switch was out of the instrument panel we could see the vacuum pins were broken off. No wonder the switch didn't work. I removed the old switch making detailed notes of the wiring connections and installed the new switch with the wires on the same posts. I had fan blower speeds (low med high) for the Max AC button and for the AC button but no fan for heater or defroster. A multi-hour investigation followed as I figured out the problem. As explained below, the new switch and old switch have different fan blower terminals. The differences aren't obvious at first glance. The short answer is: on new switches terminals 2 & 3 are connected internally while in the old switch terminals 2 & 3 twinned by a copper strip. This means you can not install the wires on a new switch as they came off of the old switch. On the new switch if you connect the wire from terminal 1 on terminal 2 (or terminal 3, no difference) you will have high medium and low fan speeds available from all heater buttons (except the "off" button of course). |

This is the switch that was removed from the car. Part number 2096084. 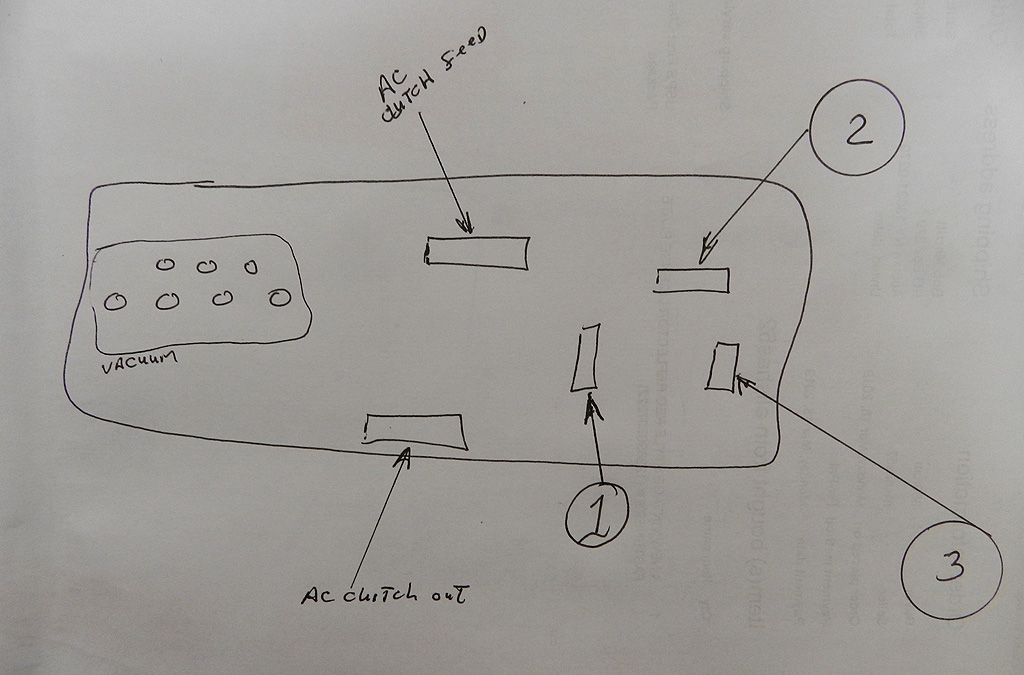
Let's use this diagram to identify the terminals. Note that on this switch terminals 2 & 3 are the same terminal. 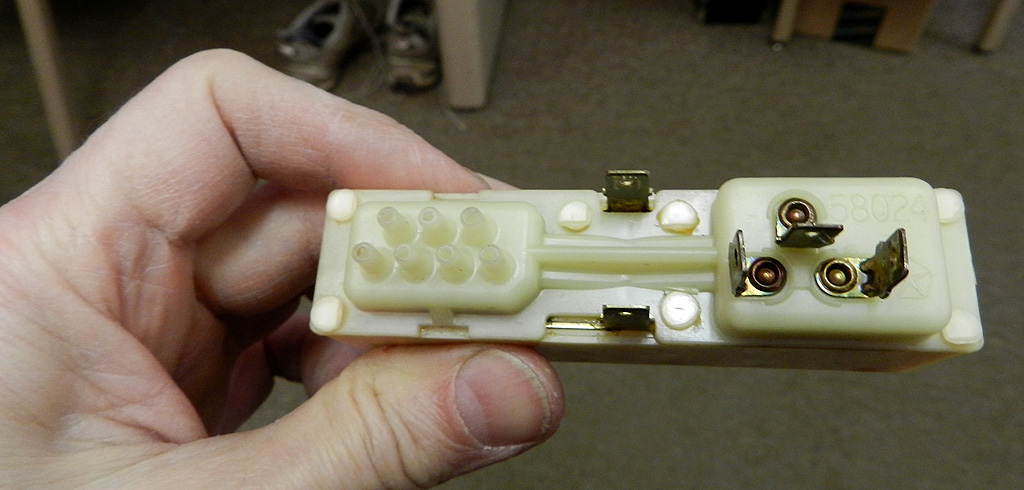
This is the new switch that will be installed. Part number 3895790. Note that on this switch terminals 2 & 3 are not the same terminal. |
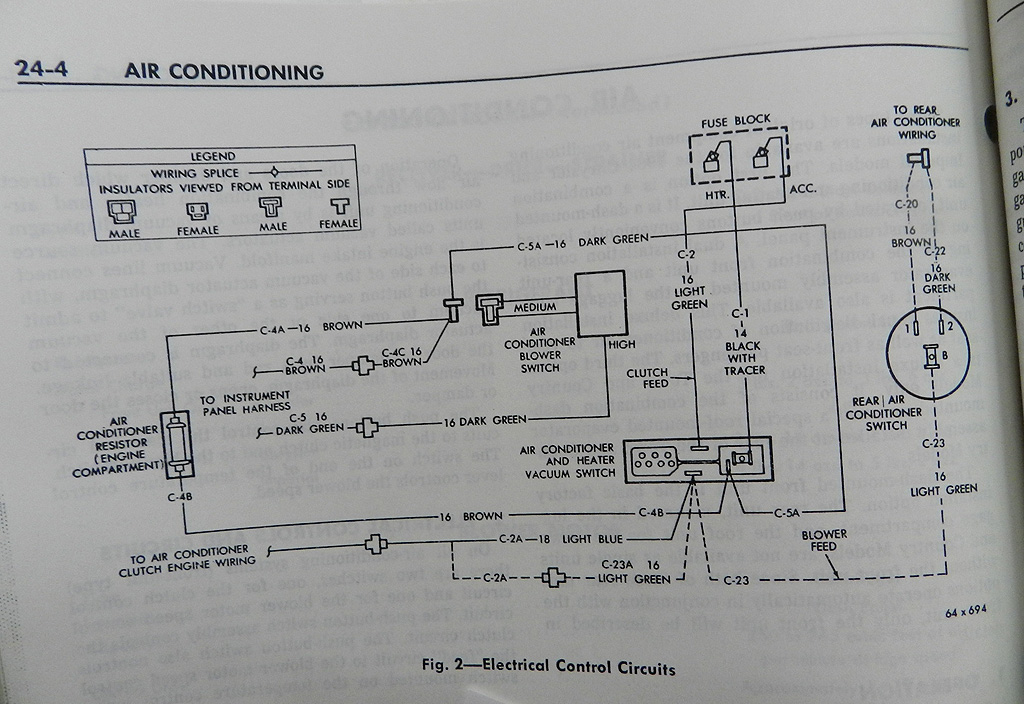
This is the heater switch electrical for AC cars. It is on page 24-4 of the AC section of the service manual. If you look on page 8-98 (as I did) you will find the electric diagram but it is for non-AC cars. It doesn't tell you that it is non-AC, so don't waste your time there. Page 24-4 has the answers you want. |
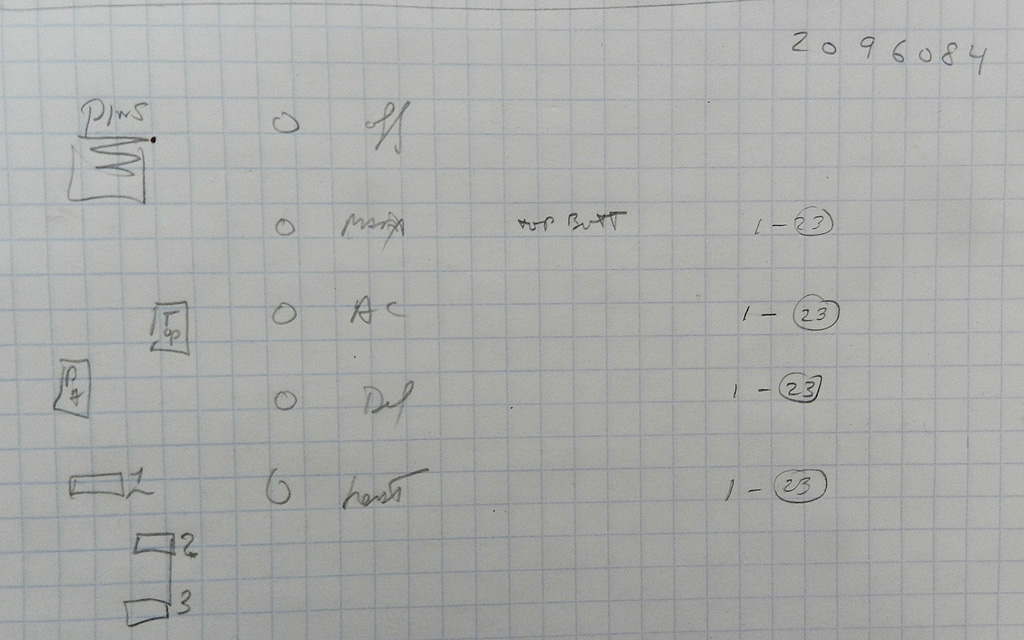
If you care, this is the page I made for the old switch as I reviewed the electrical connections for the various button positions. |
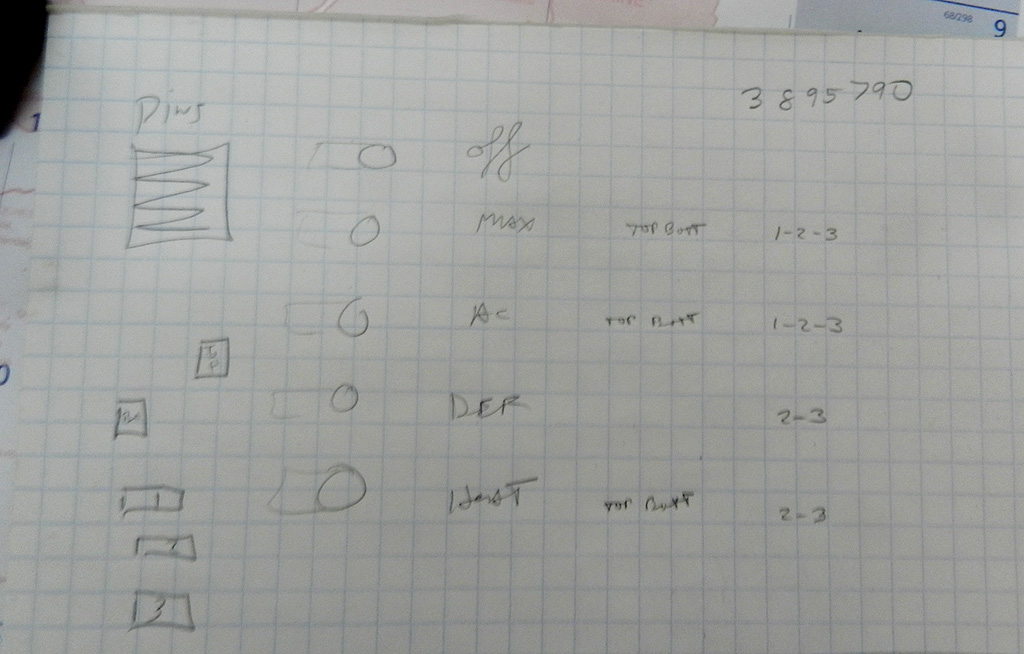
This is the page I made for the new switch as I reviewed the electrical connections for the various button positions. |
|
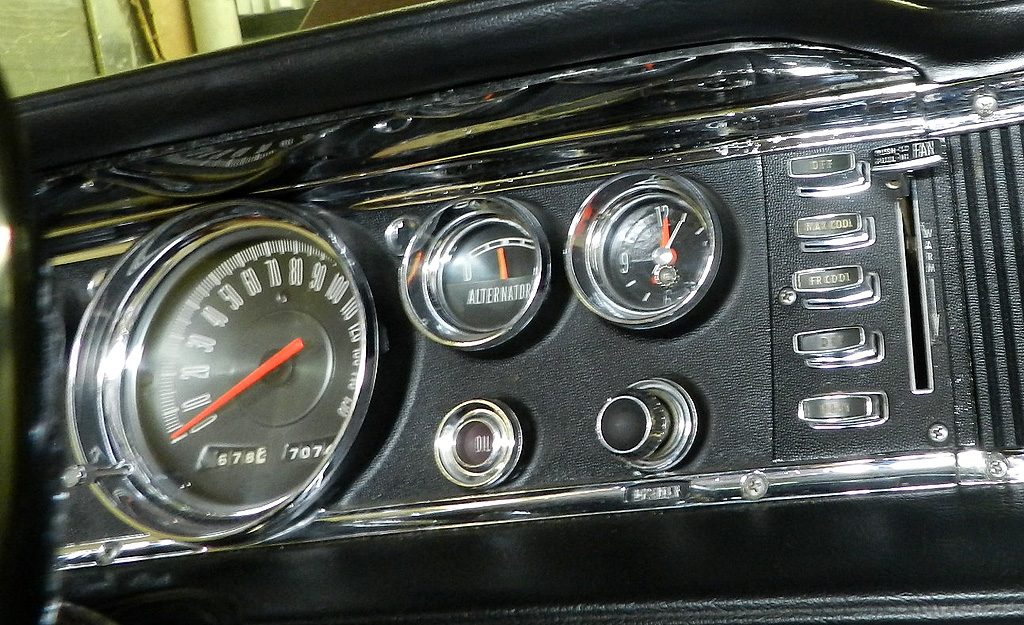
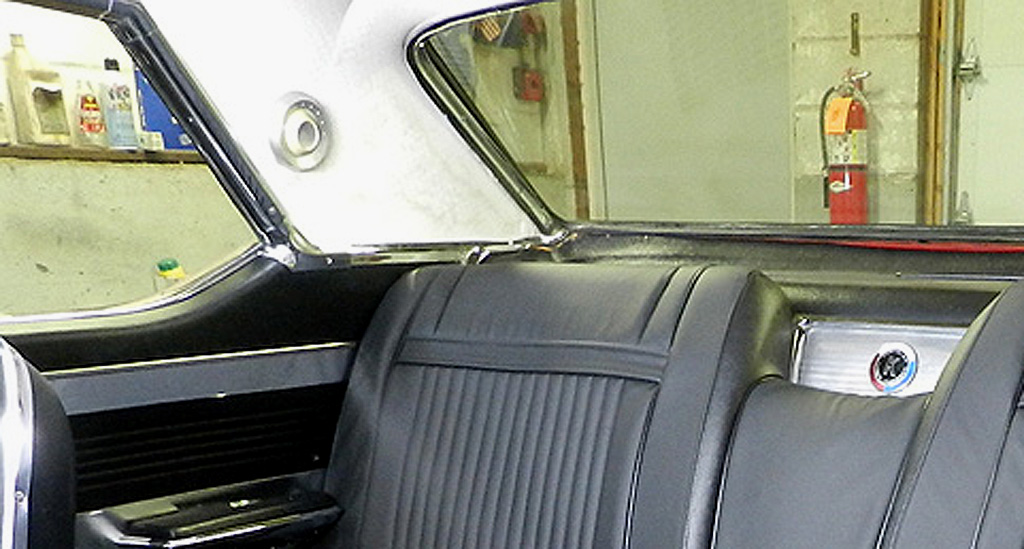
Continuing with the interior work, I noticed the lens in the map light was melted. The lamp was the correct 1004 size so I am not sure why the lens gave up. I went through spares and found an adequate replacement. By the way, 1960 through at least 1966 use the same map light lens. Since it has been years since the interior chrome has been cleaned, now is the time for polish and wax. On the heavier pieces of interior chrome, the Turtle Wax brand of bumper cleaner-wax makes quick work of dirt, corrosion and rust flecks. The more delicate pieces such as the instrument panel receive a more gentle application of wax with cleaner. It looks great when it is done but there is a lot of chrome to do in any car of this era. |
|
|
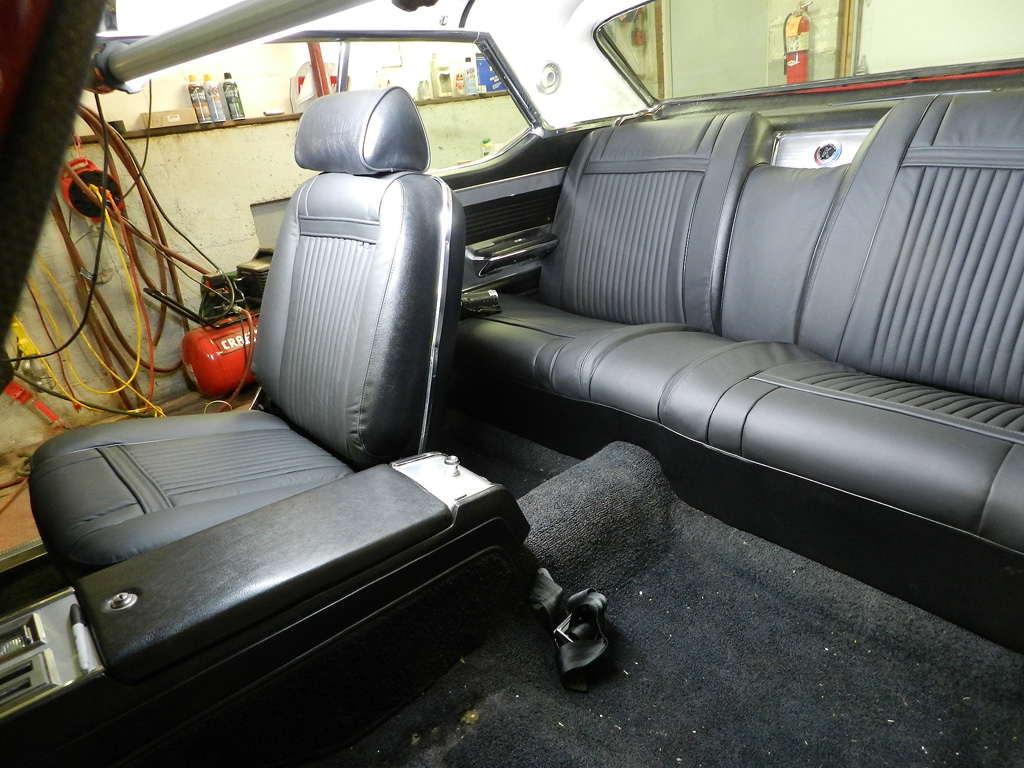
I have new black leather seats coming soon from Legendary Interiors.
Before they arrive I want to finish cleaning, polishing and waxing the
interior chrome. And there is a lot of it.
|

|
|
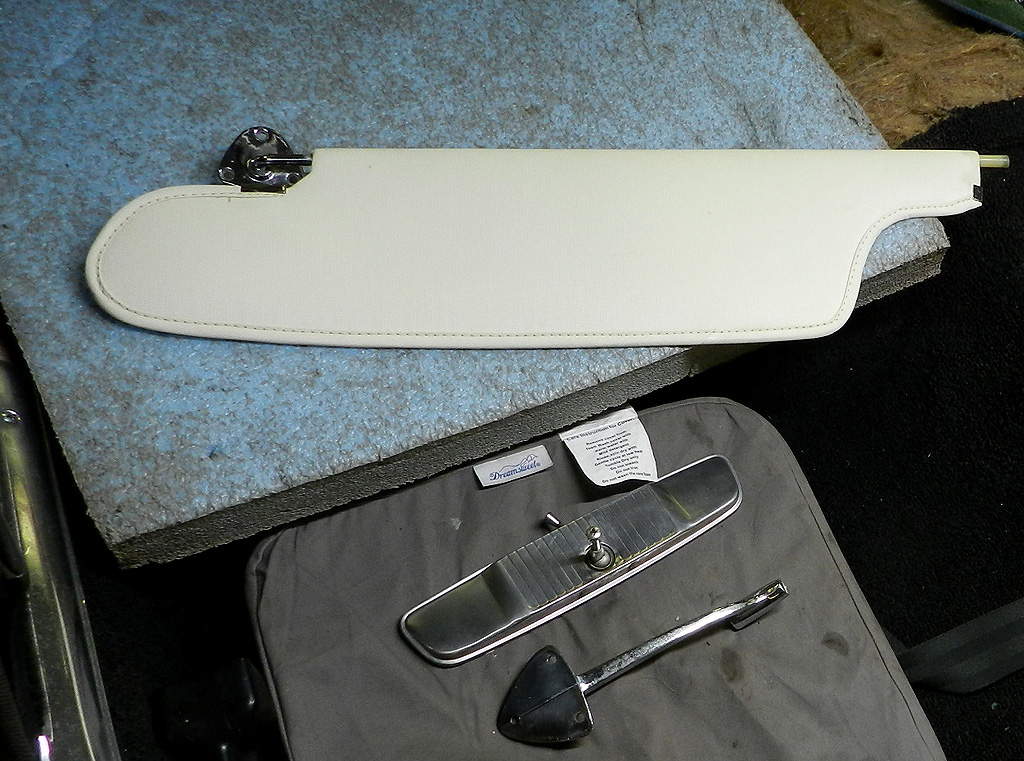
While doing the interior roof chrome, I removed the visors and rear view mirror so I could clean those pieces. |
|
|
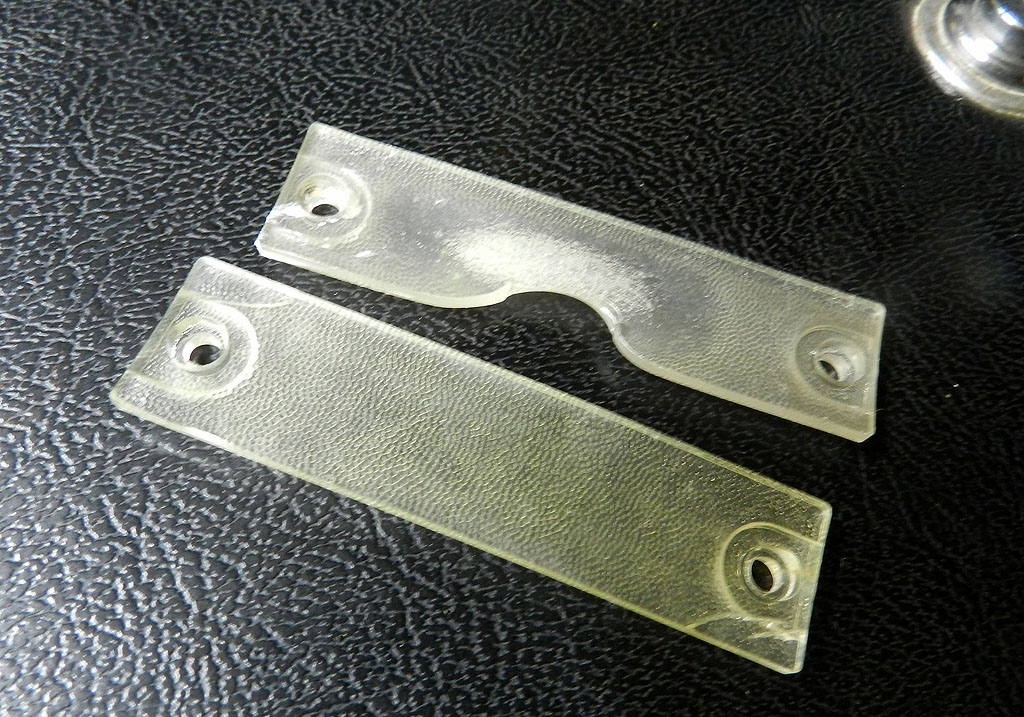
Once again I found a mis-match of screws in the visor mounts.
These seems to be a very common error and I don't
understand it -- you take a screw out of a hole and
you put the same screw back in the hole. (!!!?????!!!)
|
|
|
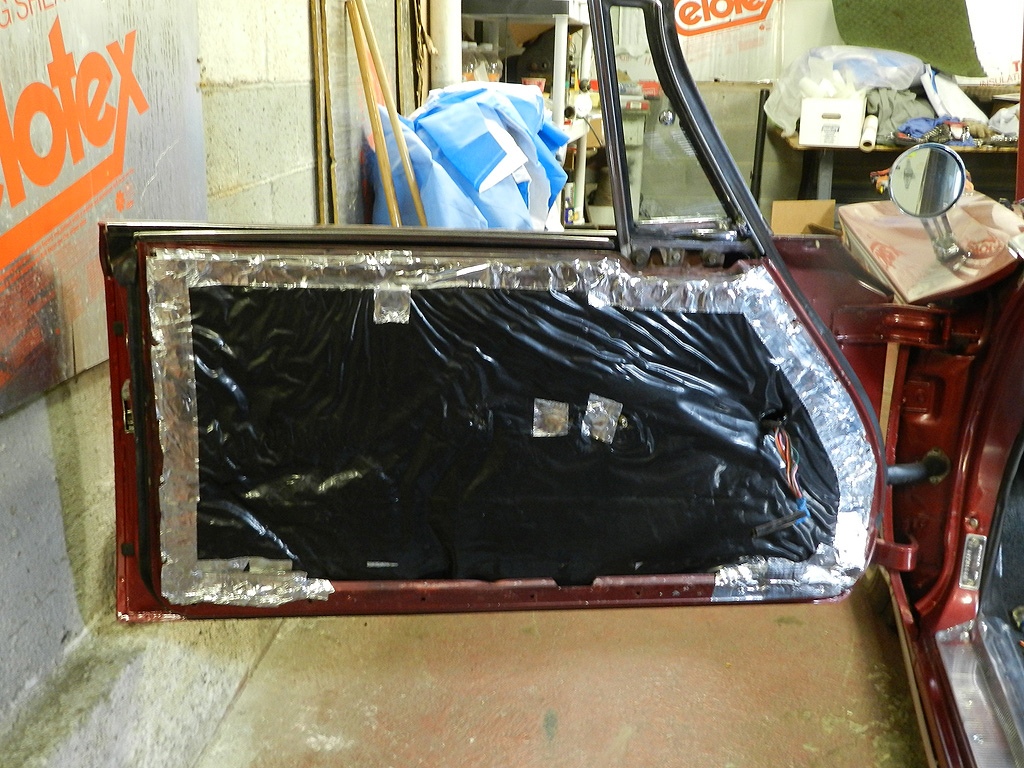
Before installing the interior, we took a minute to review the quarter windows. I was
pleased to find vapor barriers in place from a prior owner. The windows needed only a bit of new grease and lube and
then buttoned up.
|

|
|
There were some water stains on the head liner around the rear window. This was a good time to go after those. We tried mineral spirits, alcohol, carpet cleaner, Go Jo hand cleaner with pumice, hand soap, Murphy's oil soap, tooth brush, scrub brush, CLR, Woolite carpet spot remover, brake clean. None of these had an adverse affect on the head liner and while some improvement was made, the stains remain. |
|
|
A new interior in black leather was purchased from Legendary Interiors. The original
interior in this car was red vinyl. I've never seen a 64 with red vinyl -- red interior, red exterior....
might be a bit much. A previous owner changed the interior to black vinyl. It was due for
replacement and I went with the leather.
|
|
|
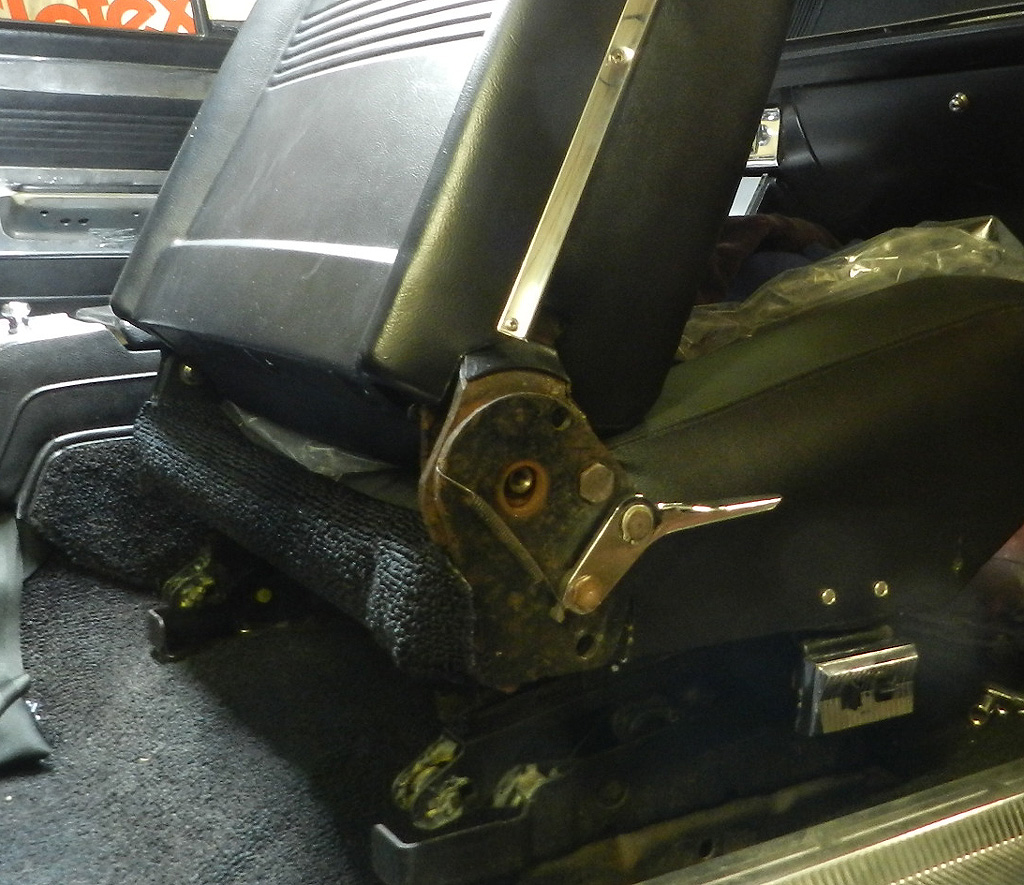
There was a problem with the installation. The passenger side front seat has a recliner mechanism (64 was the first year for this feature). A lever on the seat side allows the seat back to recline to several positions and two return springs assist bringing the seat to the upright position. When I received the seat, these springs were not properly installed. Unsure how to correct and with no information in the service manual, I dug out a spare seat (junk) and learned how to correct the problem. If interested, see the video. |
|
|
We will be taking on the tilt steering wheel next.
|
|
|
Jim McDonnell in Florida sent me this picture. Taken in 2008 when the car was owned by George Clineman, the event was a show at Don Garlit's Museum. |
|
|
Here is George accepting a trophy from Don himself. |

|
Back