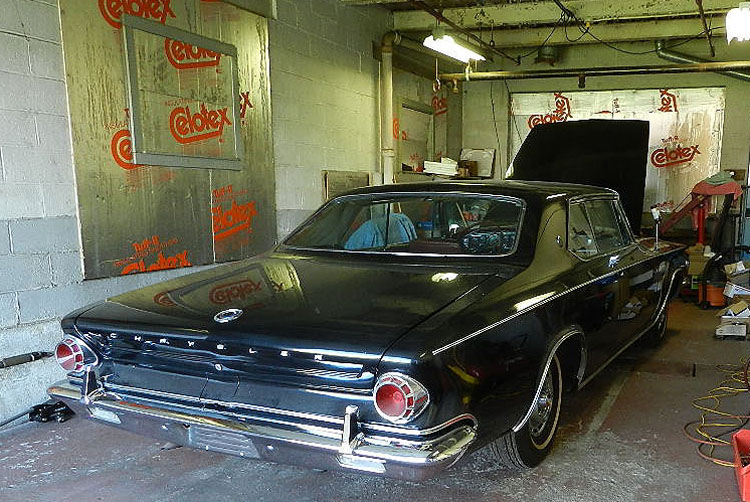
| April, 2015: The J reaches the garage as we undertake the substantial re-build. The plan is to remove the engine and swap in a 300K ram engine while the J engine is repaired. Brakes will need attention, and we might as well do the transmission. |
|
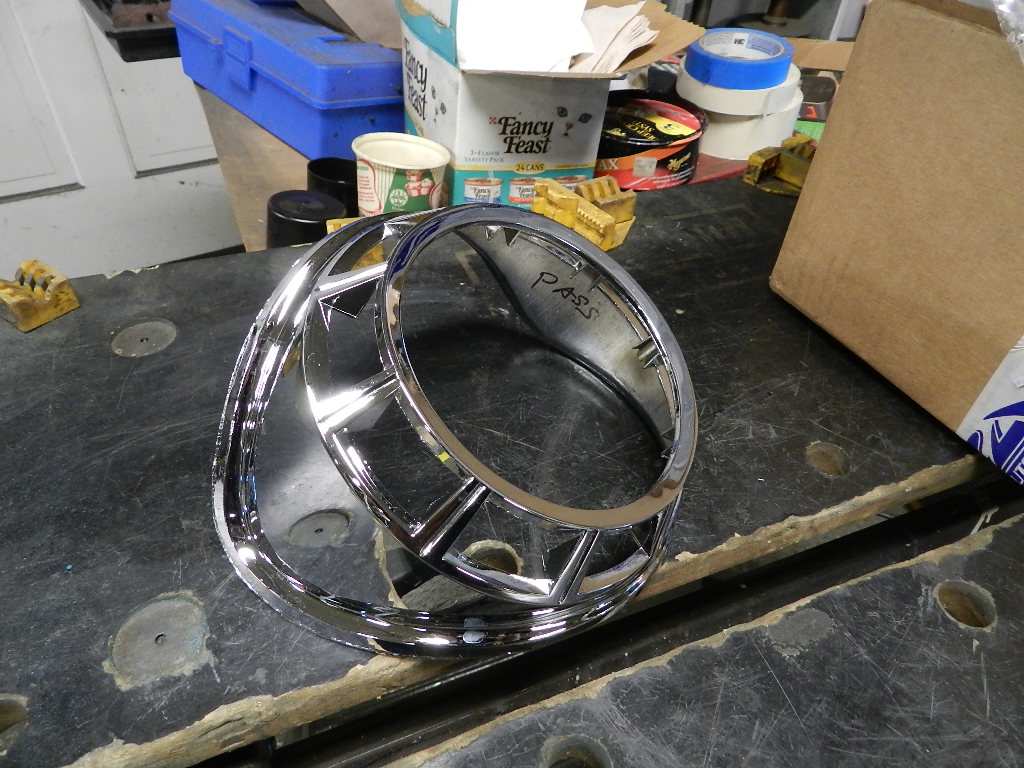
| Going through the parts and pieces that had been stored in the trunk, we were pleased to find a NOS tail light bezel. This one is for the passenger side. The driver side is almost identical - - the three mounting studs are located 180 off and so they don't interchange. |
|
| Disassembly of the engine bay. The radiator came out clean and easy although we found one of the Corbin clamps had cracked through. It wasn't leaking but it had no clamp force due to the fracture. The crack wasn't visible. This is not the first cracked Corbin I found and I just don't trust Corbin clamps. |
|
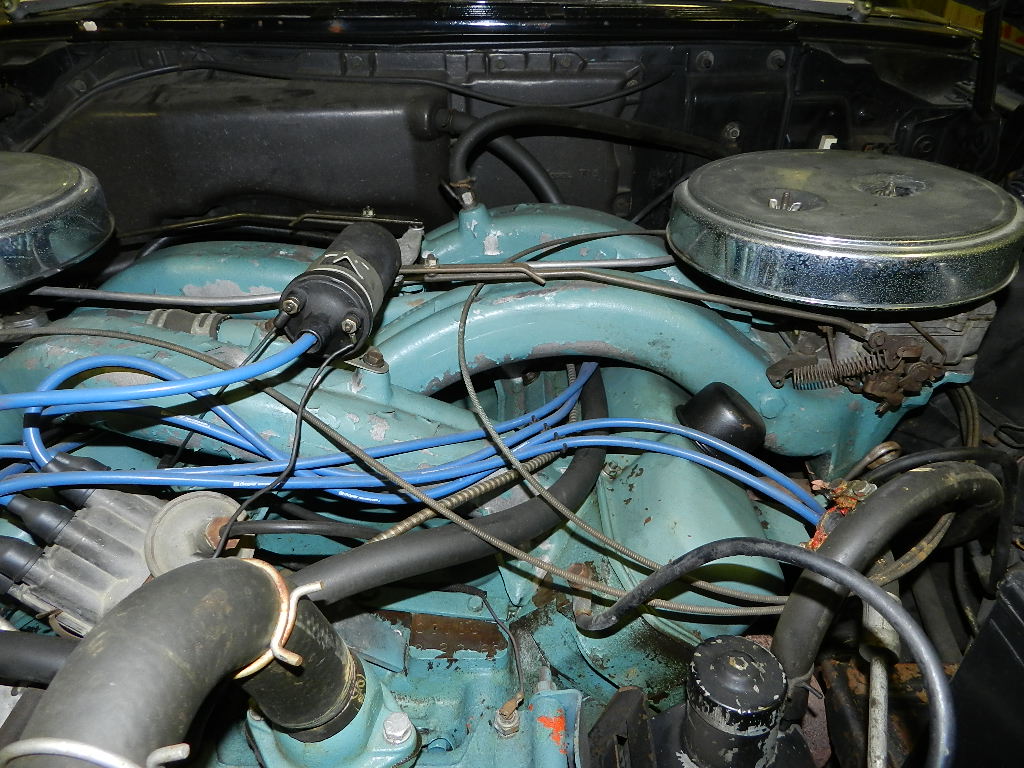
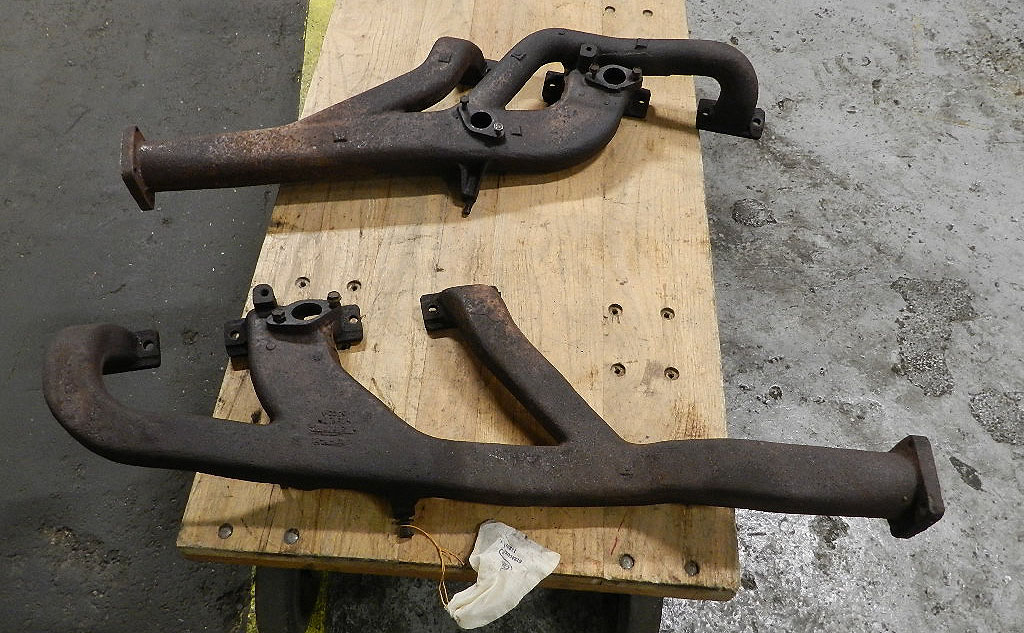
| With the rams removed, attention now to the headers and what a tight fit they are. The driver side required removal of the battery tray. The passenger side has more clearance. |
|
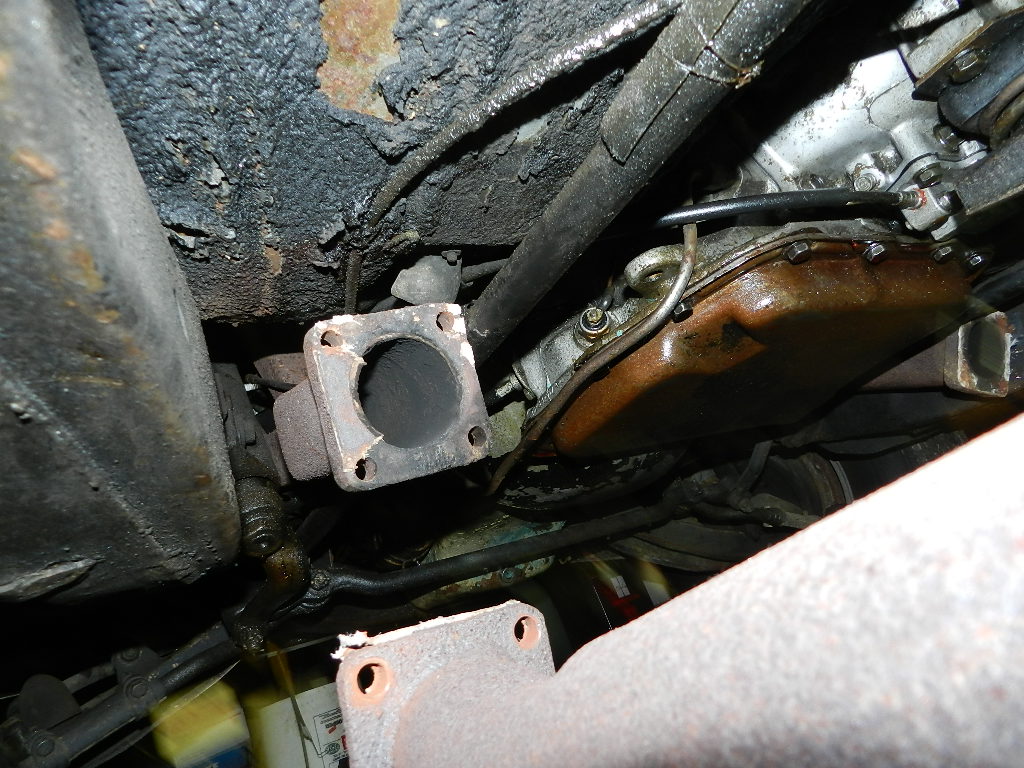
| Headers require disconnect from the exhaust at the 4 bolt flange. I had to chisel 3 of the 8 nuts, par for the course. This is the driver side. Notice how the header snakes around the torsion bar. |
|
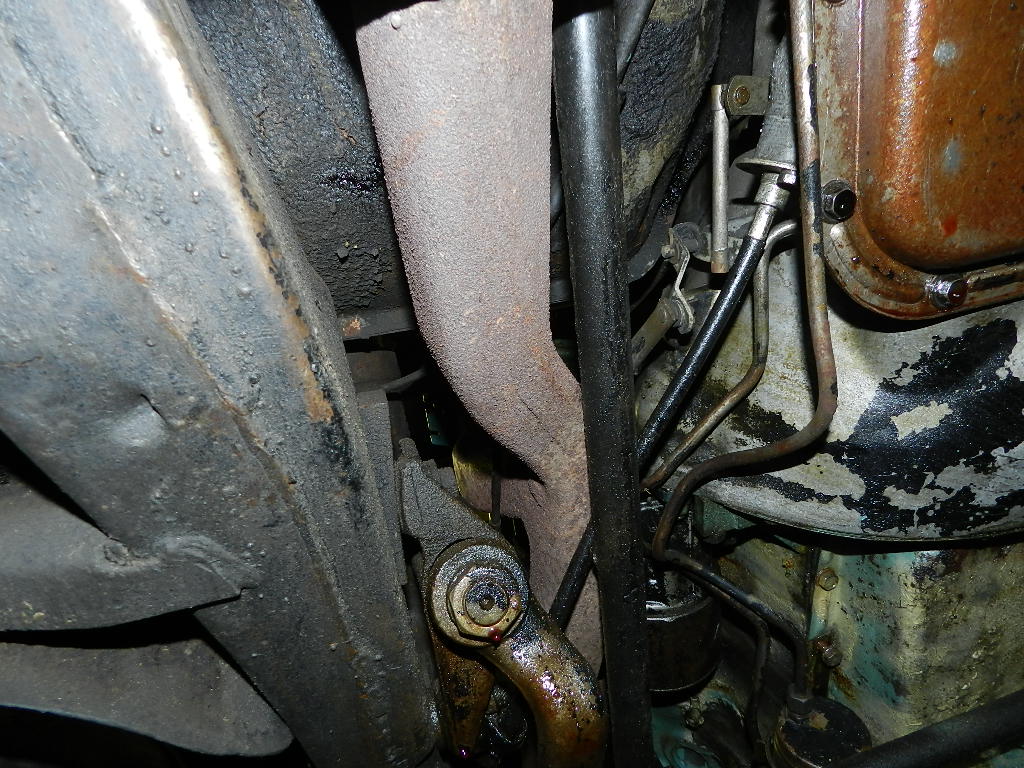
| Another shot of the driver side header, and the clearance around the steering box. |
|
| The header on the passenger side can be lifted out without too much trouble. It would have been better to have all of the heat riser pipes off but the nuts on this one didn't want to move. |

|
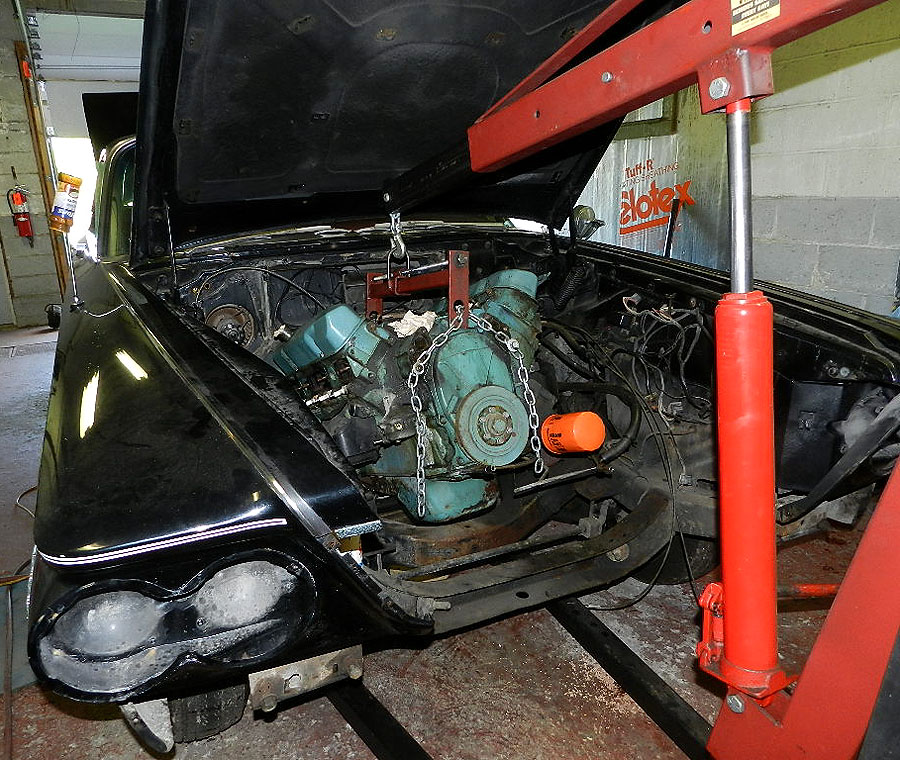
| I removed the front bumper and sheet metal so I could take the engine and transmission out. Normally I would take off the hood and lift it over the rad support but this garage floor is not level and the less lift height, the better. |
|
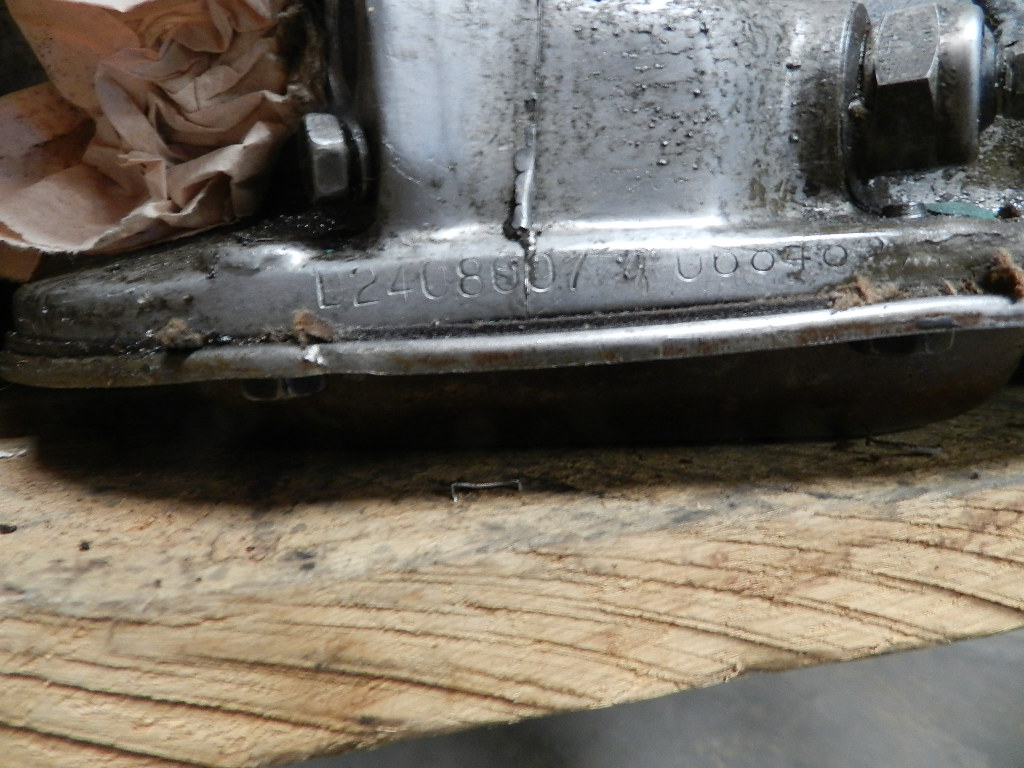
| Here is the transmission, the number is L2408007. According the web site, the J should be 2464426 but I guess could be L2408007. Either way, this one will be rebuilt and used again. |
|
|
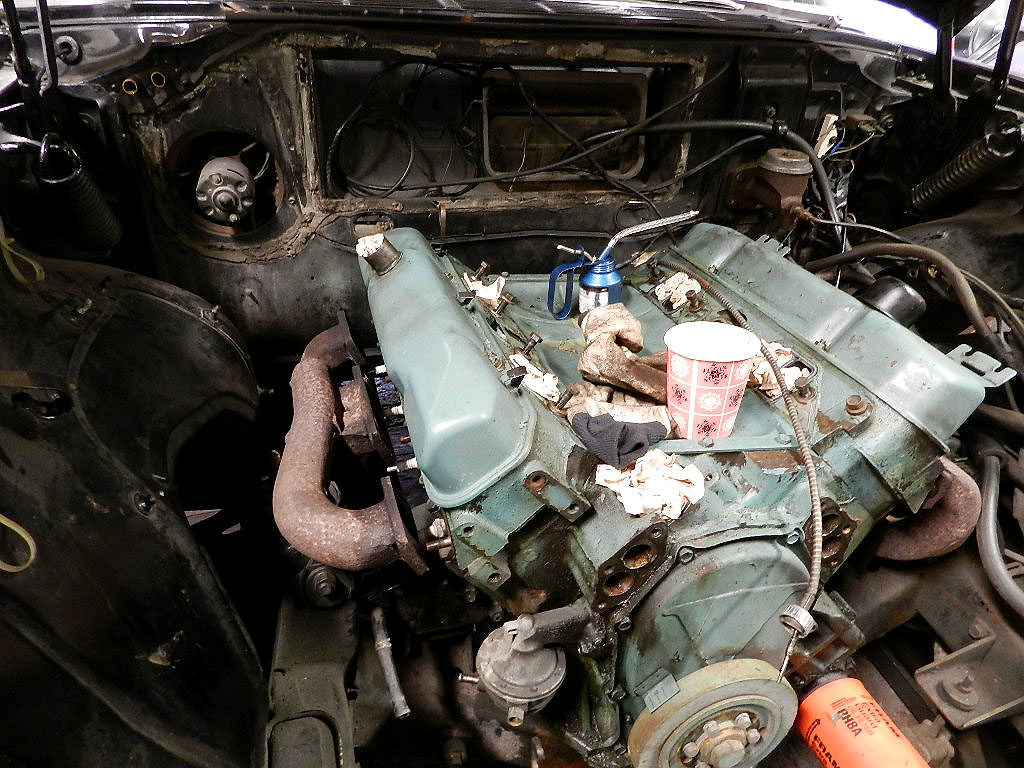
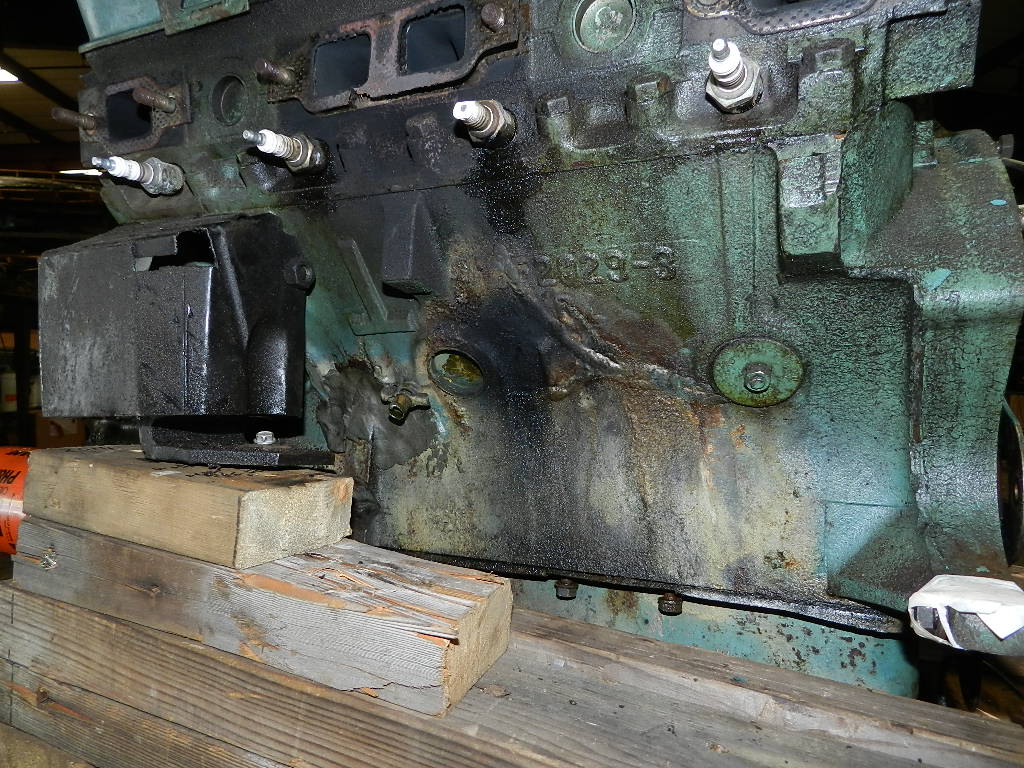
You can see the repairs that had been made to the block
by the former owners. We will see
if these can be improved.
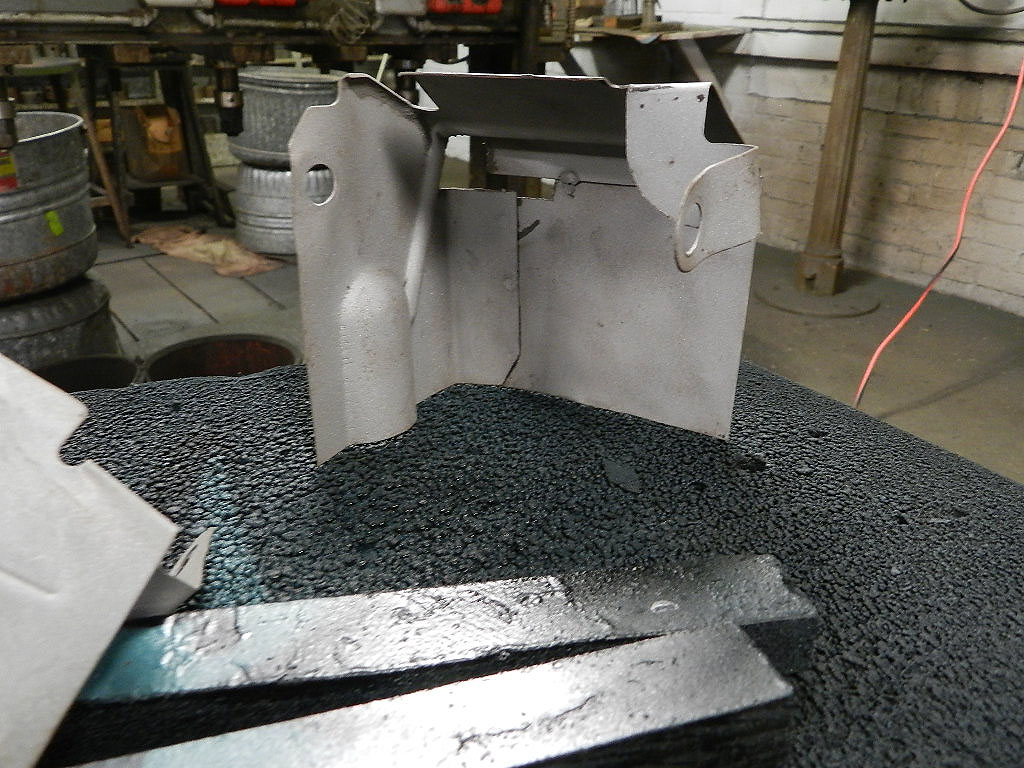
Also shown in this picture is the unique heat
shield over the motor mount. This is different
from non-ram cars.
For now, we will get the ram K engine ready to install here. |
|
| The exhaust headers need to be blasted and painted before the engine goes in. The driver side header is a tight fit -- it snakes around the starter, the steering box, and the torsion bar. |
|
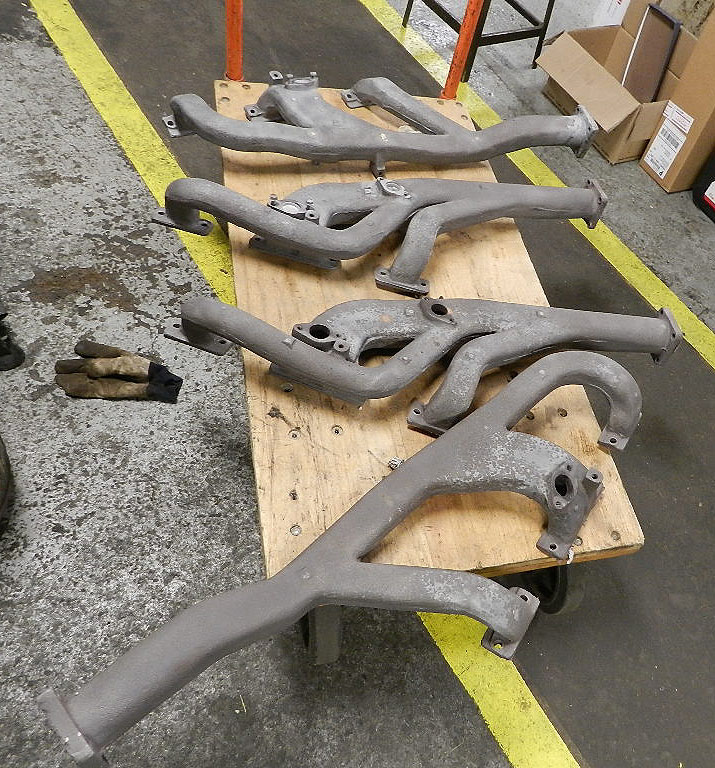
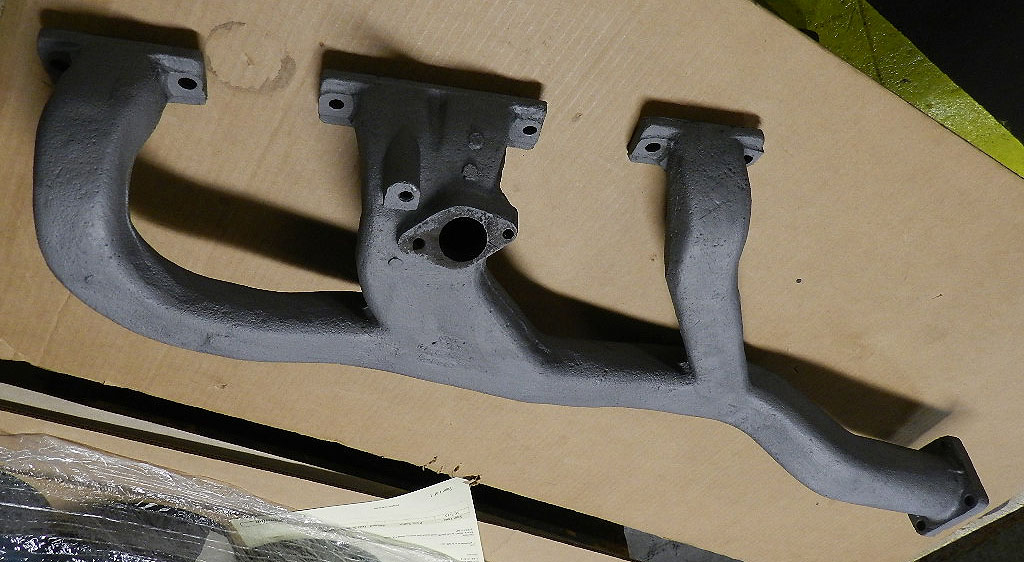
| Two sets of headers after blasting. Once the blaster was set up, might as well spend just a little more time and blast a second set. |
|
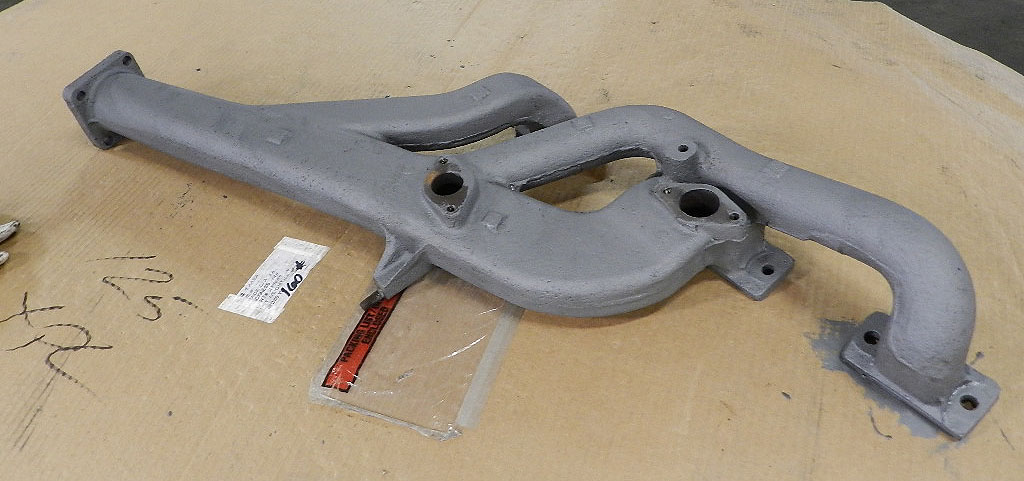
| The passenger side exhaust header after paint. |
|
| The driver side exhaust header after paint. |
|
|
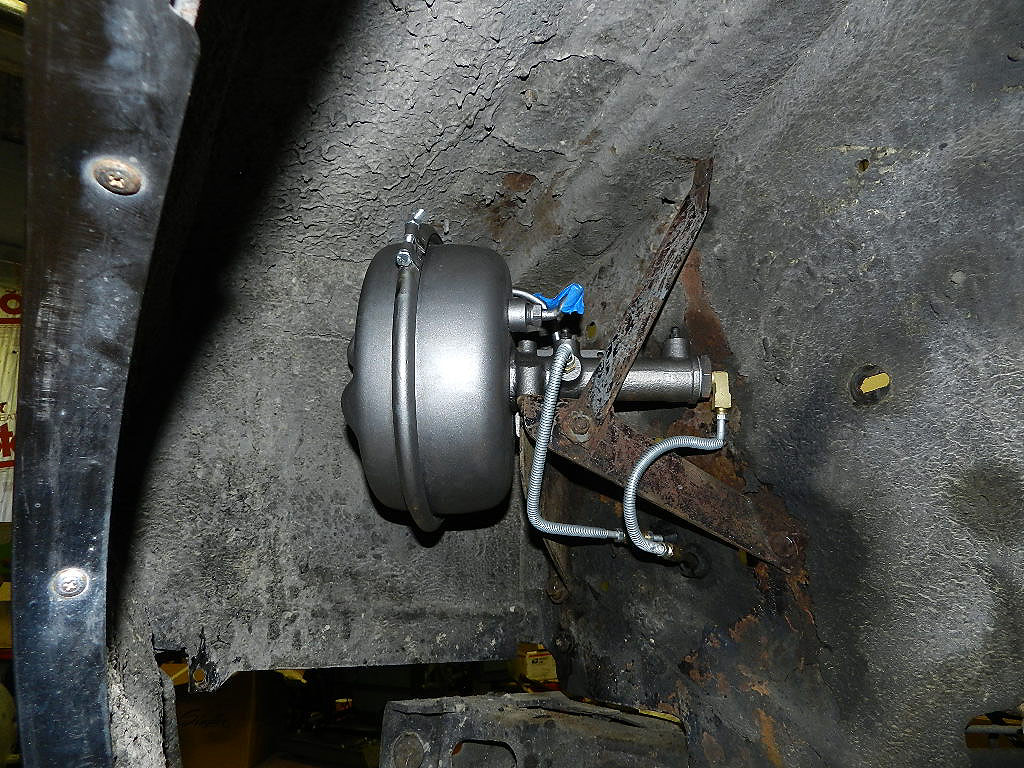
The remote booster after repair at Karp's.
I also had Karp's rebuild the master cylinder. In this picture the booster is installed in the fender well with new lines from In-Line Tube. |
|
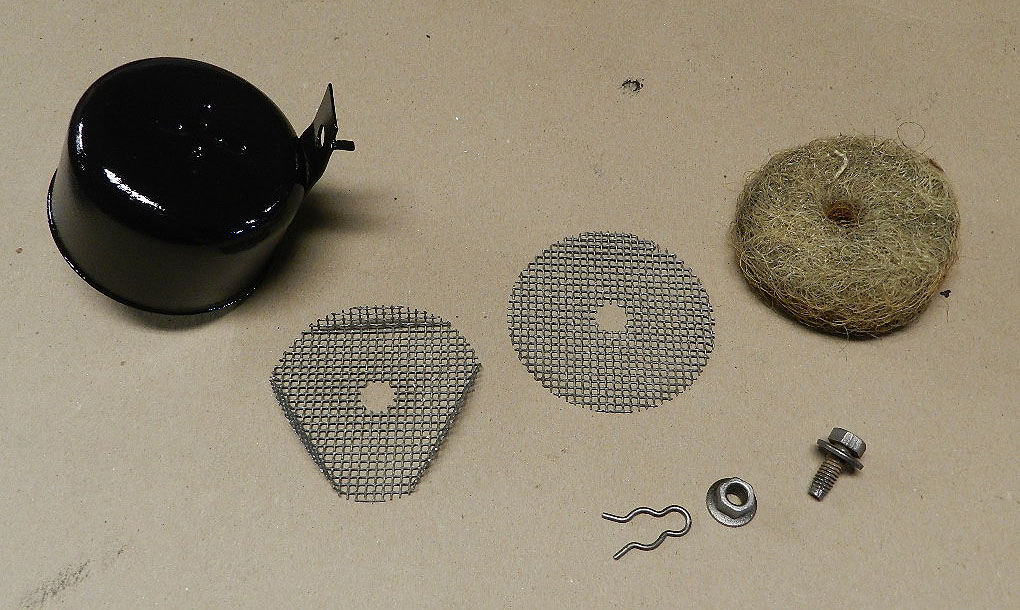
| This is the filter cup and its pieces for the booster. It is attached to the underside of the battery tray. |
|
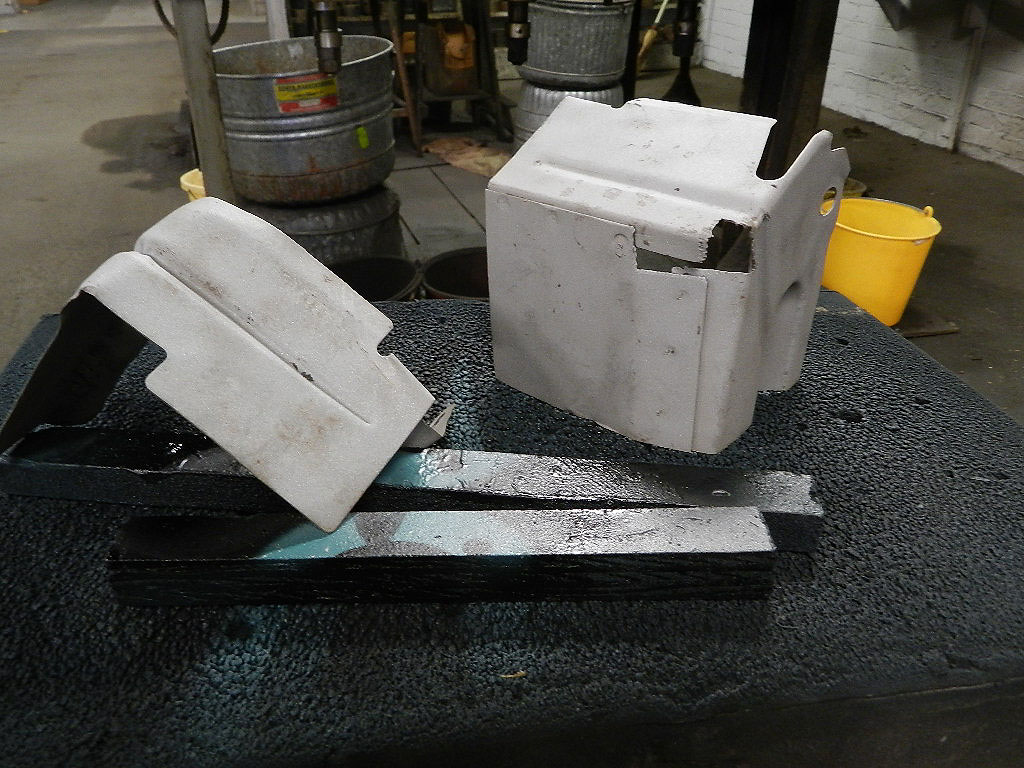
| These are the motor mount heat shields blasted and ready for paint. The driver side shield is unique to ram cars. |
|
| Another view of the driver side motor mount heat shield. |
|
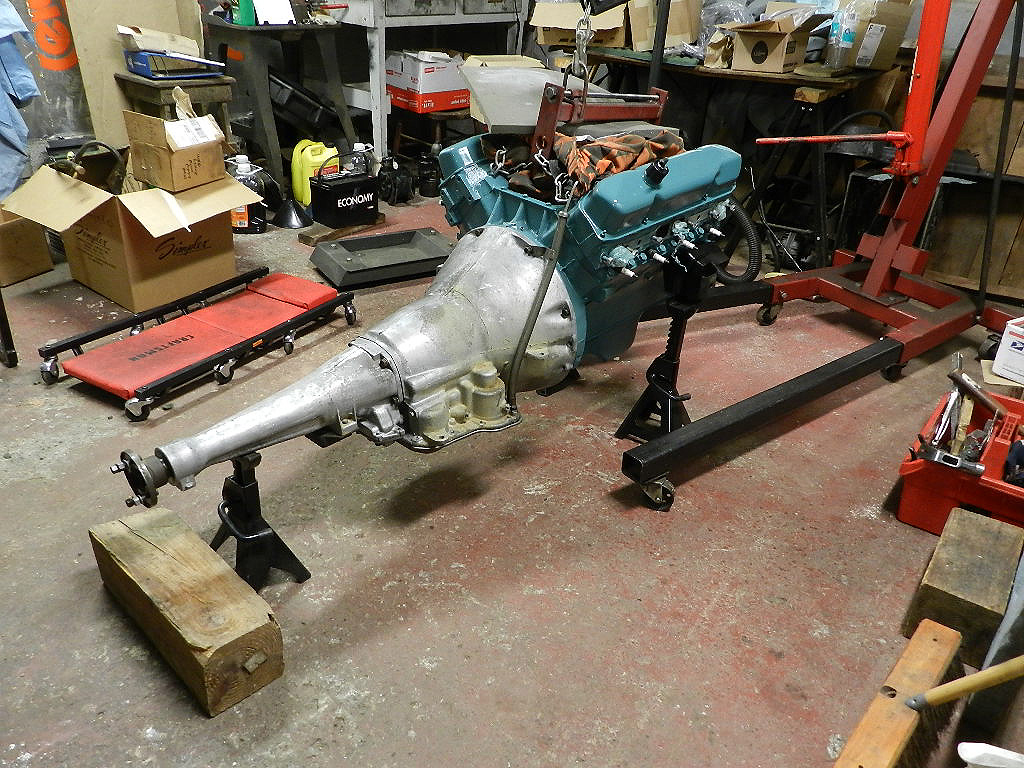
| The rebuilt transmission installed on the ram K engine. |
|
To the Engine Installation Page
Back