This is a very early car,
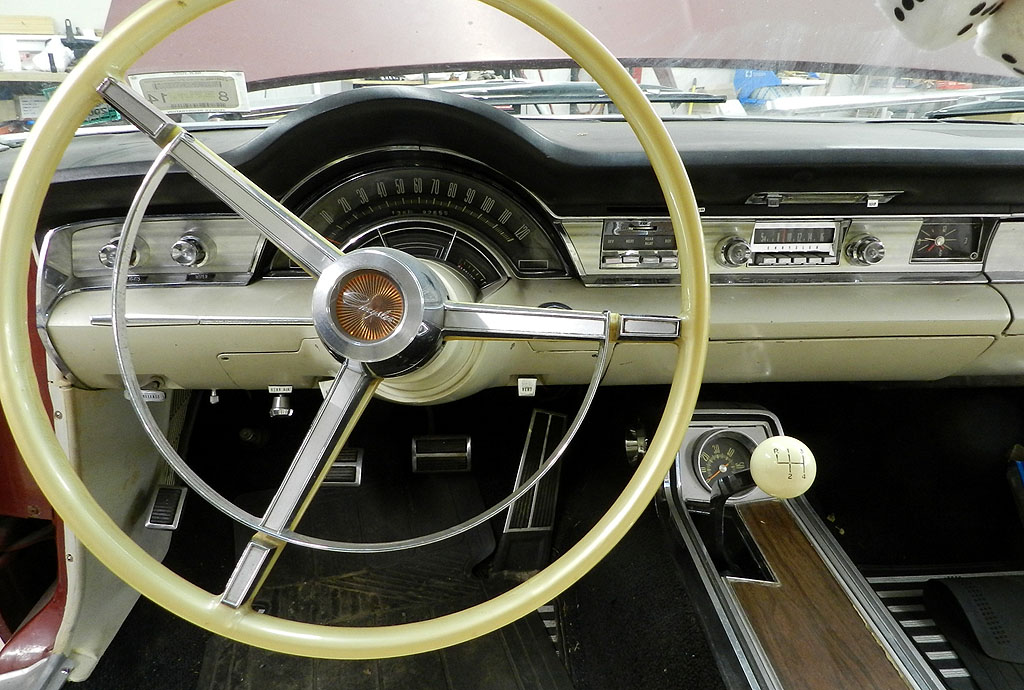
built October 8, 1964. I have an estimate that 108 4 speeds were made {96 coupes and 12 converts). The last time I checked the roster, there were 28 4 speed L's listed. This car has power drivers seat, manual windows, power rear antenna, tinted glass and has single bulb tail lights. Chrysler went to double bulb tail lights for Chryslers built at Jefferson after VIN# 162990.
Did you know:
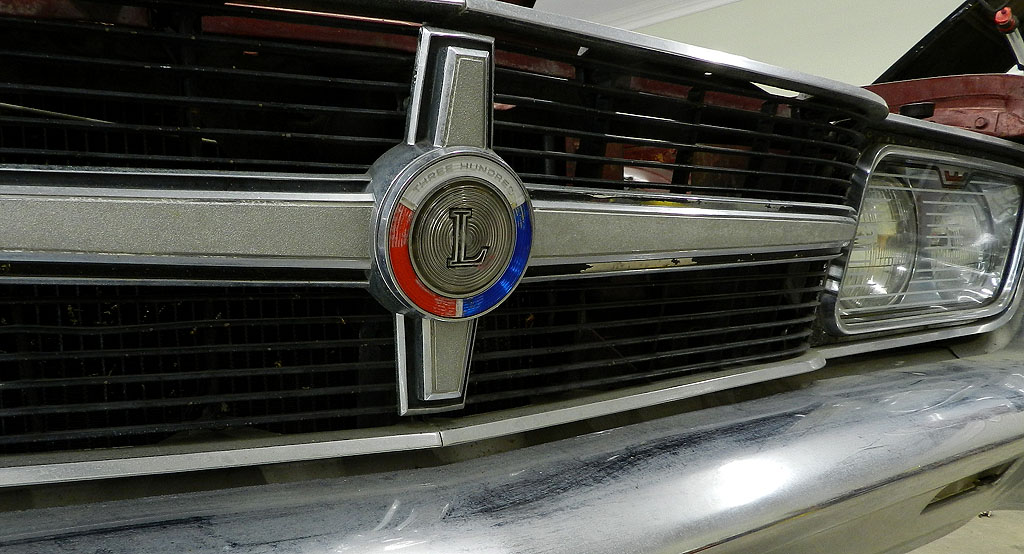
The 300 L was introduced on Thursday November 5, 1964. The center running light was legal in 40 states; not legal in Alabama, California, Colorado, Massachusetts, New Mexico, Pennsylvania, South Dakota, Vermont, Virginia, and Washington. (dealers were instructed in service bulletin number 65-8 dated October 5, 1964, to disconnect the lamp and replace the grille lens with a painted lens). The L was available in a wide range of colors; Regal Gold Metallic, Formal Black, Ice Blue, Navy Blue Metallic, Mist Blue Metallic, Sequoia Green Metallic, Royal Turquoise Metallic, Silver Mist Metallic, French Ivory, Spanish Red Metallic, Cordovan Metallic, Persian White, Sand Dune Beige, Sable Tan Metallic, Frost Turquoise Metallic, Sage Green Metallic, Pink Silver Metallic, Daffodil Yellow.
In March of 2022 we had a warm weekend which gave us the chance to get the car running. After a quick prime to the carb,
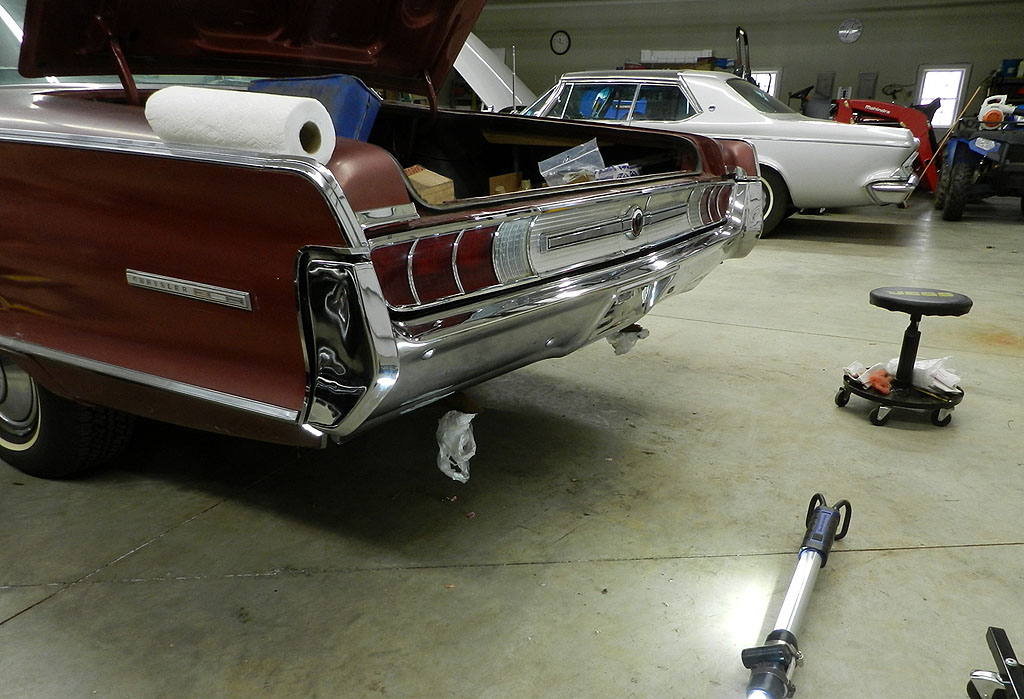
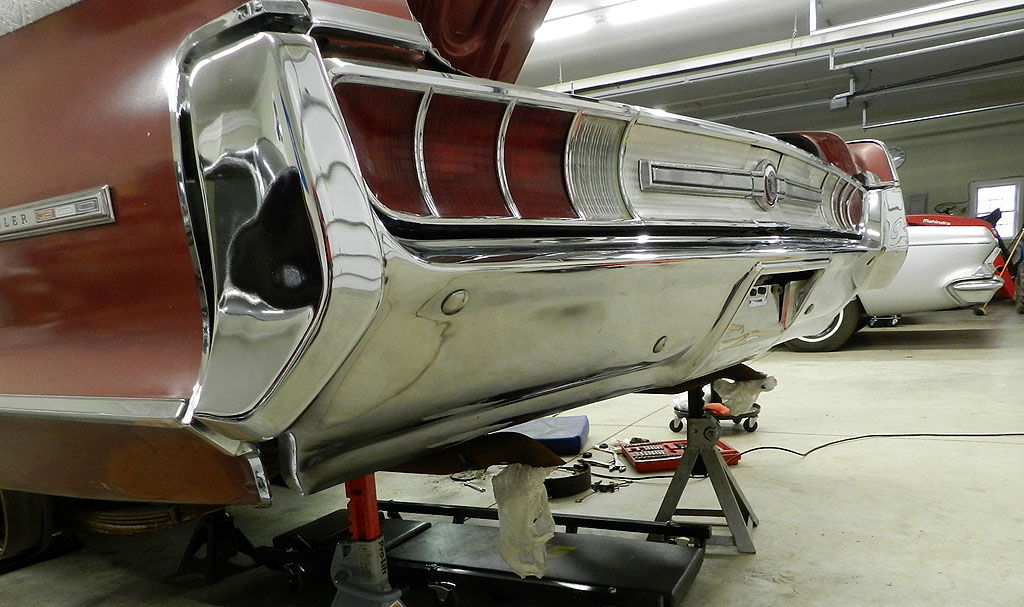
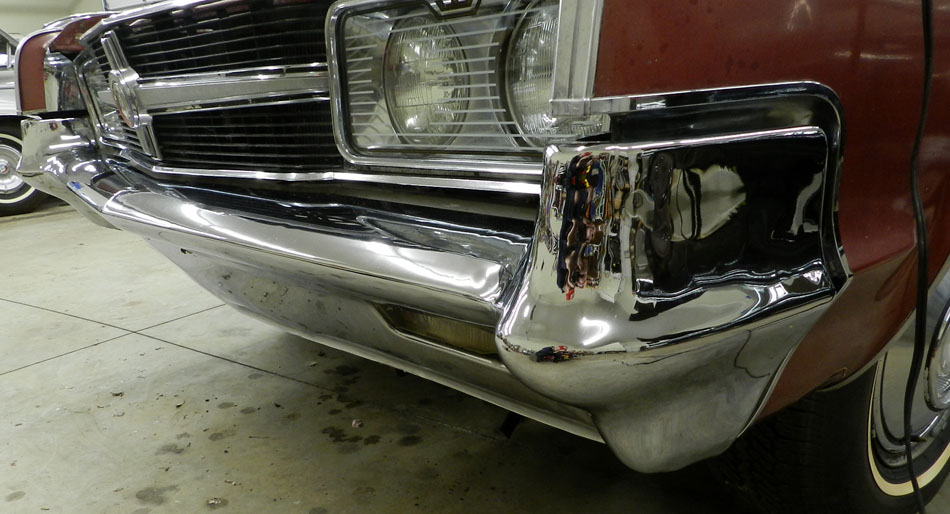
and a connection to the aux gas can, it started right up. You can watch that video here. I came back the next day (cold and rainy) and decided to polish the front bumper. This Quick-Glo chrome cleaner did the trick.
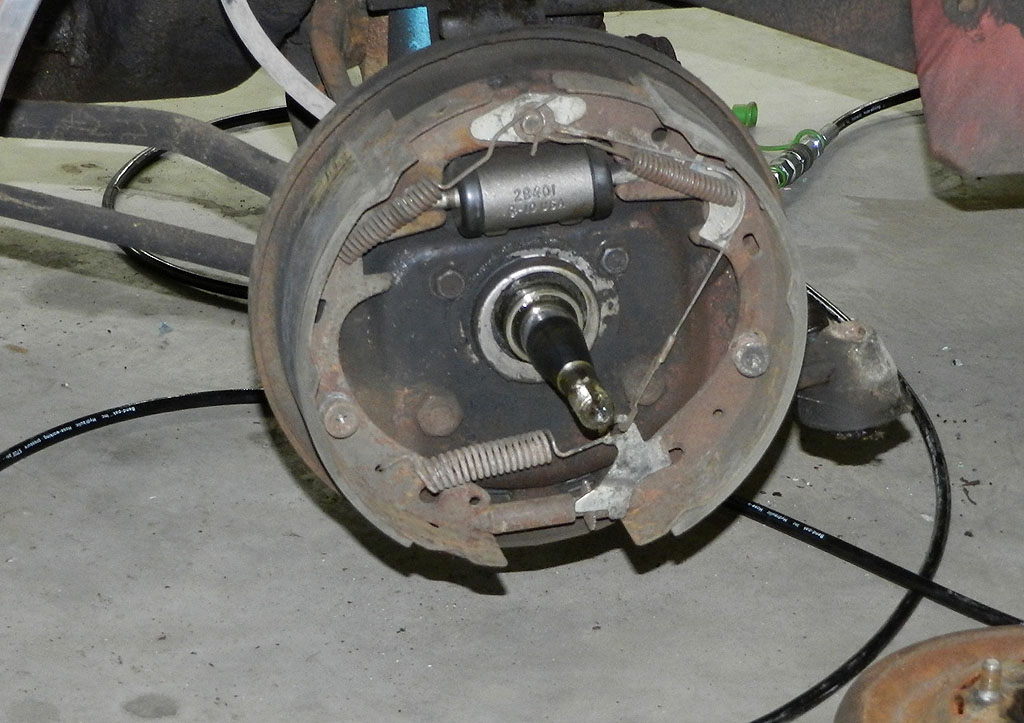
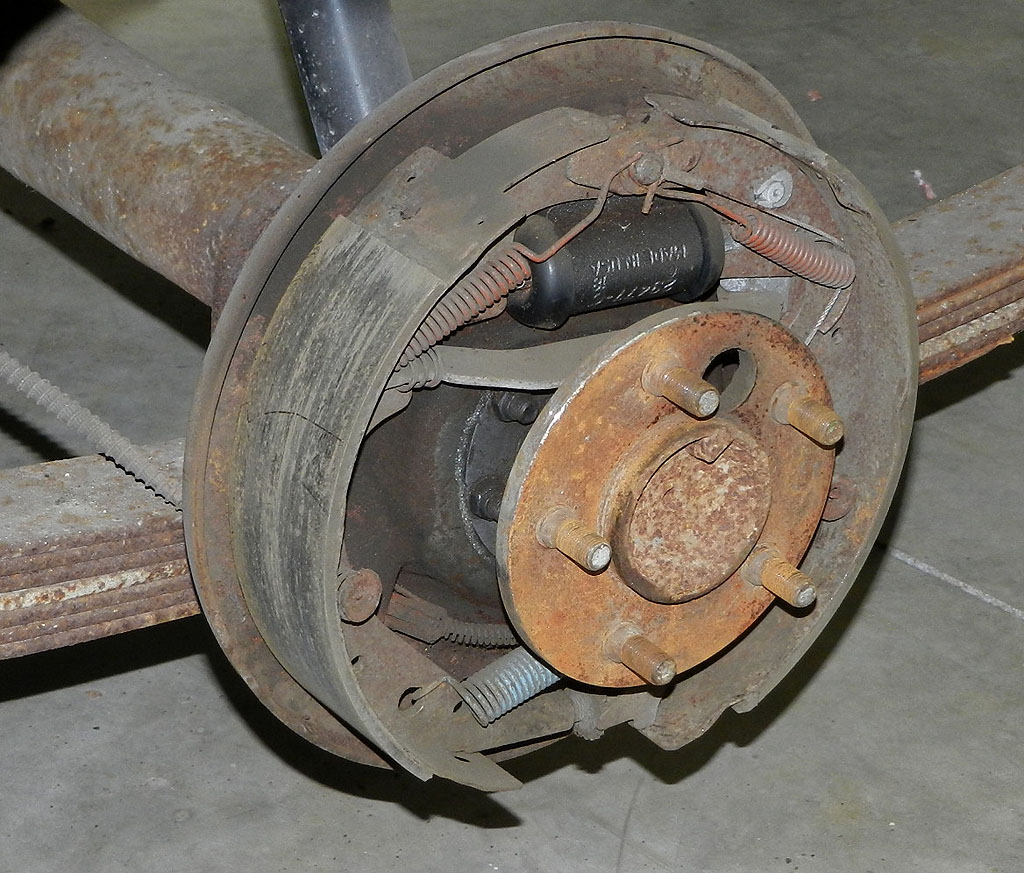
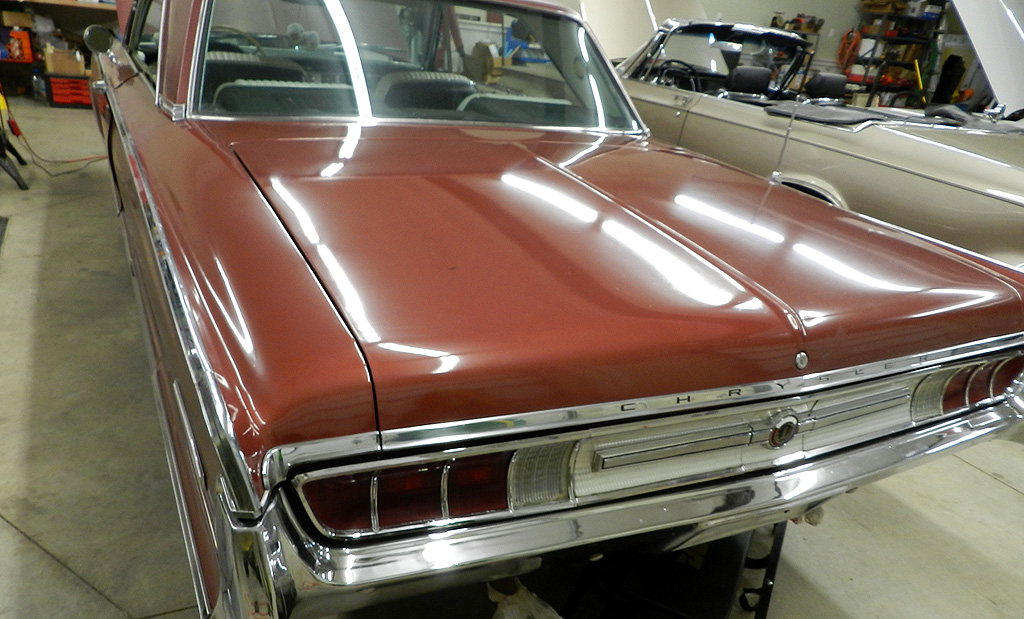
To the rear bumper. The Quick-Glo cleaner is available in Fine and Regular grades. I had been using the Fine for the front bumper but the rear bumper needed the Regular grade, perhaps due to the corrosive nature of the exhaust. It is coming along and may get a second treatment. Time to get into the brakes so the car went up on the Quick Jacks, the hubs came
off without a fight, and we get our first look at the brakes. Records show I did the brakes in 1997. The shoes are in great shape. I will replace the wheel cylinders, master cylinder, brake hoses and switch to Dot5 silicone for peace of mind.
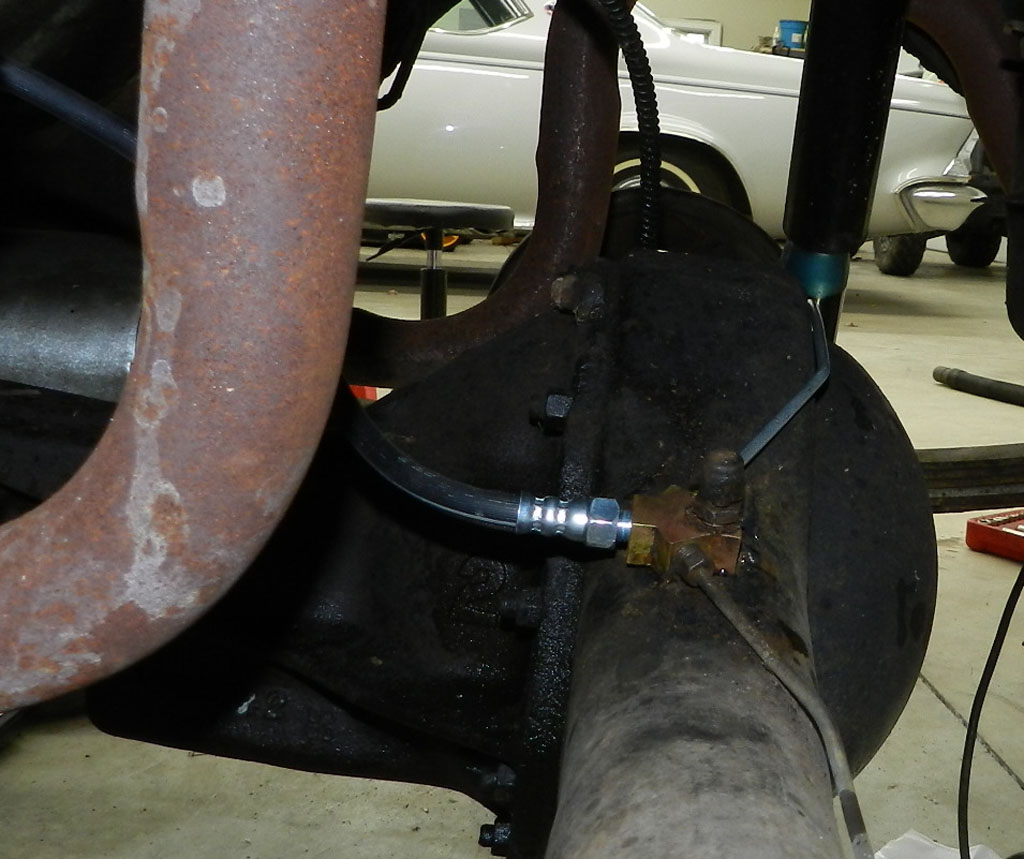
The new master cylinder went in without any effort. Access to the rear brake hose was complicated by
the muffler hangers.
 Eventually I removed the bracket holding the brake hose
and that made things easier. Brake cylinder replacement
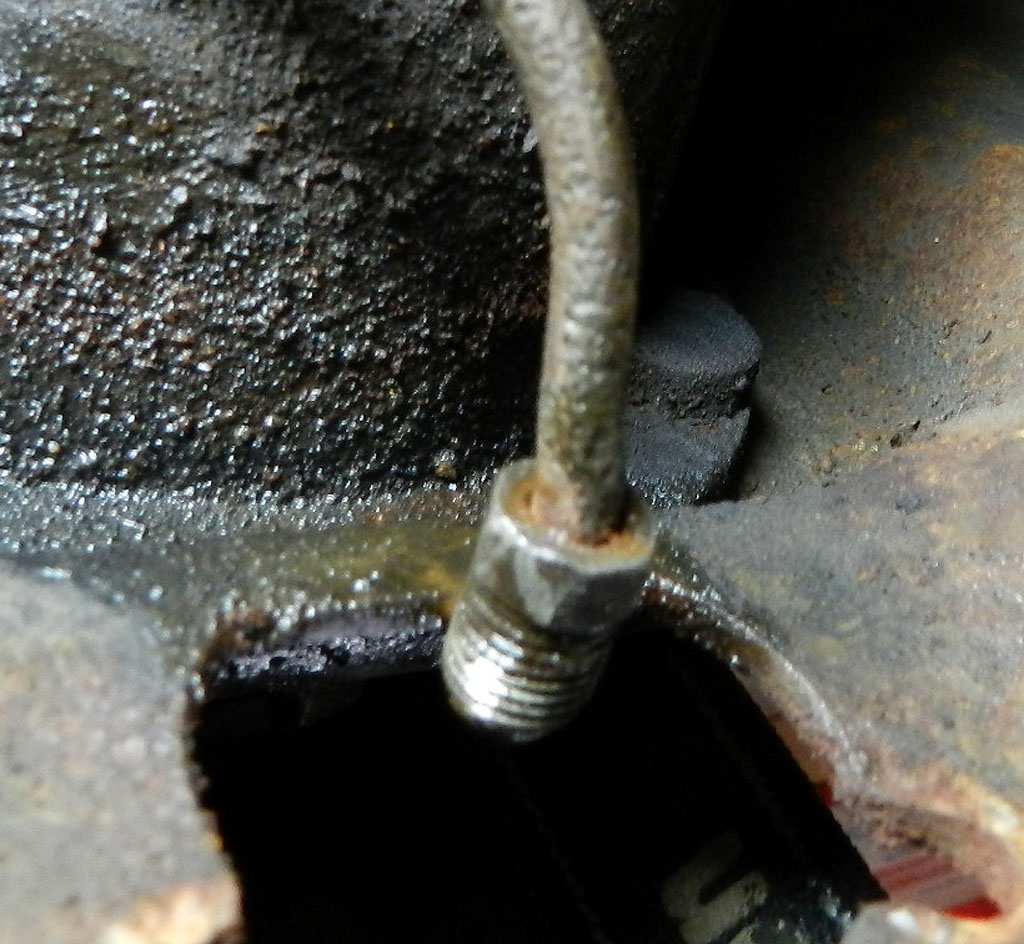
was going well until the passenger side rear. The brake line didn't want to release from the fitting. Wire brushing,
Kroil, fussing and waiting didn't work. Although the fitting came free, the line showed signs of
twisting as shown in the picture. I wasn't about to take a chance with that line. Fortunately, I found
that line is the same back to at least 1960 and I had a new spare. It fit well. We also
applied another dose of the Quick-Glo to the rear bumper and that brought the finish where I want it.
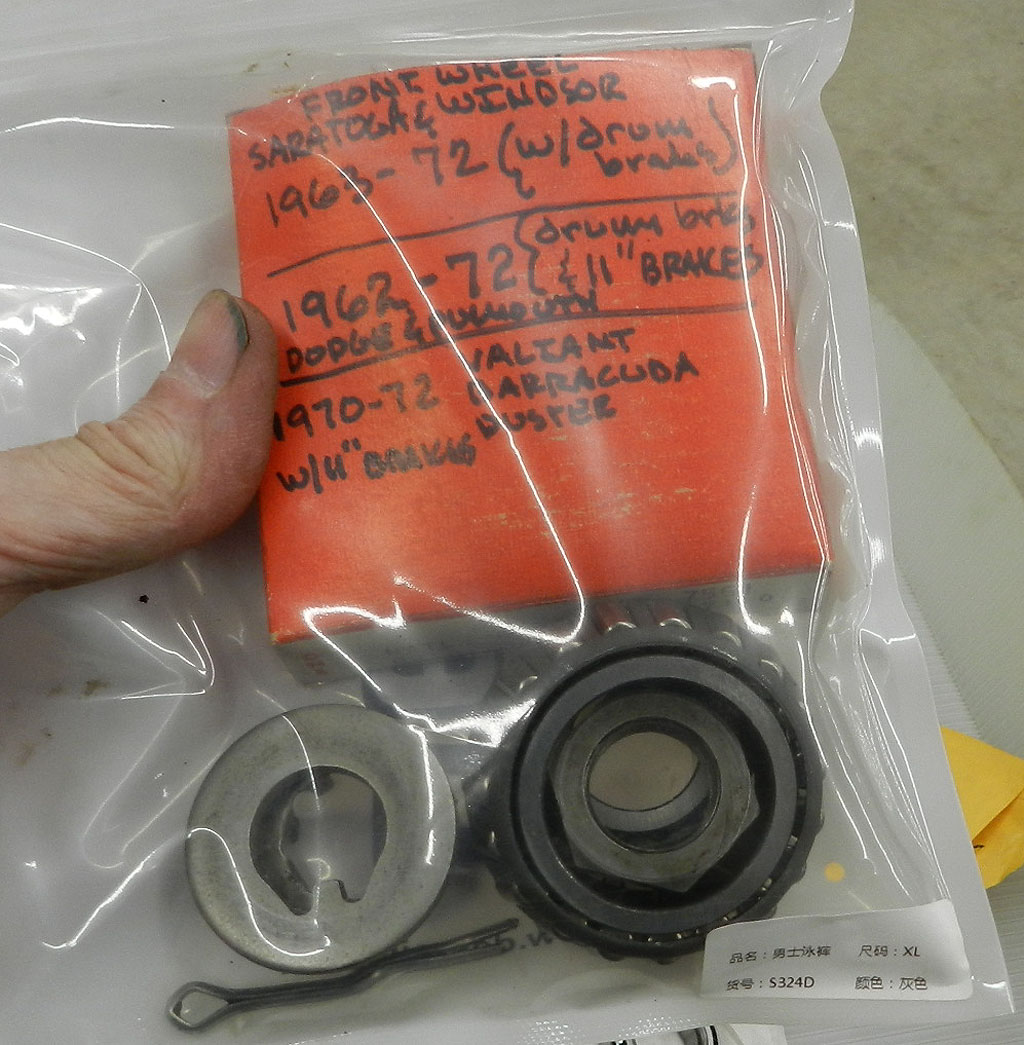
New front wheel seals were found in stock and I think the wheel bearings should be replaced. I found new
bearings in stock but couldn't bring myself to use them -- made in China. New bearings from Rock Auto
were here two days later.
Eventually I removed the bracket holding the brake hose
and that made things easier. Brake cylinder replacement
was going well until the passenger side rear. The brake line didn't want to release from the fitting. Wire brushing,
Kroil, fussing and waiting didn't work. Although the fitting came free, the line showed signs of
twisting as shown in the picture. I wasn't about to take a chance with that line. Fortunately, I found
that line is the same back to at least 1960 and I had a new spare. It fit well. We also
applied another dose of the Quick-Glo to the rear bumper and that brought the finish where I want it.
New front wheel seals were found in stock and I think the wheel bearings should be replaced. I found new
bearings in stock but couldn't bring myself to use them -- made in China. New bearings from Rock Auto
were here two days later.
New parking brake cables were installed along with new front wheel bearings (Timken USA) and
seals. Then we turned our attention to the gas tank. Removal was quick and easy although there
was a lot of dirt between the gas tank and the trunk. The sender was removed and inspected. It looked
like it was new although it is the original. The inside of the gas tank was perfect too. You can
watch the adventure here. The tank went back
in with only a bit of a wrestle most likely because I had forgotten the trick -- leave the filler pipe loose
in the bumper and connect to the tank after the tank is on the straps. I noticed a piece of newspaper
stuffed in a hole on the rear bumper brace. Although dirty, it still read Scottsbluff Star Herald,
Wednesday, July 28, 1971.
The steering had a groan which went away as you drove it. We traced it to the idler arm bushing. A new idler arm assembly from Rock Auto was installed and solved the problem.
 While the front end was up in the air we greased all the Zerks,
installed tires, connected the fuel system with new rubber lines and took it off the Quick Jacks.
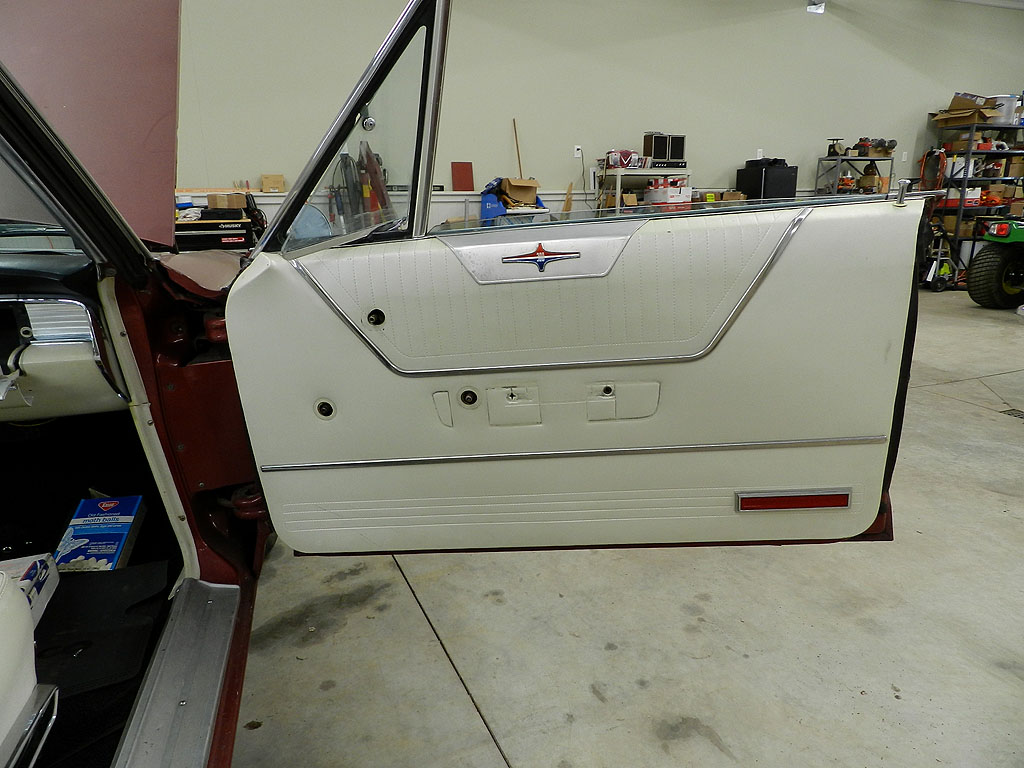
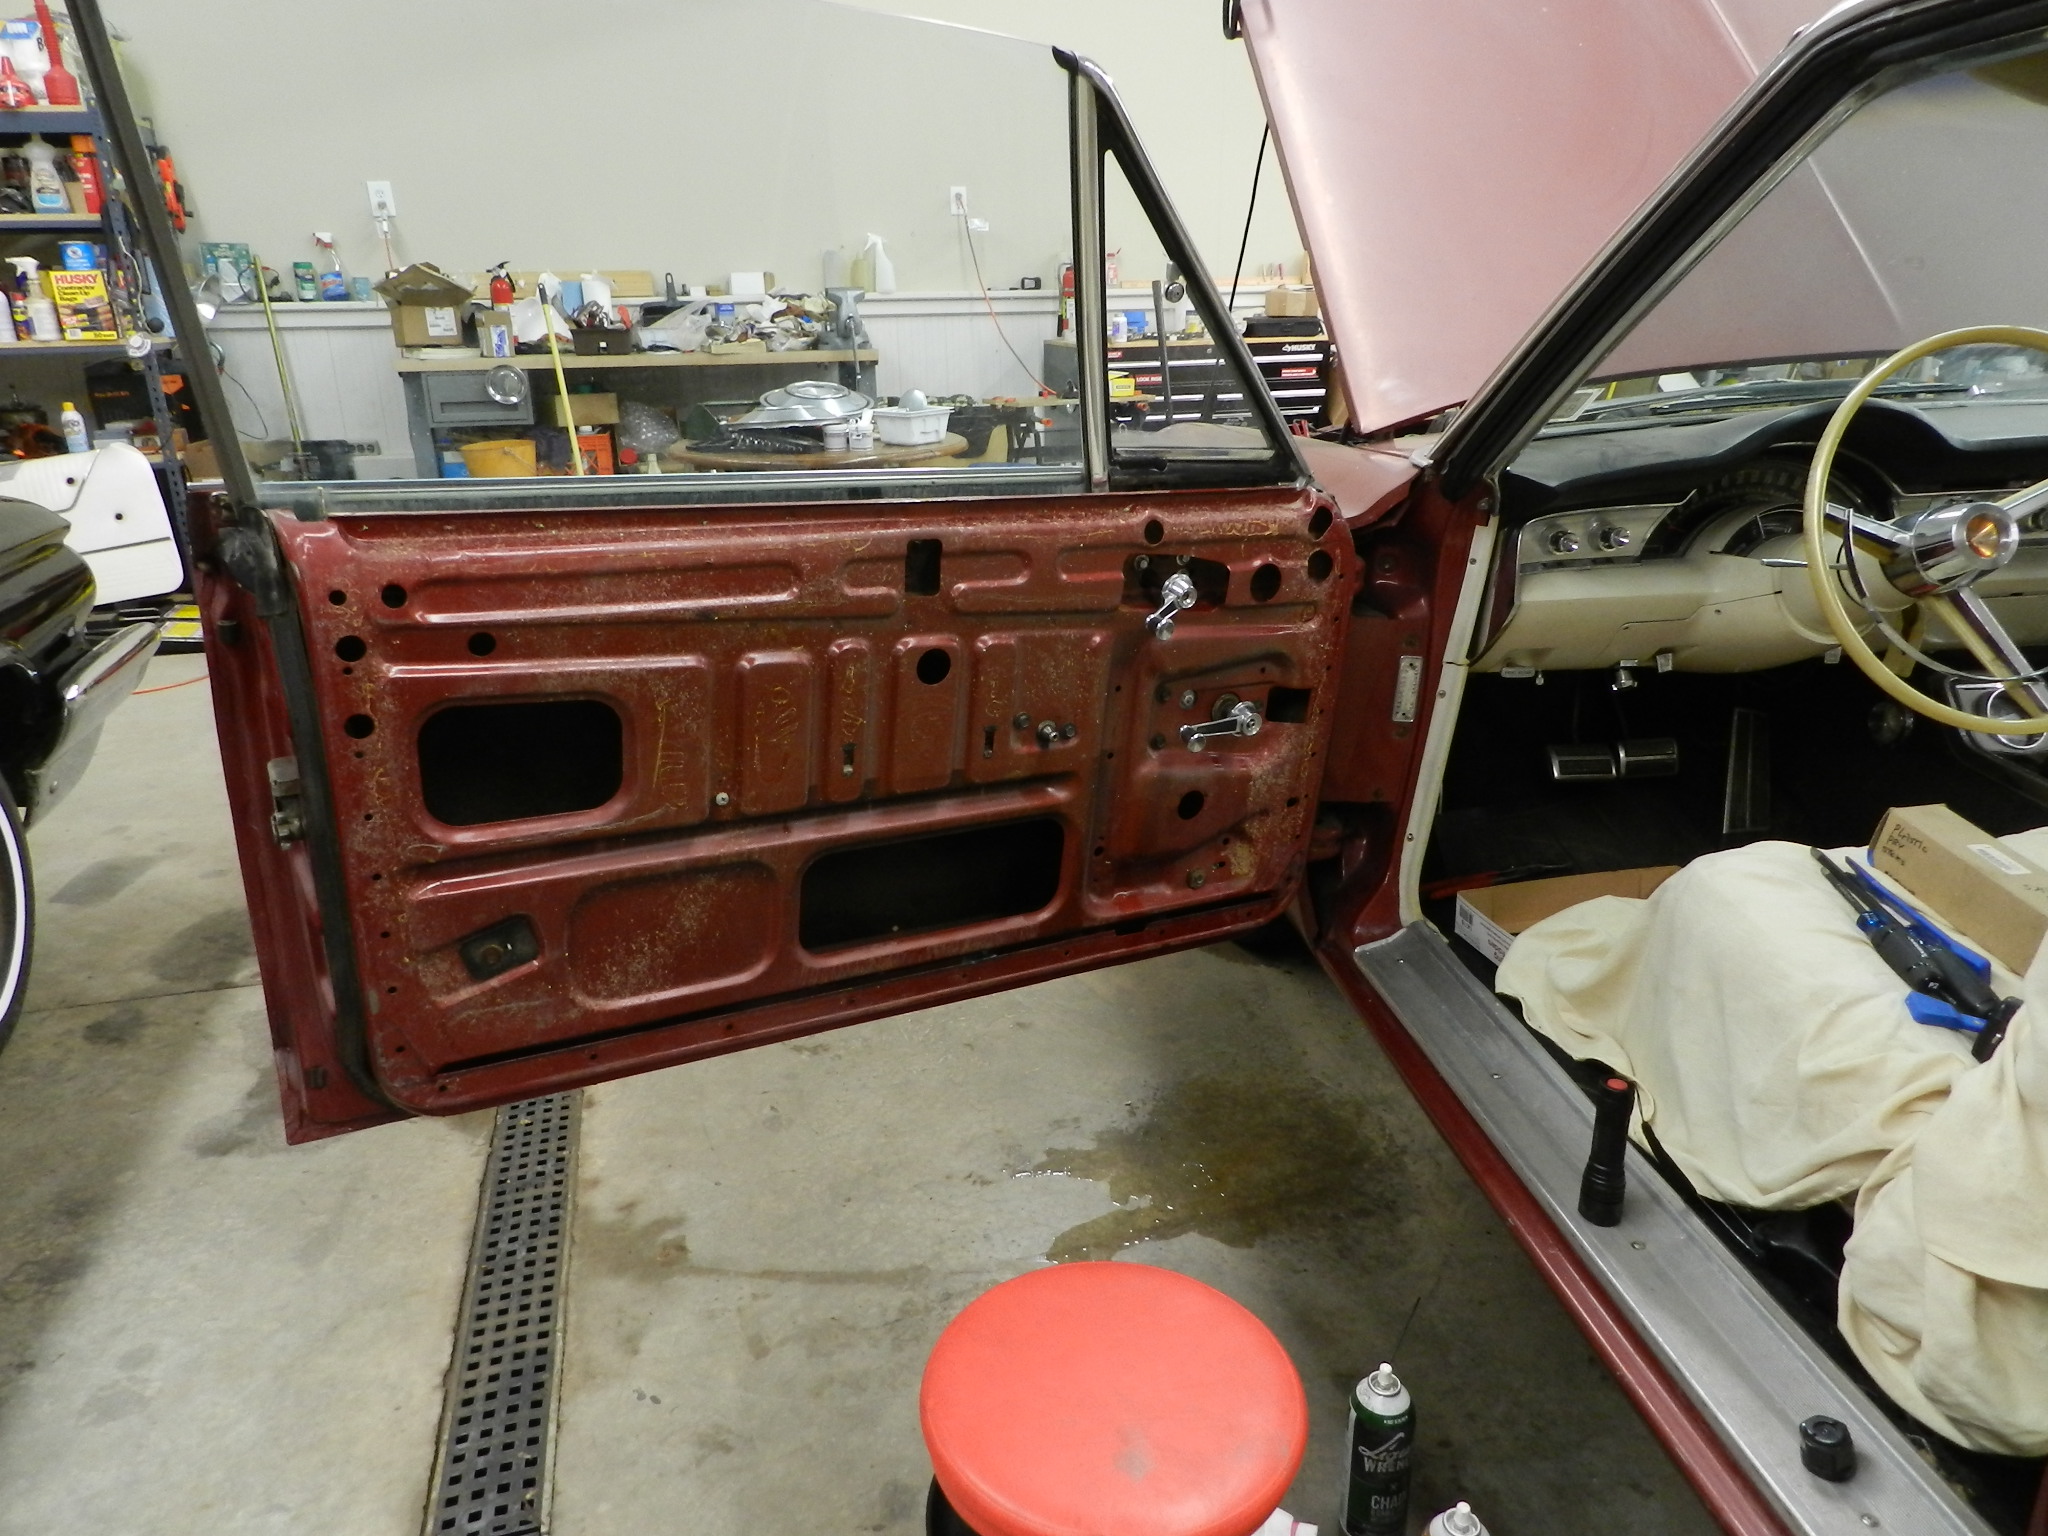
Turning attention to the driver's door, we have the sticky window and the rear view mirror to fix. You can watch the work here.
While the front end was up in the air we greased all the Zerks,
installed tires, connected the fuel system with new rubber lines and took it off the Quick Jacks.
Turning attention to the driver's door, we have the sticky window and the rear view mirror to fix. You can watch the work here.
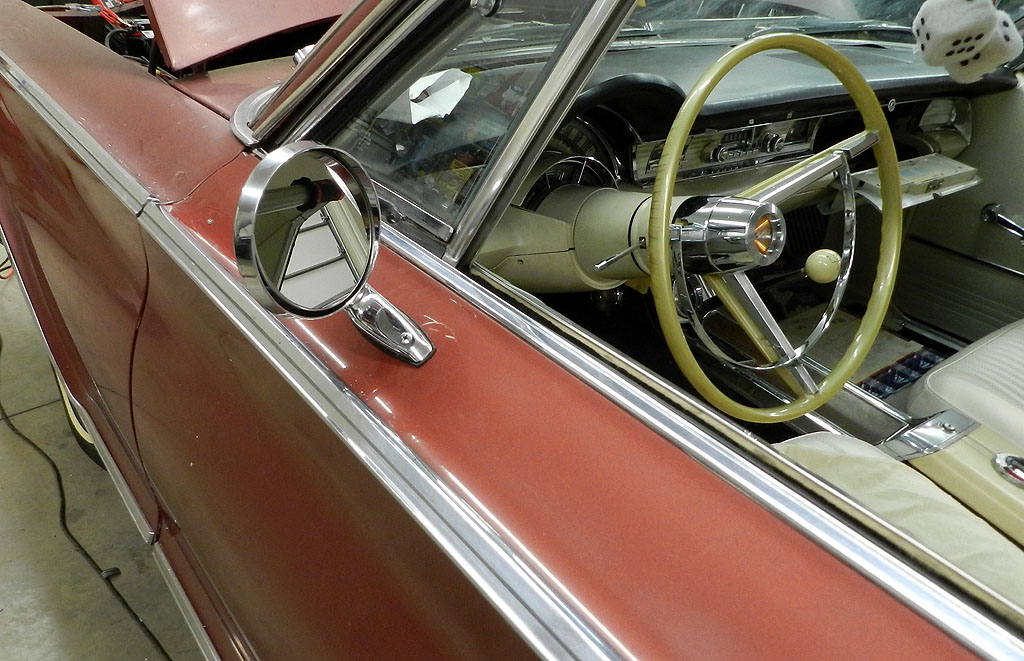
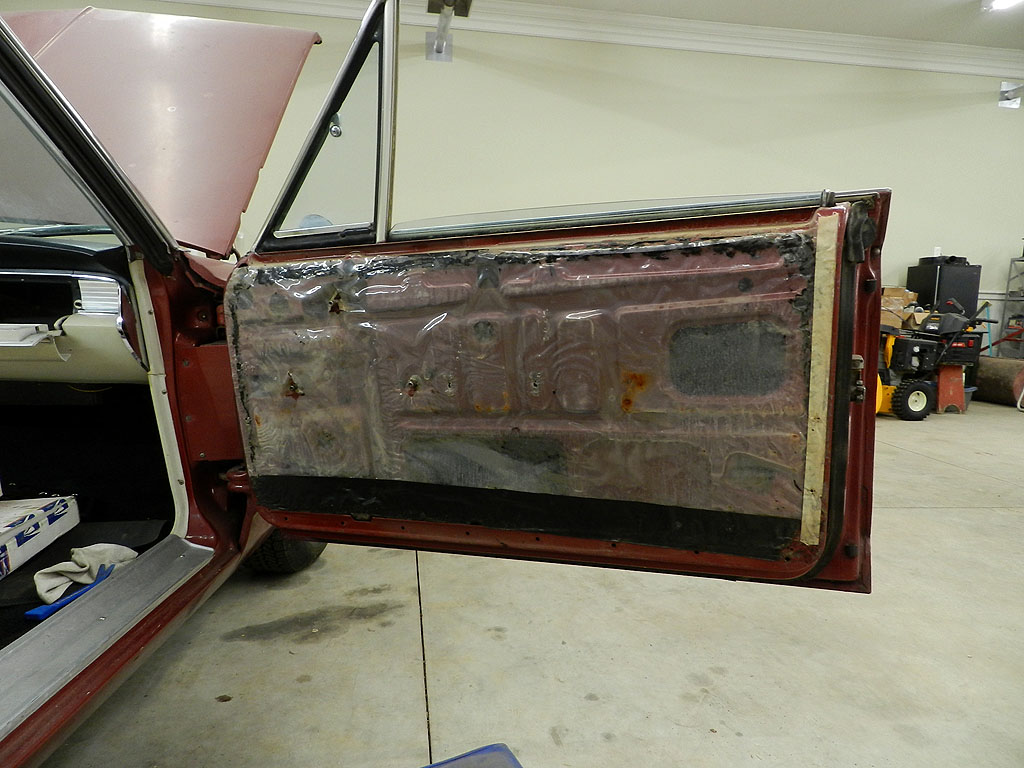
The inside of the driver door was remarkably rust free although there was significant Nebraska top soil in the base. The crank window freed up nicely with the addition of spray lube. Other 1965-66 Chryslers were reviewed
to determine placement of the driver side remote control mirror. Before we drill holes, more study is required.
 I gave the wheelcovers a quick wash and polish so I could put them out of the way. I'm surprised how
well the centers have held up after all these years. Normally they check and craze.
I gave the wheelcovers a quick wash and polish so I could put them out of the way. I'm surprised how
well the centers have held up after all these years. Normally they check and craze.
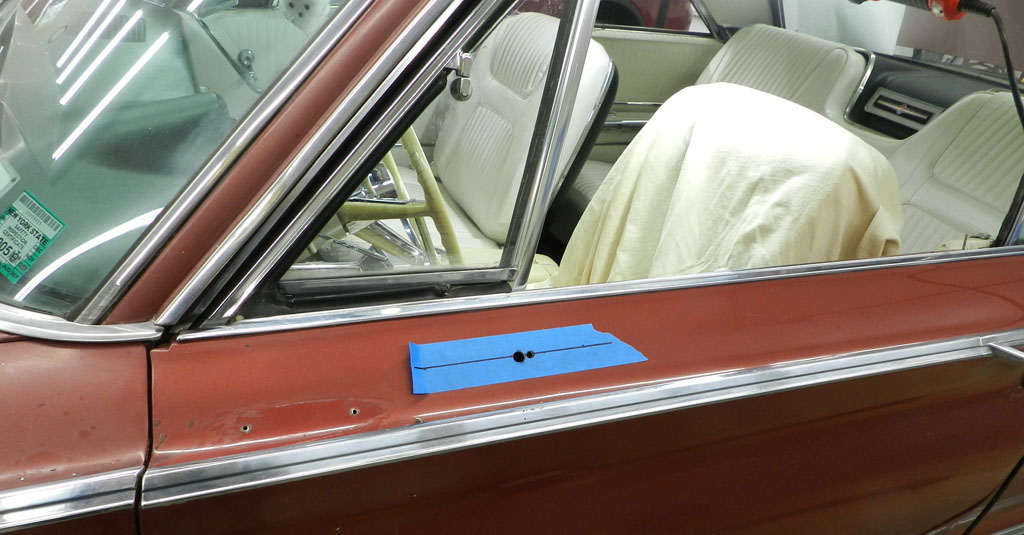
I removed the old aftermarket mirror and decided I'd try my hand at bringing some life into the old faded paint before installing a new mirror. Since the area on top of the door isn't very big and doesn't lend itself to a buffer, I went after it by hand. I used Meguir's #10 compound and it quickly loaded the rag with dirt and old paint. I kept changing to fresh rags until the dirt load quit and finished with Meguir's #1 hand polish. The paint is a lot better.
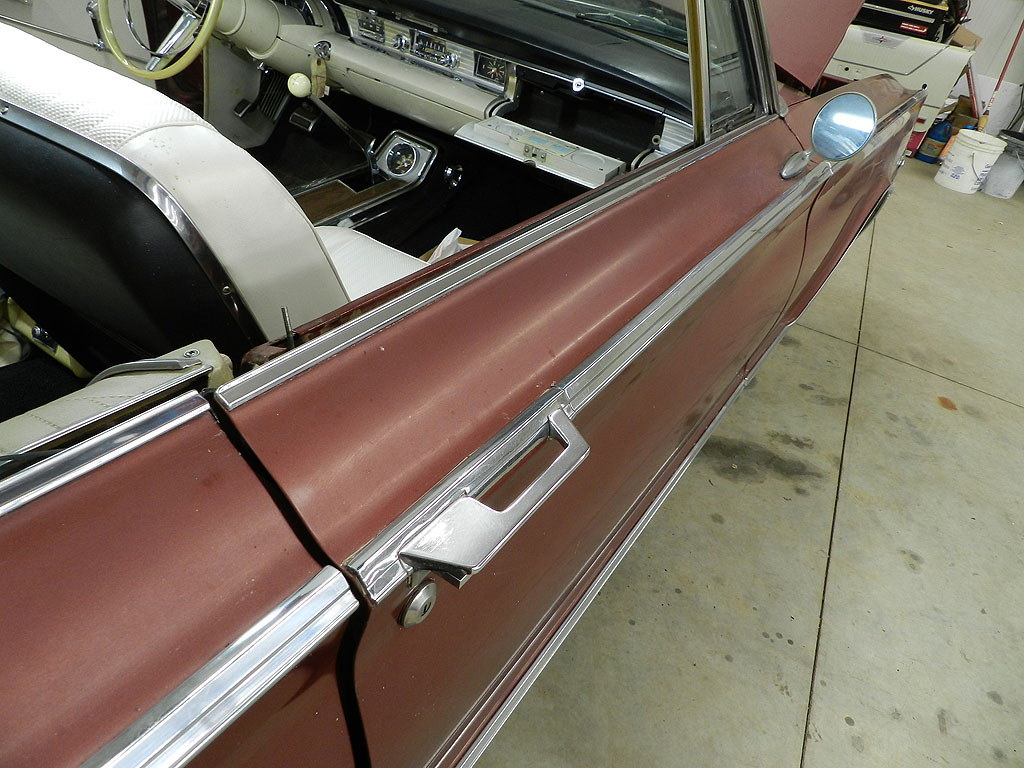 Before
|
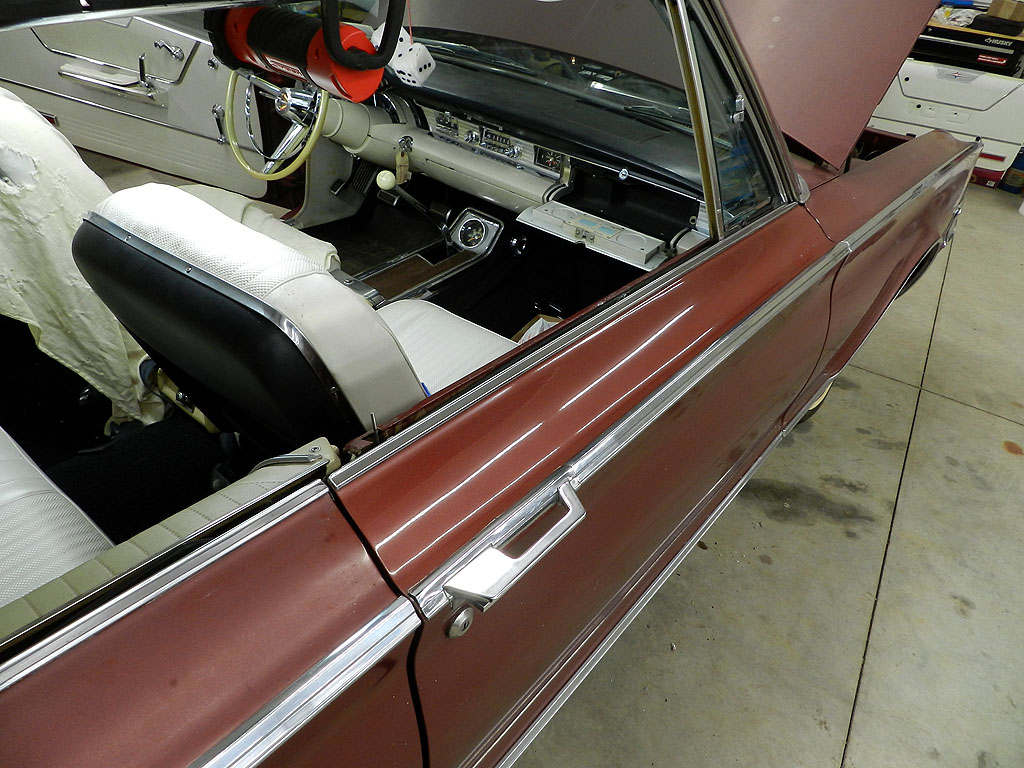 After
After
|
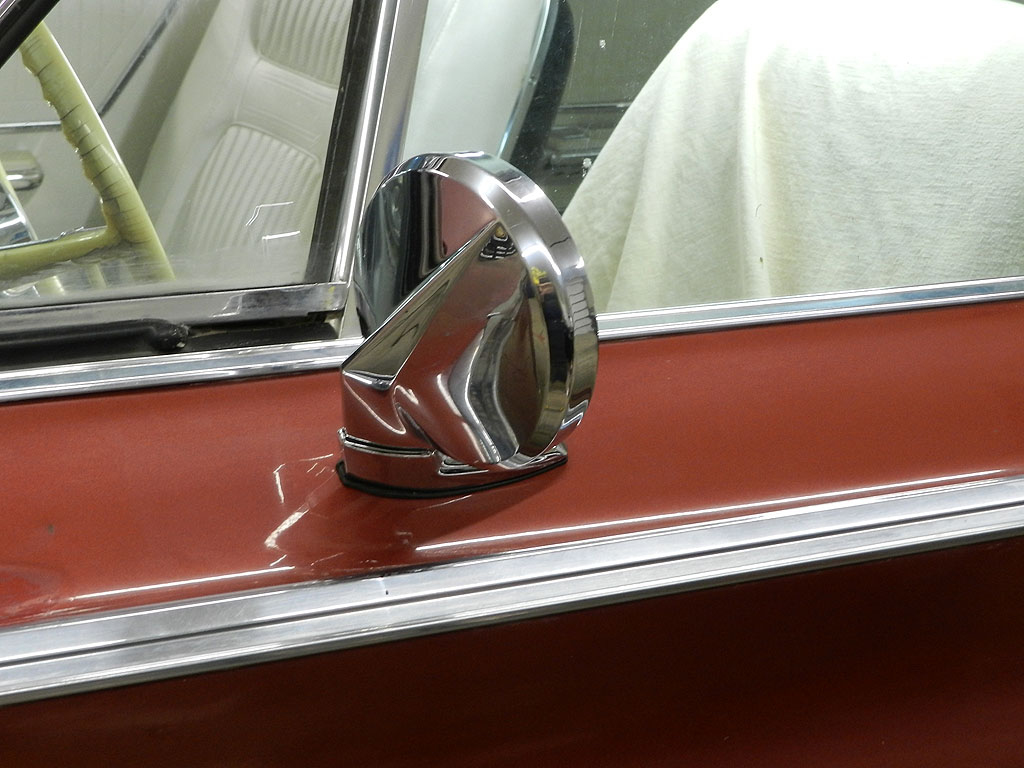
I laid out painter's tape and measured twice before making template holes. The new mirror installed easily and looks great.

I installed the vapor barrier and the door panel. I took a minute to paint the black
center areas on the window cranks and the door handles. It doesn't take long and
improves the looks. You can buy new inner door levers, part number ACD01-81280
from various people on Ebay.
Moving on to the passenger door, once again the original panel is in great shape. The
vapor barrier was there along with its share of Nebraska topsoil. The inside of the door
is perfect. I removed the aftermarket mirror and started in on freshening the paint.
Here is a video of that work.
|

|
|

|

|
Buffing continues section by section. I am using an old Sears 10" orbital and Meguir's compounds finished with
a quality carnuba wax-cleaner. In between compounds, I sponge off the old compound. I can tell by the amount of old paint in the rinse how well the polishing is going. At one point I noted the amount of old paint was decreasing -- the buff matt
had worn out. A new matt and we were back in business.
|

|

|

|

|

|

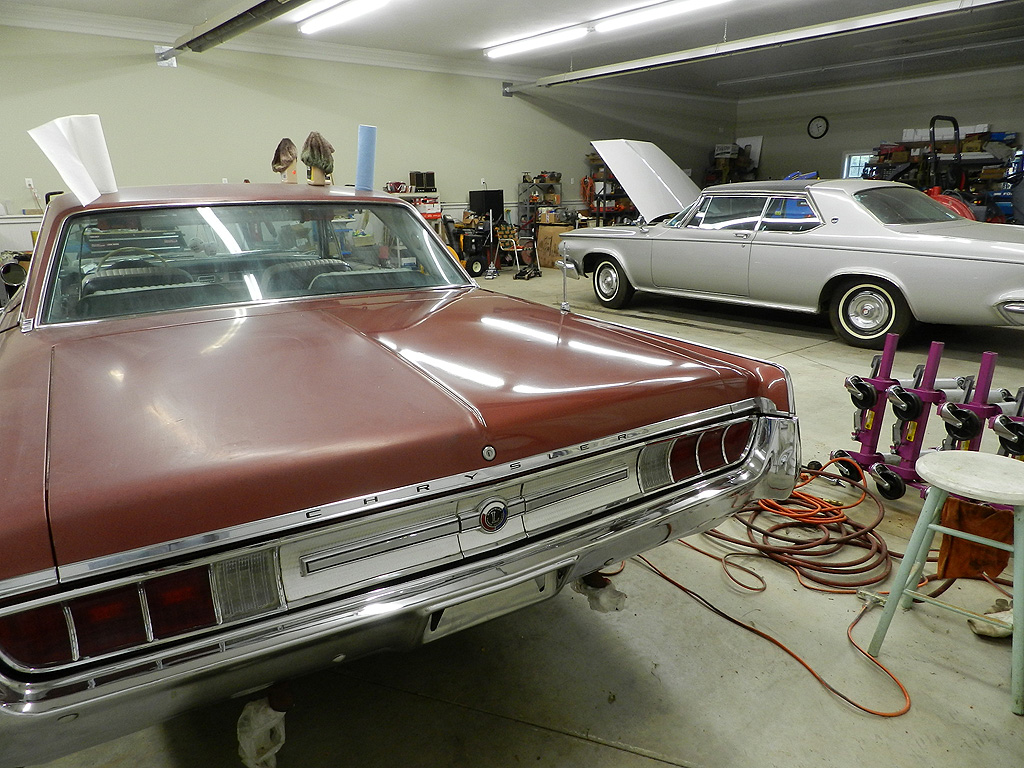
|
November 2022: The paint buffing is done so the car is off to storage for the winter.