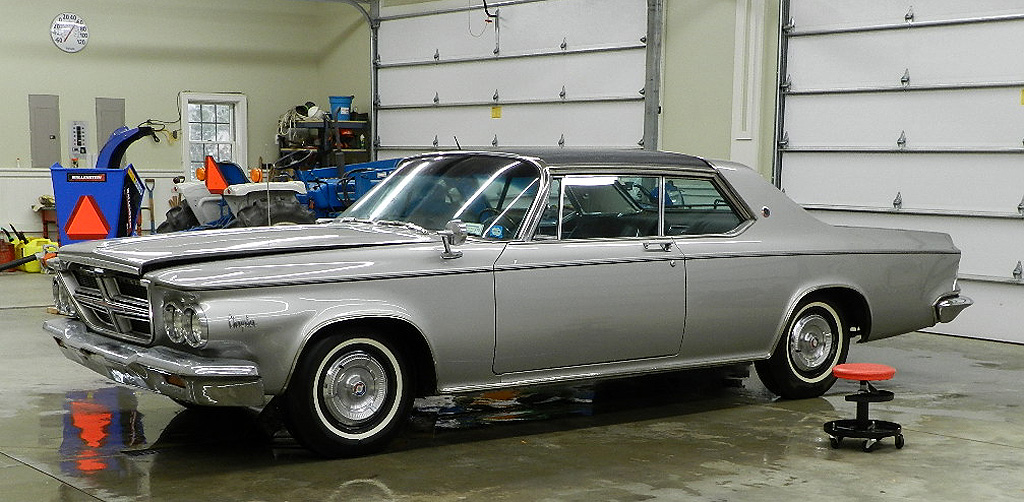
Here it is October of 2020, and hard to believe I bought this car
23 years ago. I went up to Canada to get it from Norm McIntosh.
Norm bought it in 1984 from
Charles Albert Brechbiel of Upland, CA. I don't have
any information on it before then.
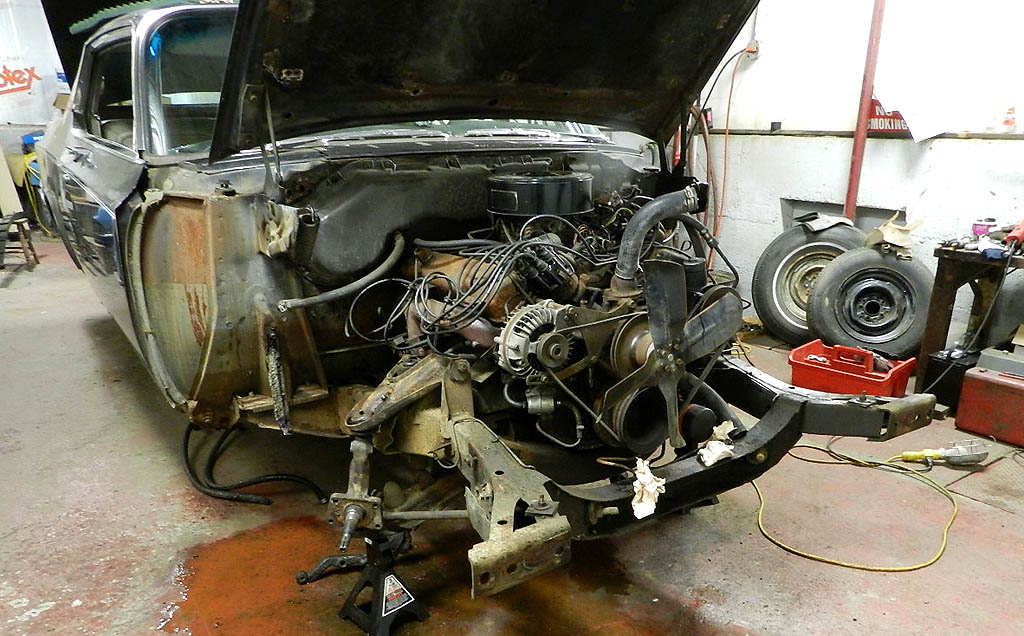
John Hertog and Bob Haag restored the car in 1999. We elected to
limit engine work to replacing valve stem seals, thinking that might
take care of the oil burning issue. It didn't and now I am going to tackle it.
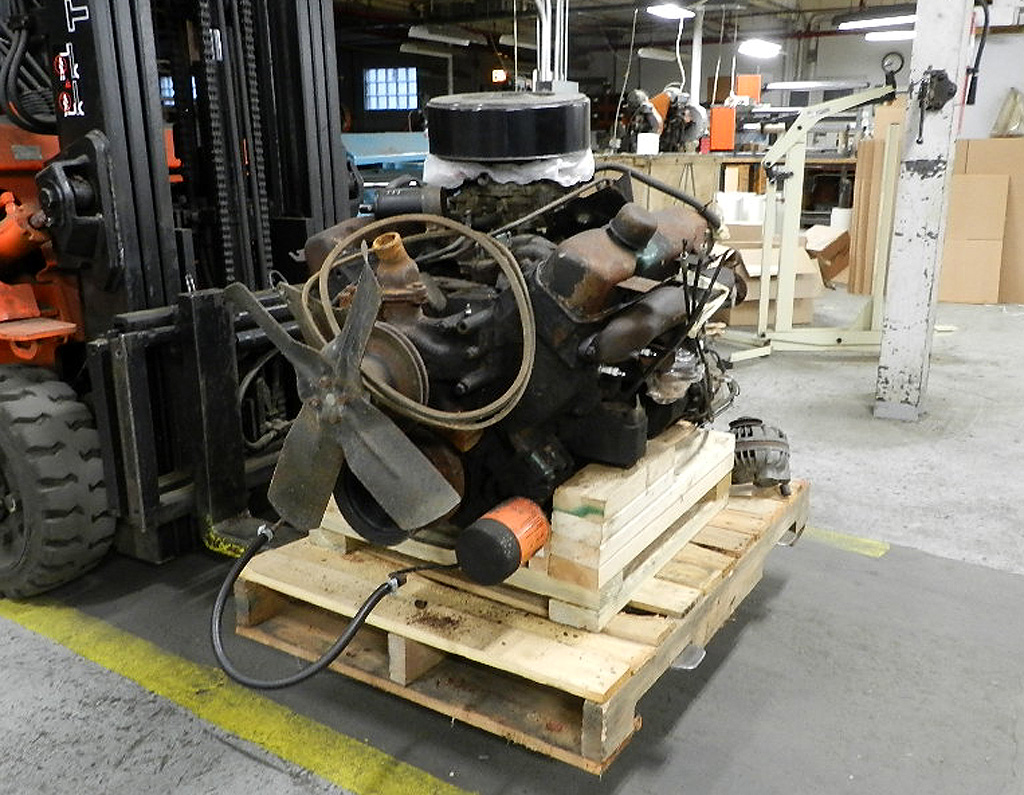
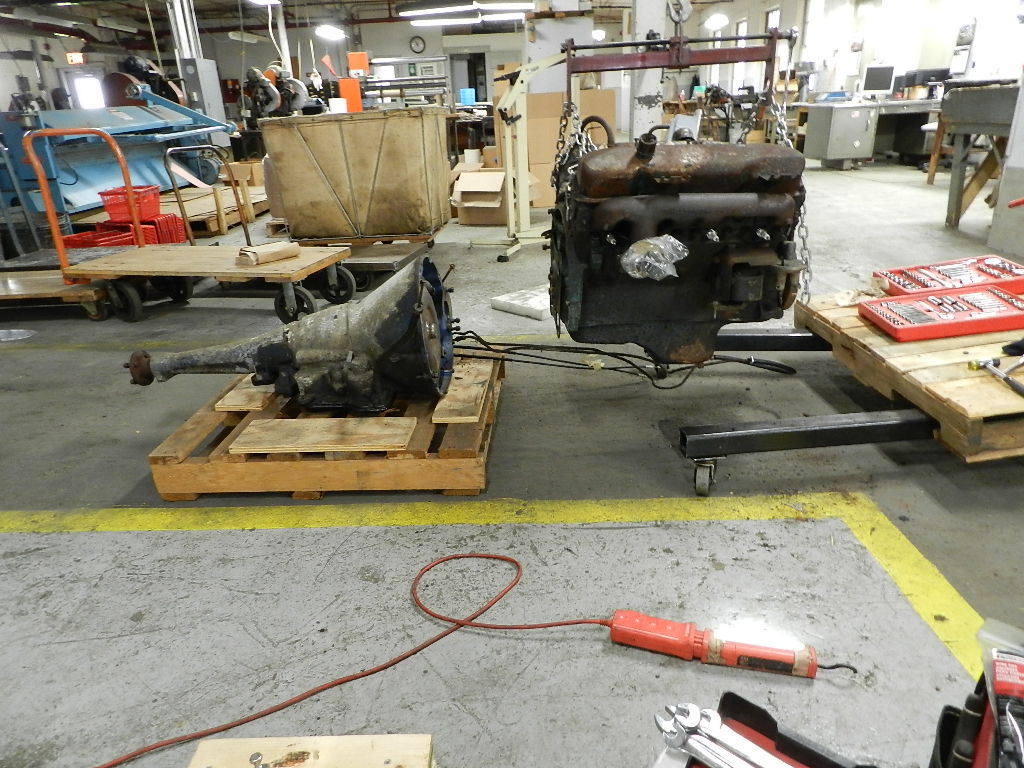
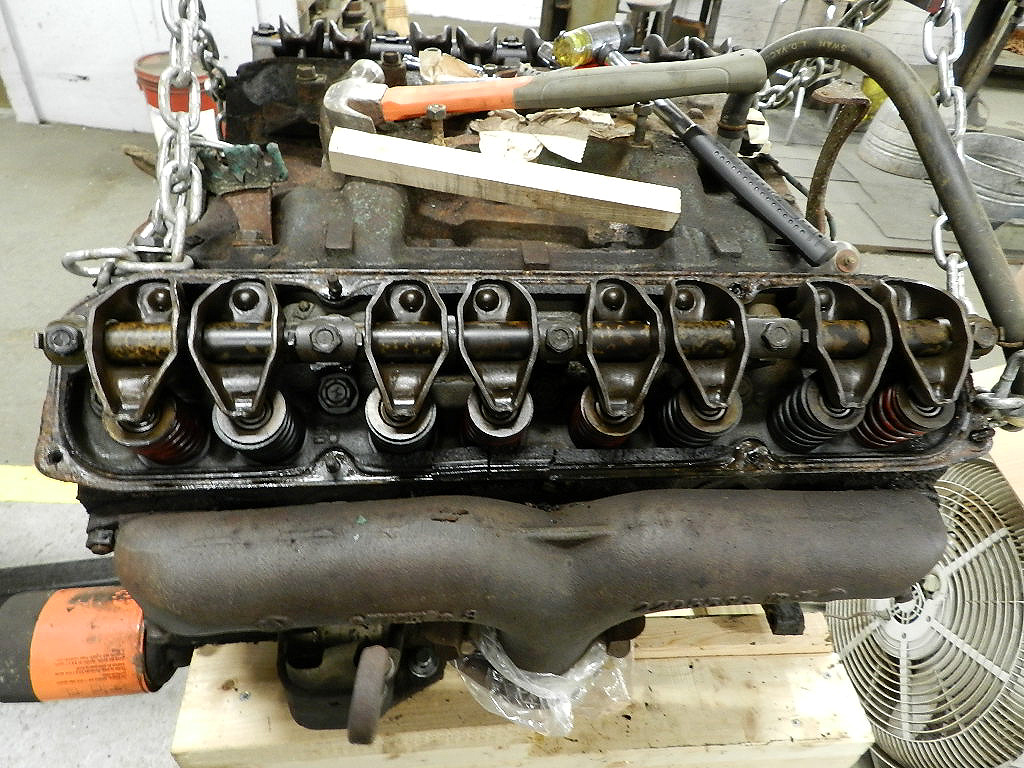
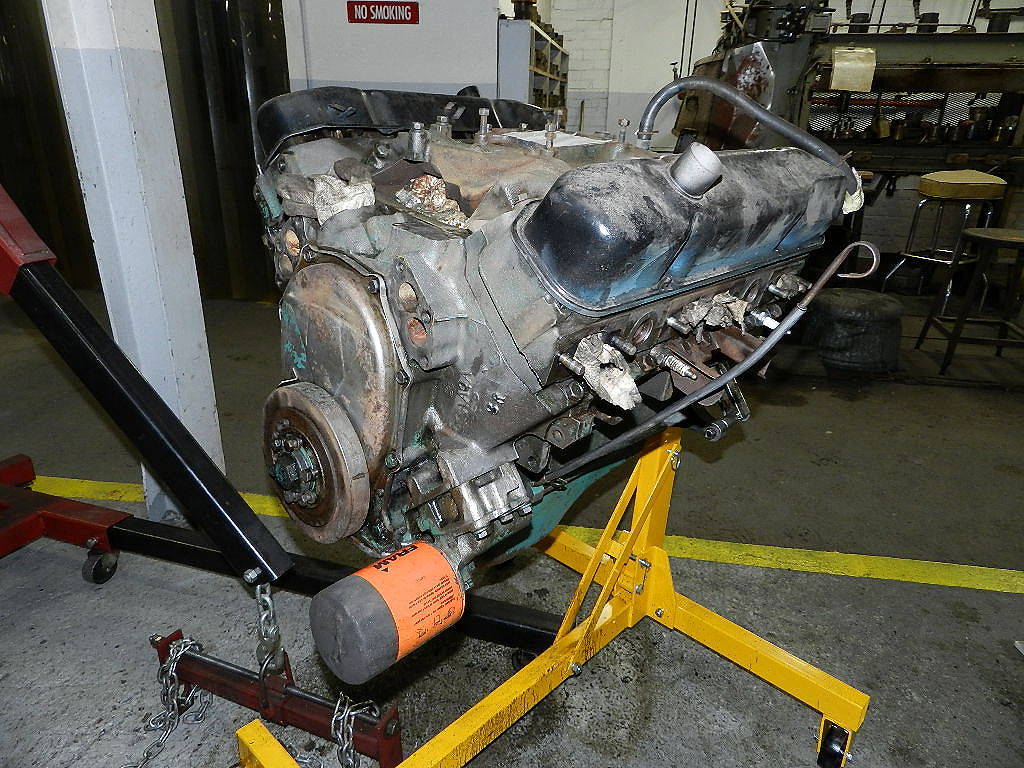
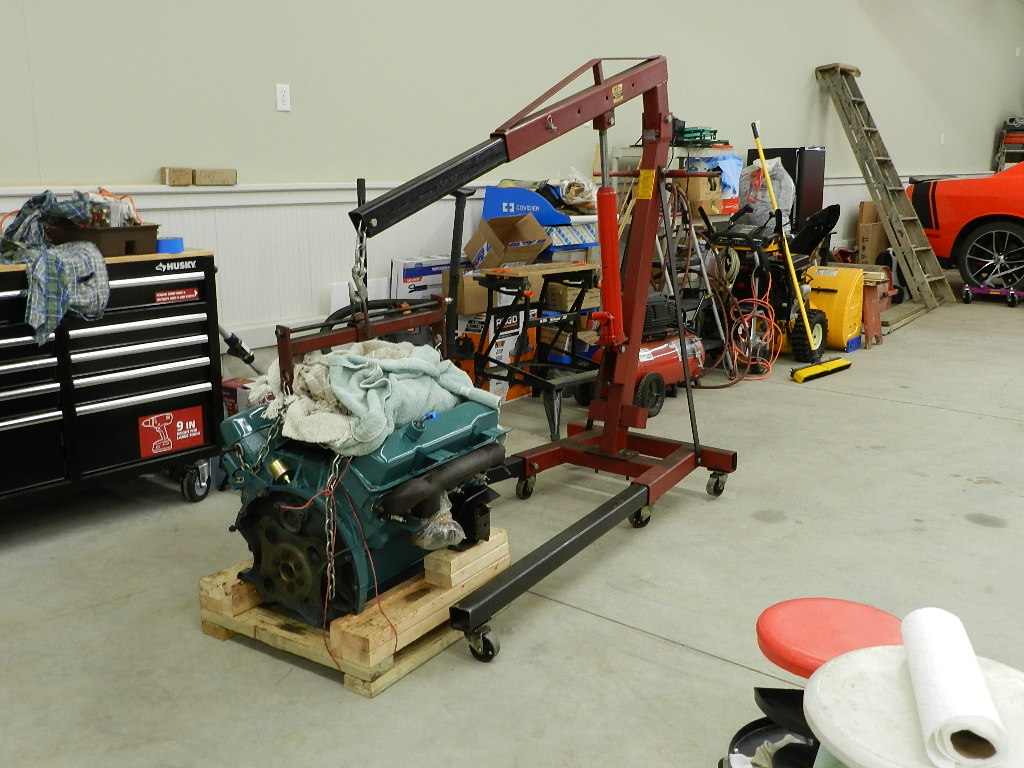
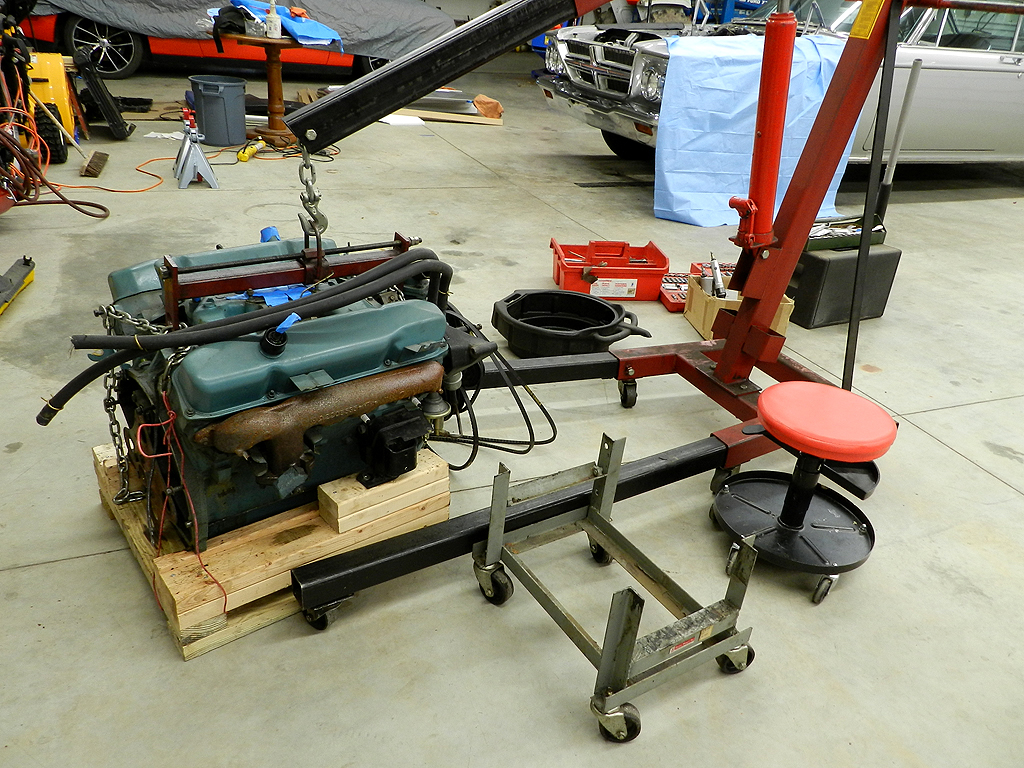
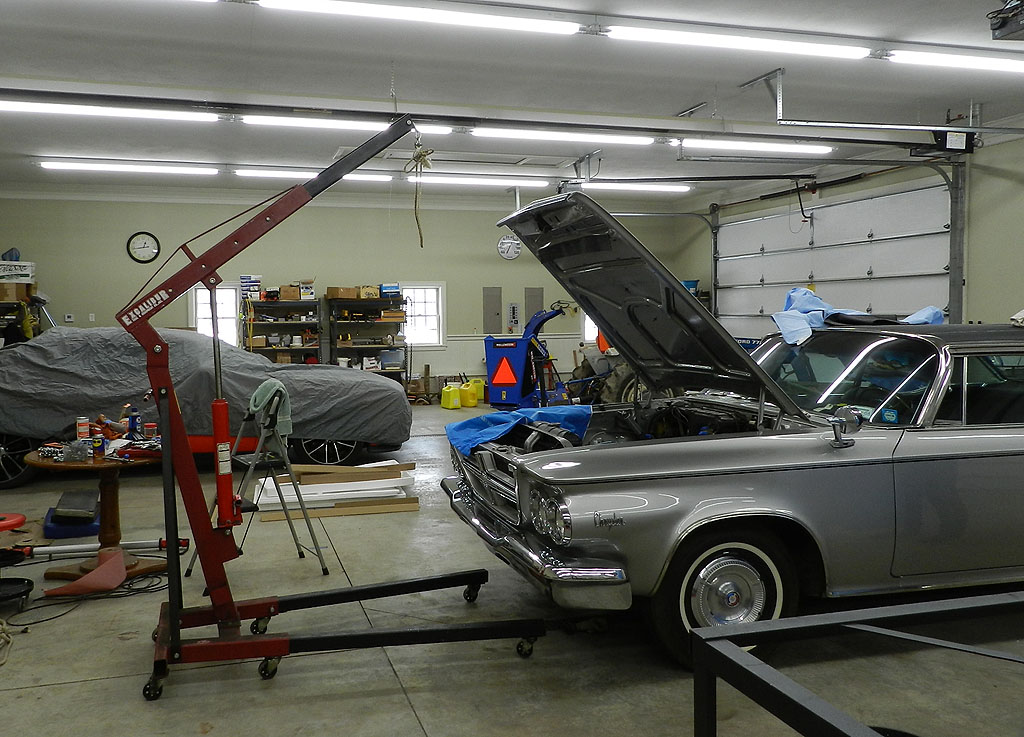
The engine in 2020 being hauled out of storage.
|
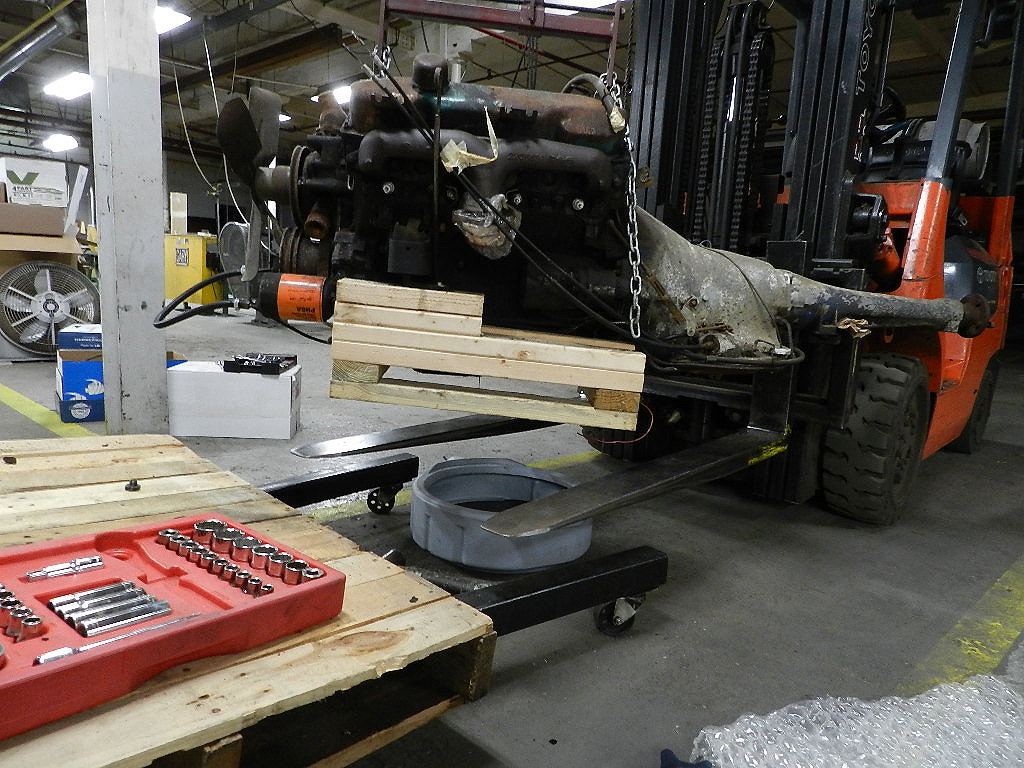
Draining the engine oil and transmission.
|
Everything is coming apart without a fight.
|
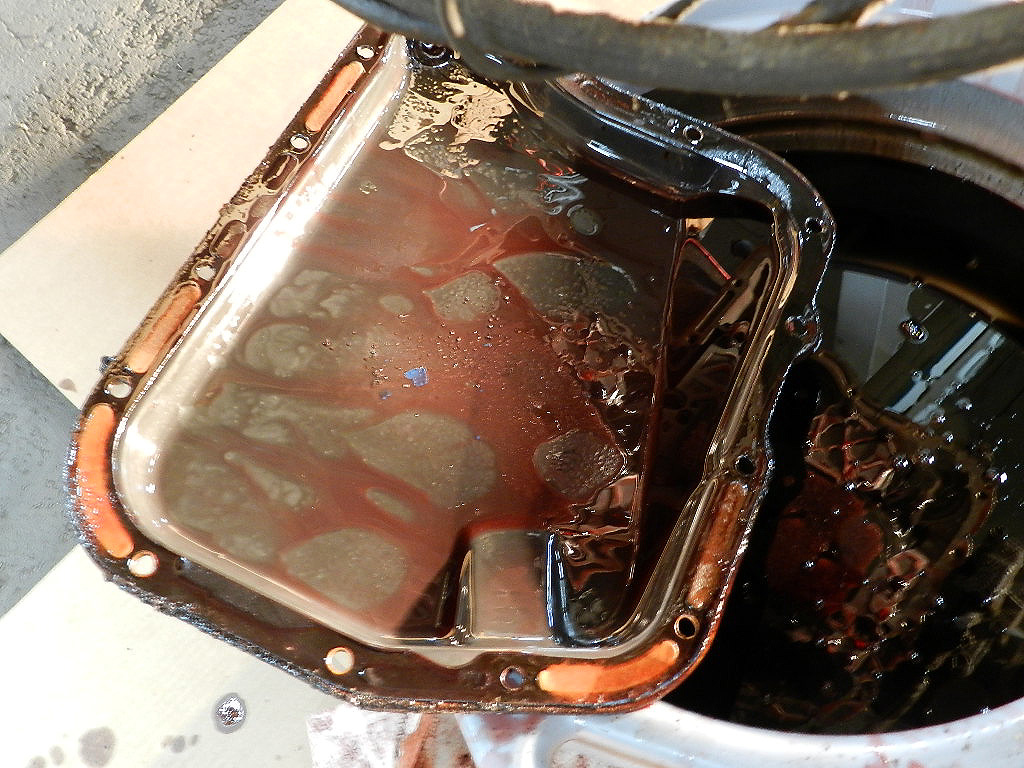
The residue in the transmission pan looks good.
|
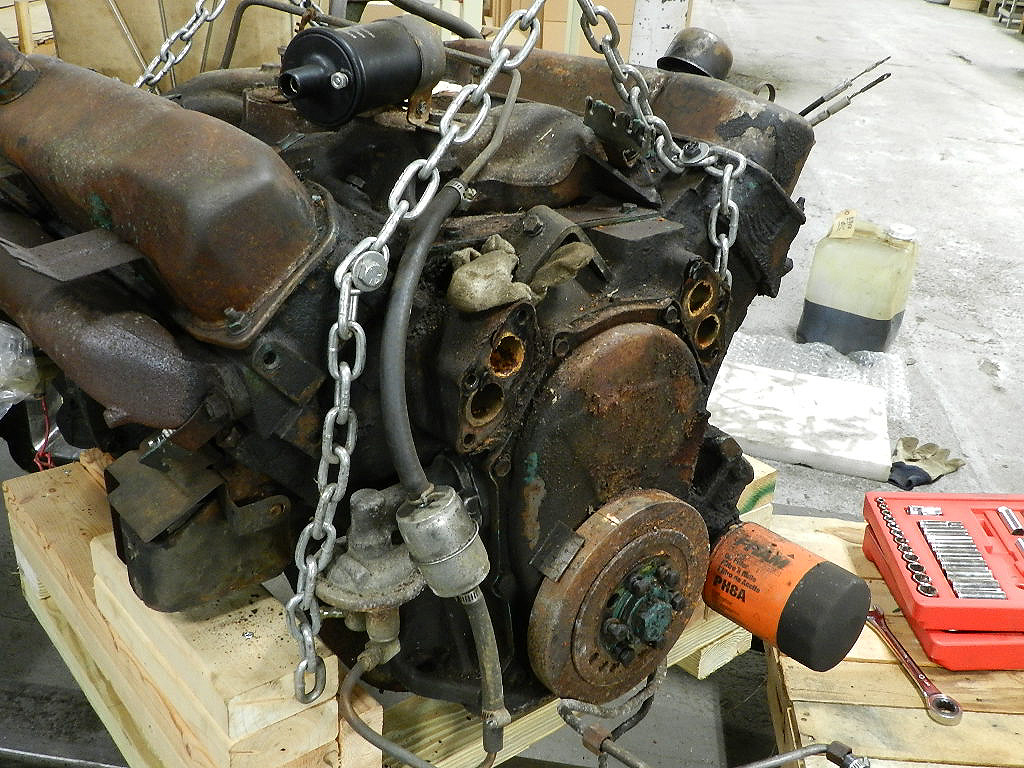
The transmission separated without a problem.
|
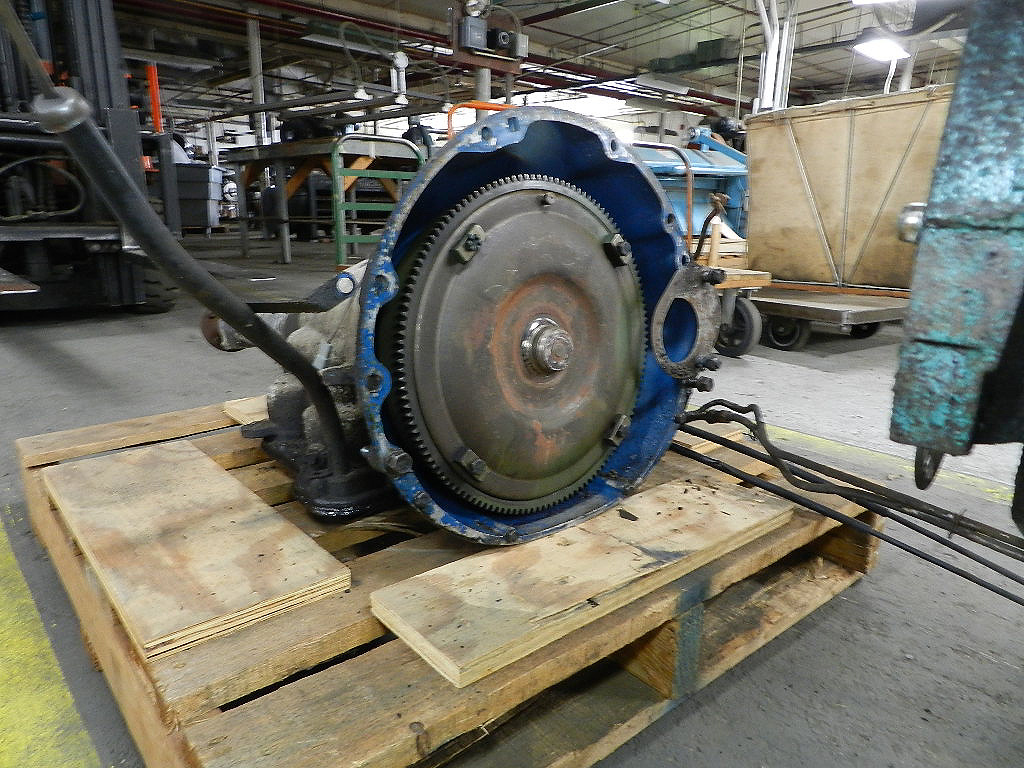
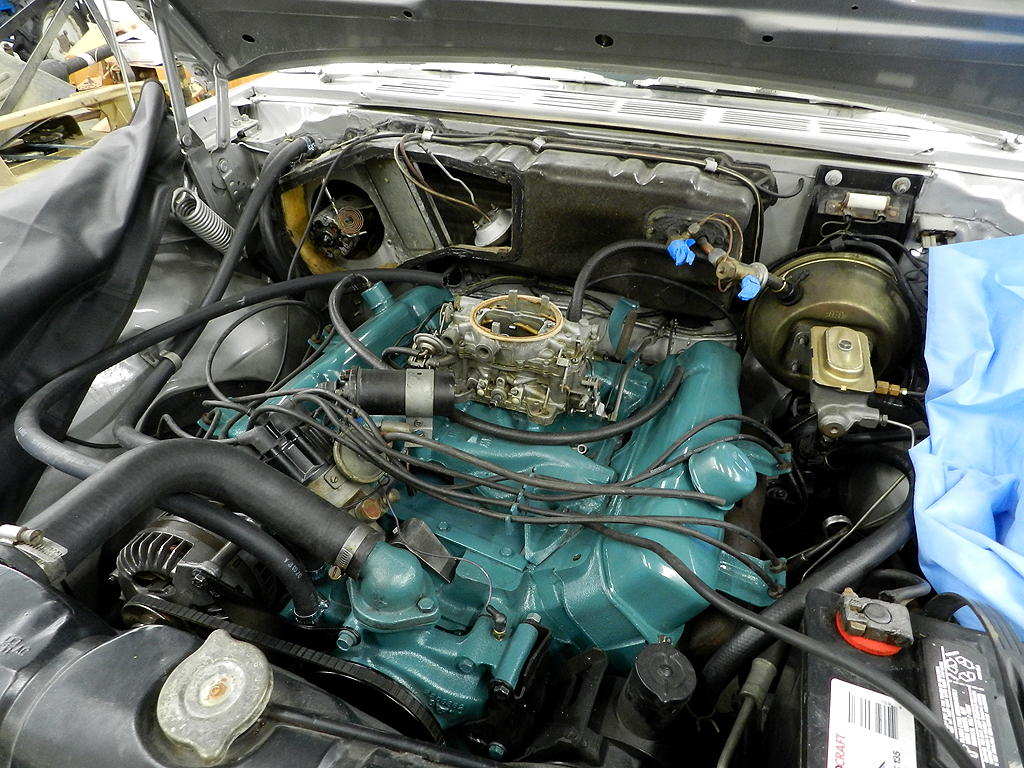
The blue paint may indicate a rebuild.
|
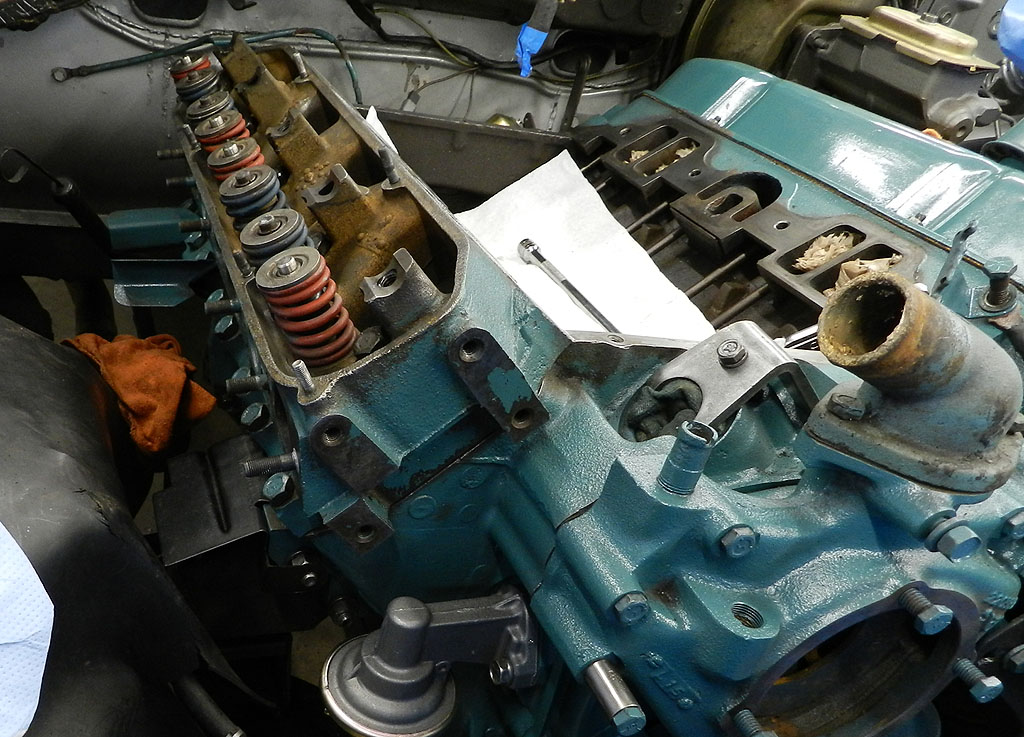
Starting to degrease and clean the engine for paint.
We found
super-clean heads and recent valve springs;
a nice surprise.
|
|
It is the middle of November yet with the new garage I can
easily wash a car. Overhead heat, hot and cold water, floor drains -- a real delight.
|
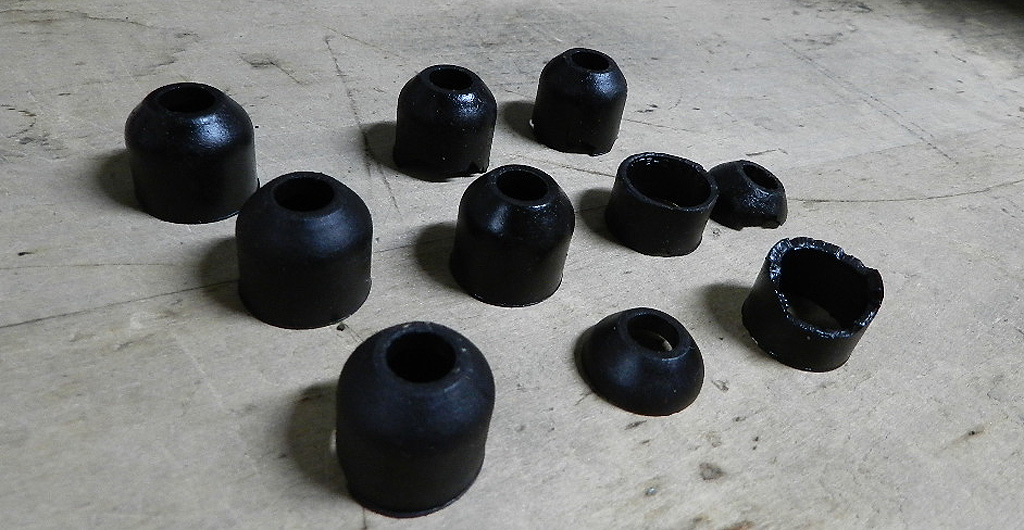
The valve stem seals on the exhausts were not in the best shape. All of
them were rock-hard and some had fractured. Now is the time to replace them.
|
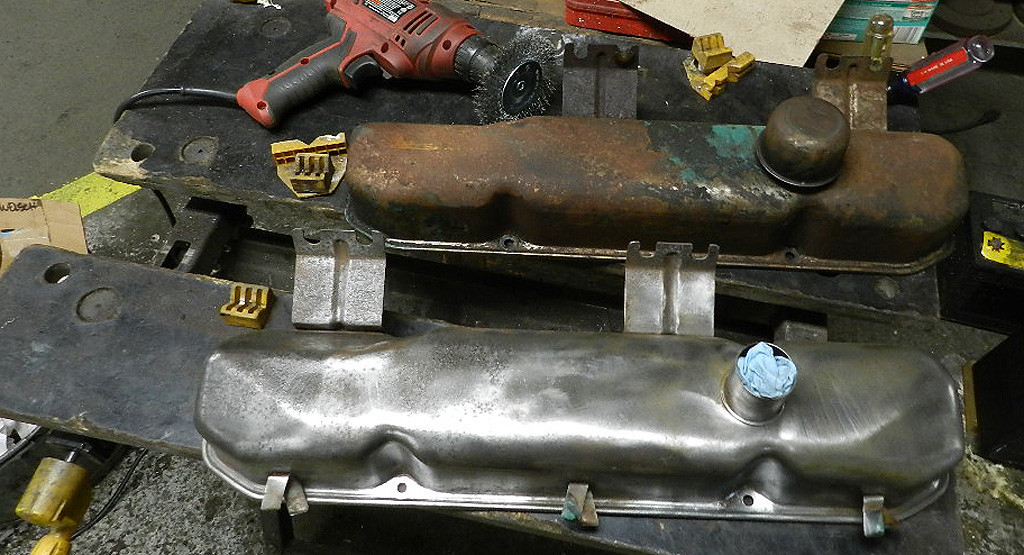
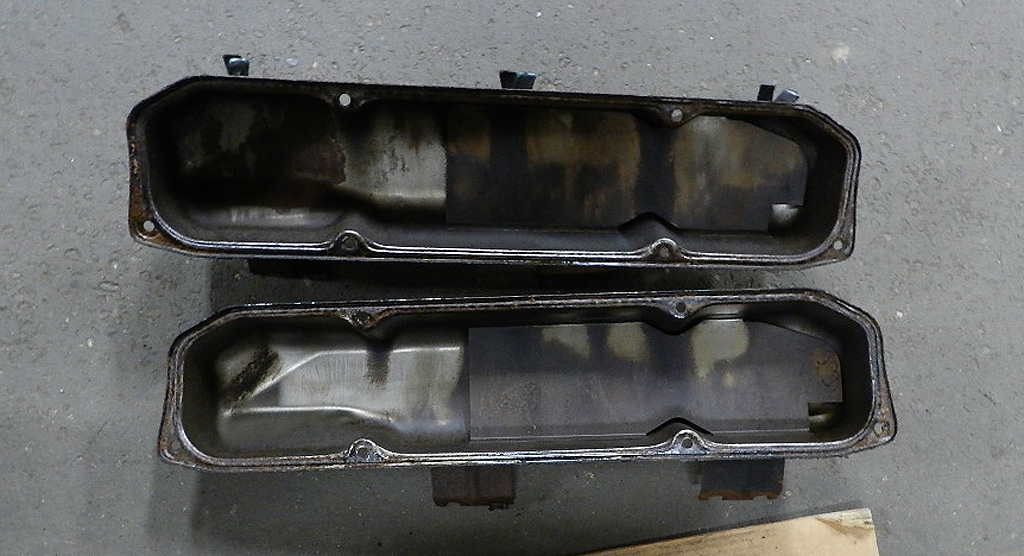
Time to work on the valve covers. I use a wire brush instead of grit blast so I don't have to
worry about cleaning the abrasive.
|
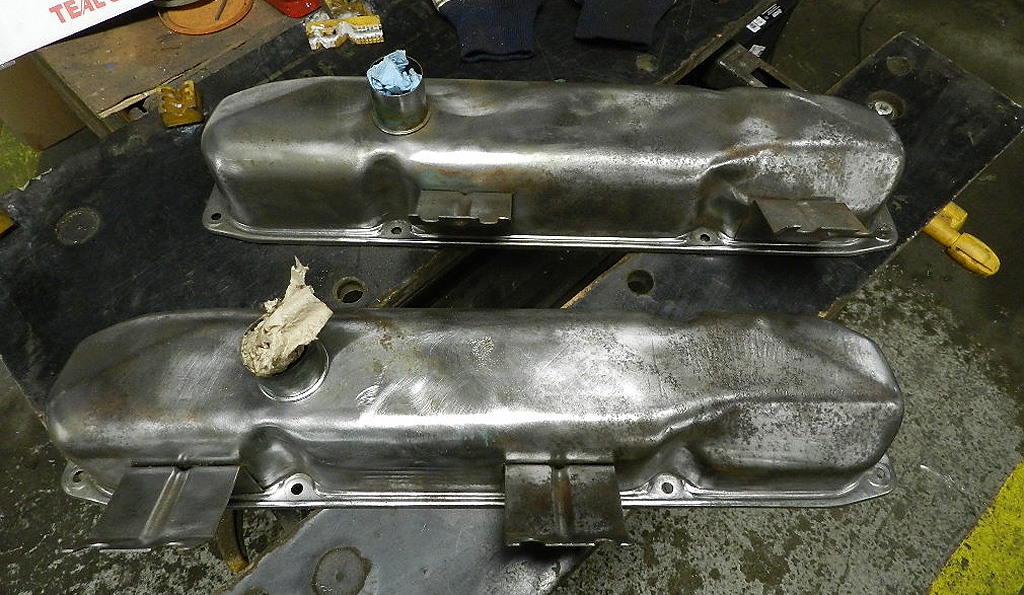
30 minutes with a wire brush cleans
one in good shape. Swap out for a new wire brush as soon as the old one
starts spitting wires.
|
Passenger side, before degrease.
|
Driver side, before degrease
|
Driver side, after degrease. Wire brush,
mineral spirits and a few hours.
|
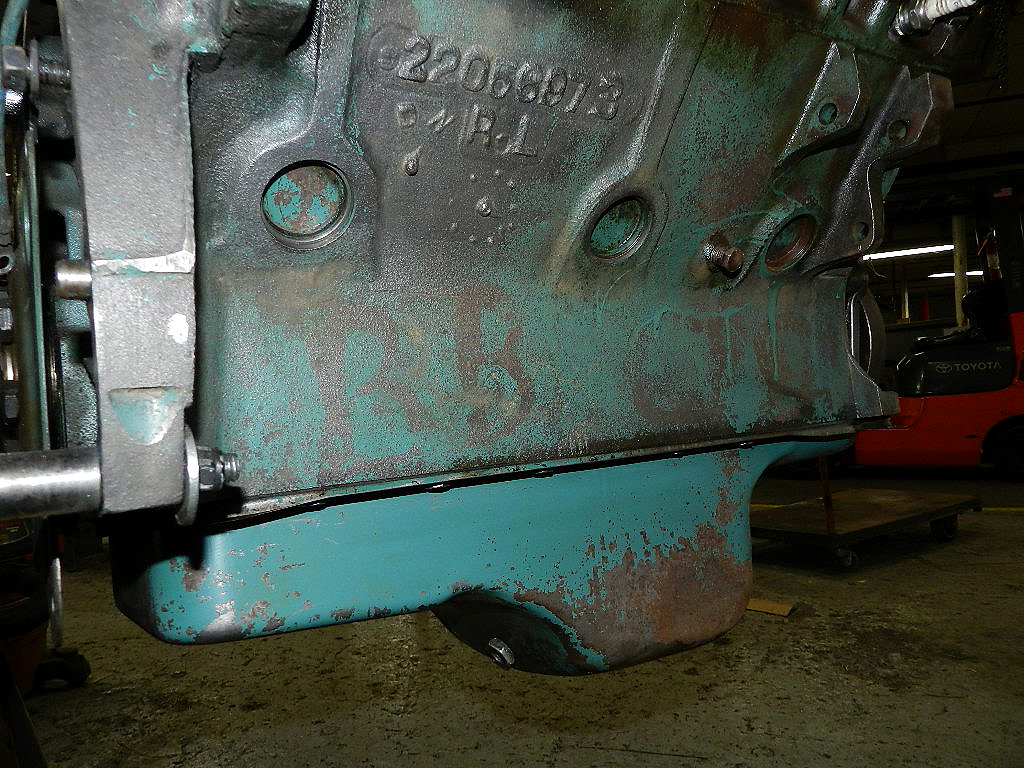
Passenger side, after degrease. Can you see the RB under the paint?
|
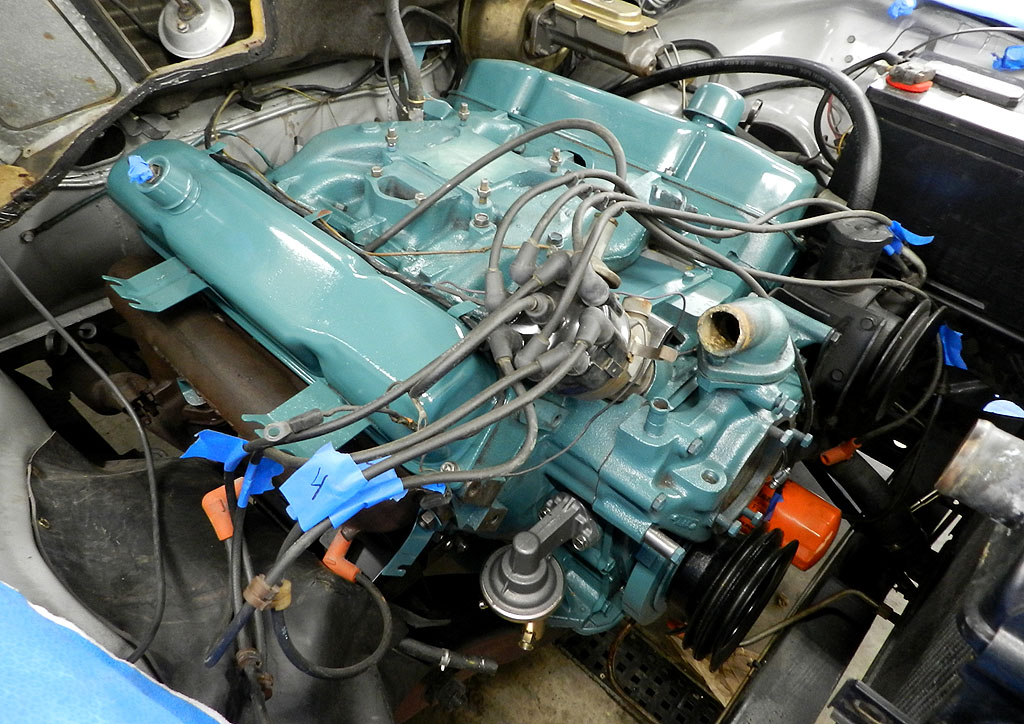
Starting the engine paint.
This is the
Bill Hirsch 5670-5002 turquoise. Perfect match.
|
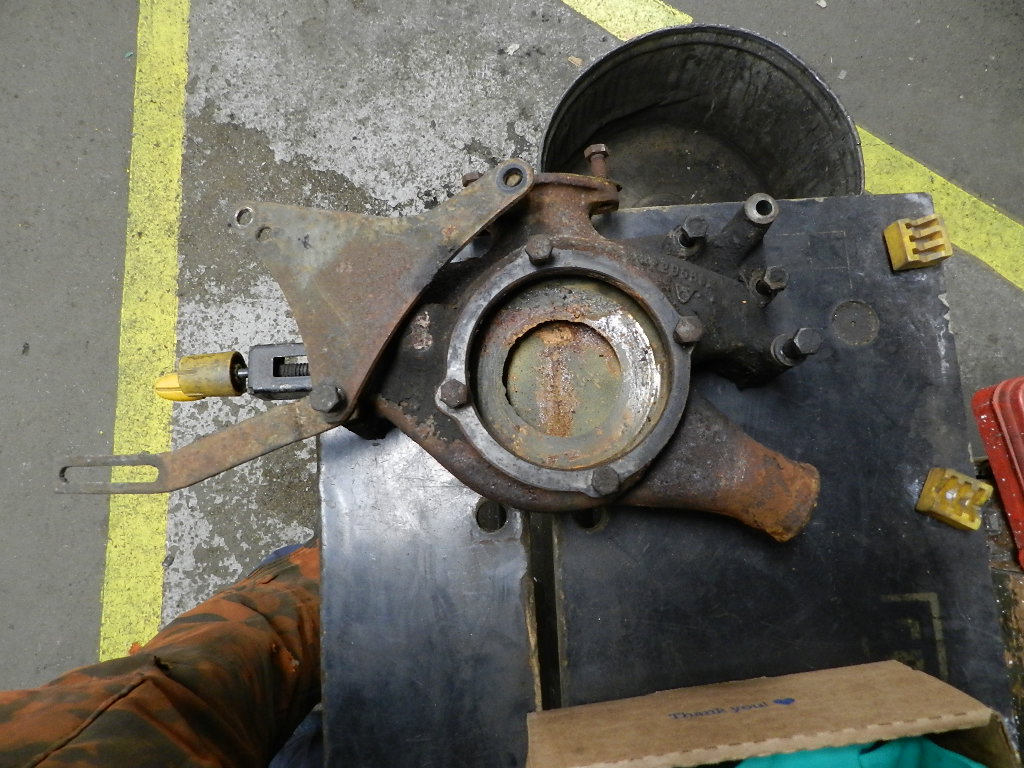
The water pump housing before.
|
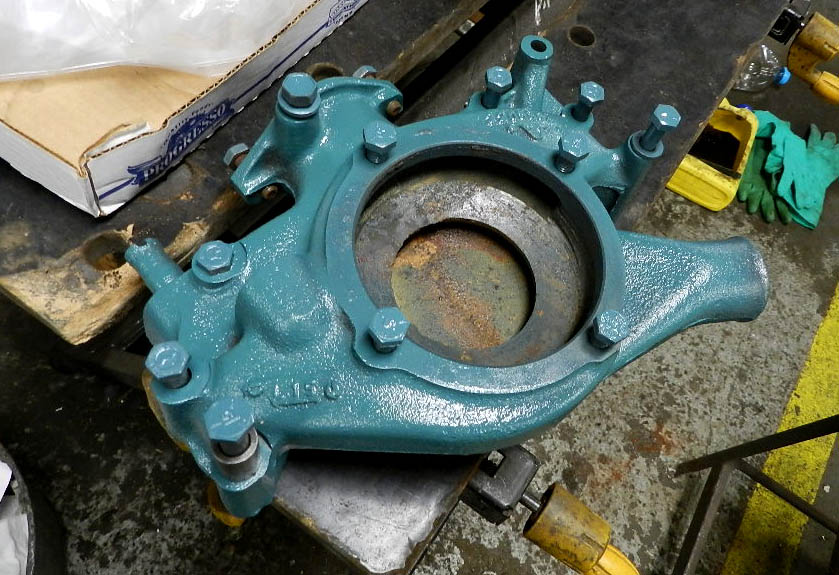
The water pump housing after.
|
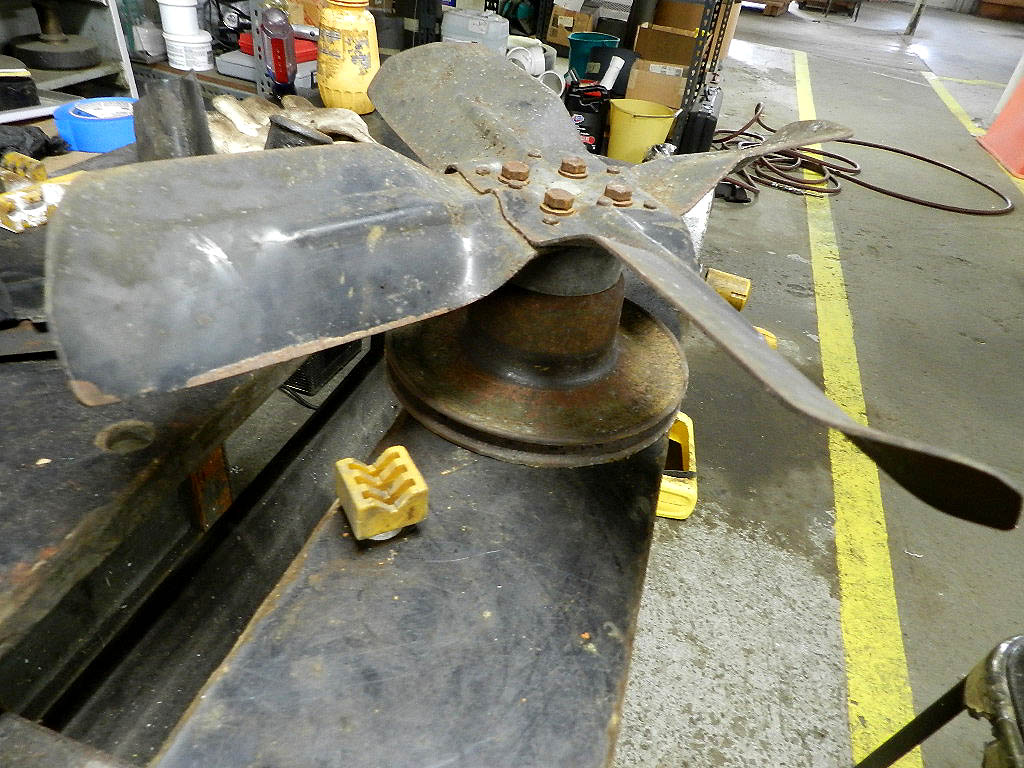
The fan assembly. The hub was mighty stuck.
|
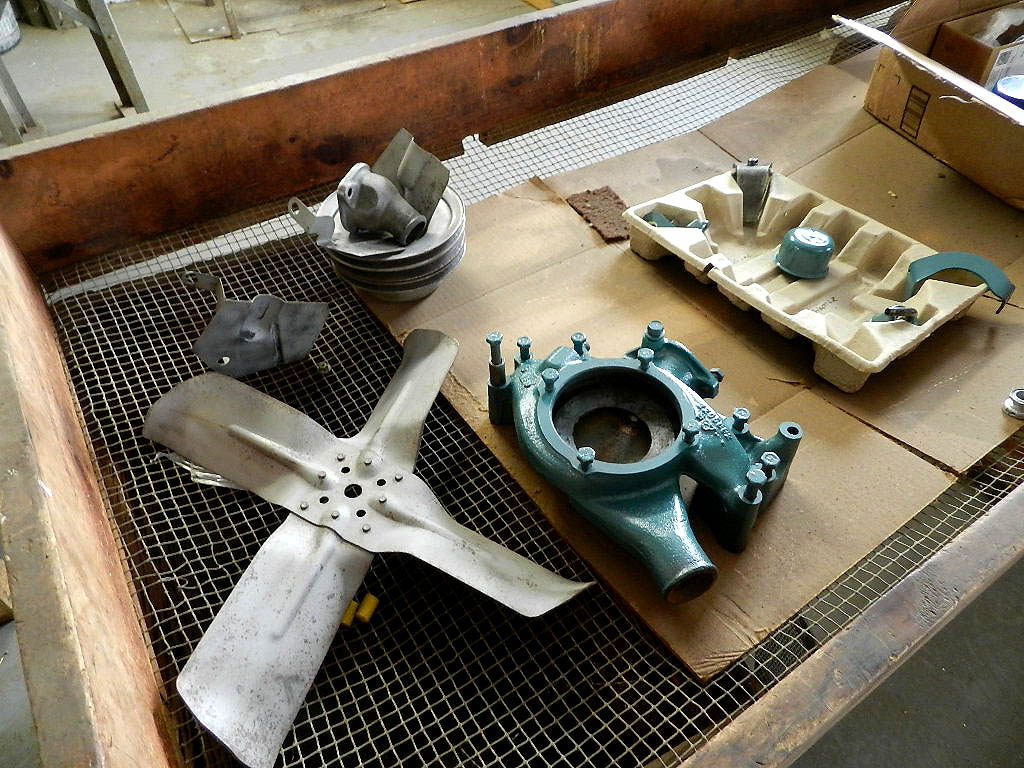
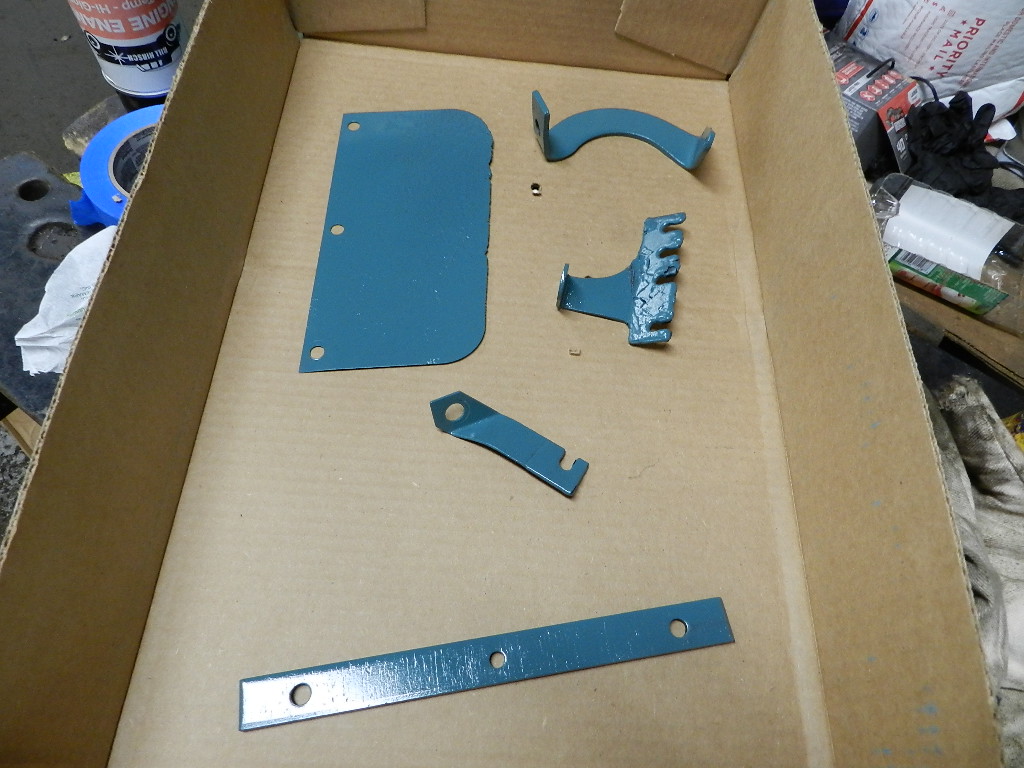
Some finished parts, some waiting for paint.
|

Painted.
|

Rolling to shipping bay for transport to the garage.
|
Safely moved to the garage.
|
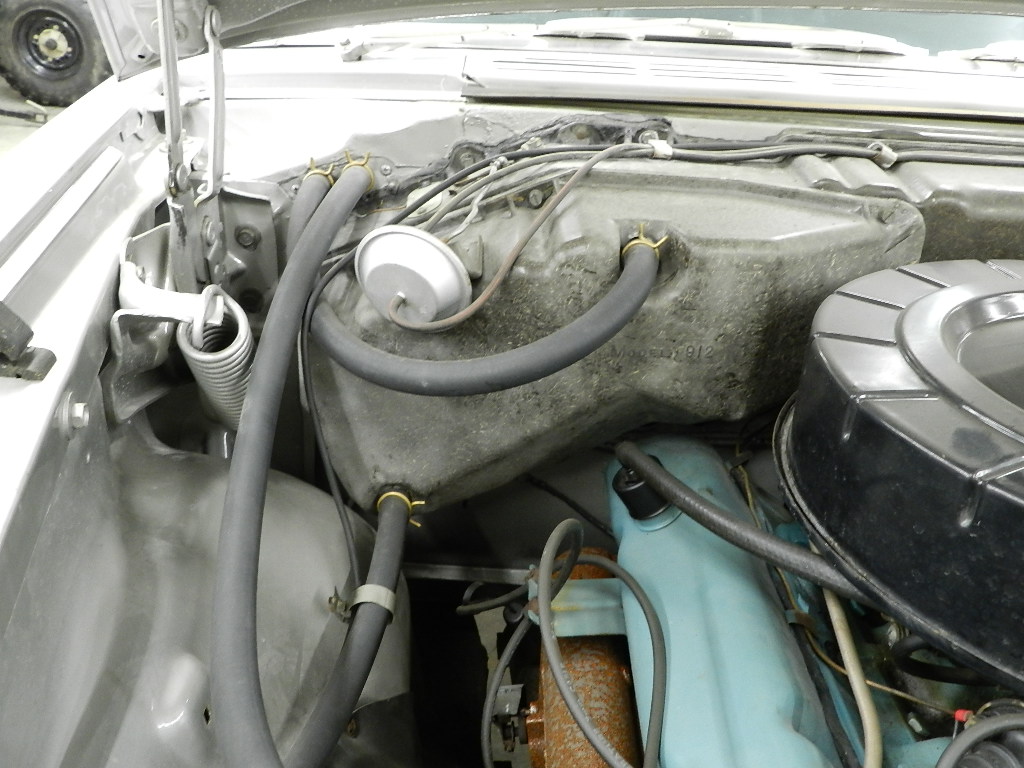
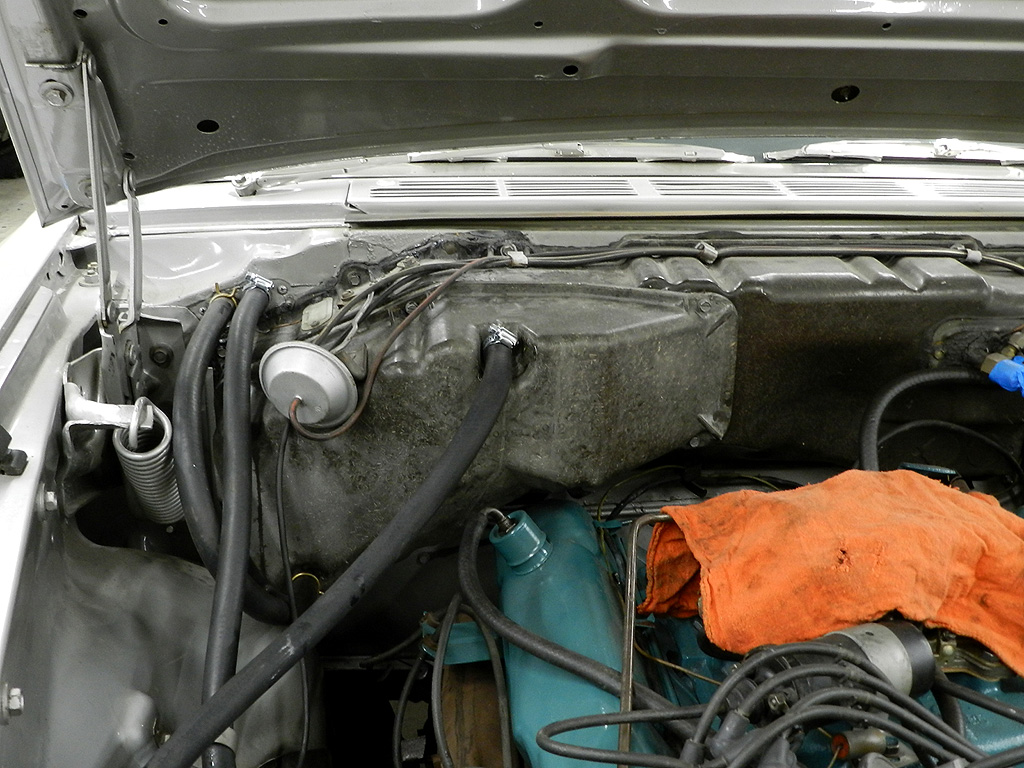
Note correct routing of heater hoses.
|
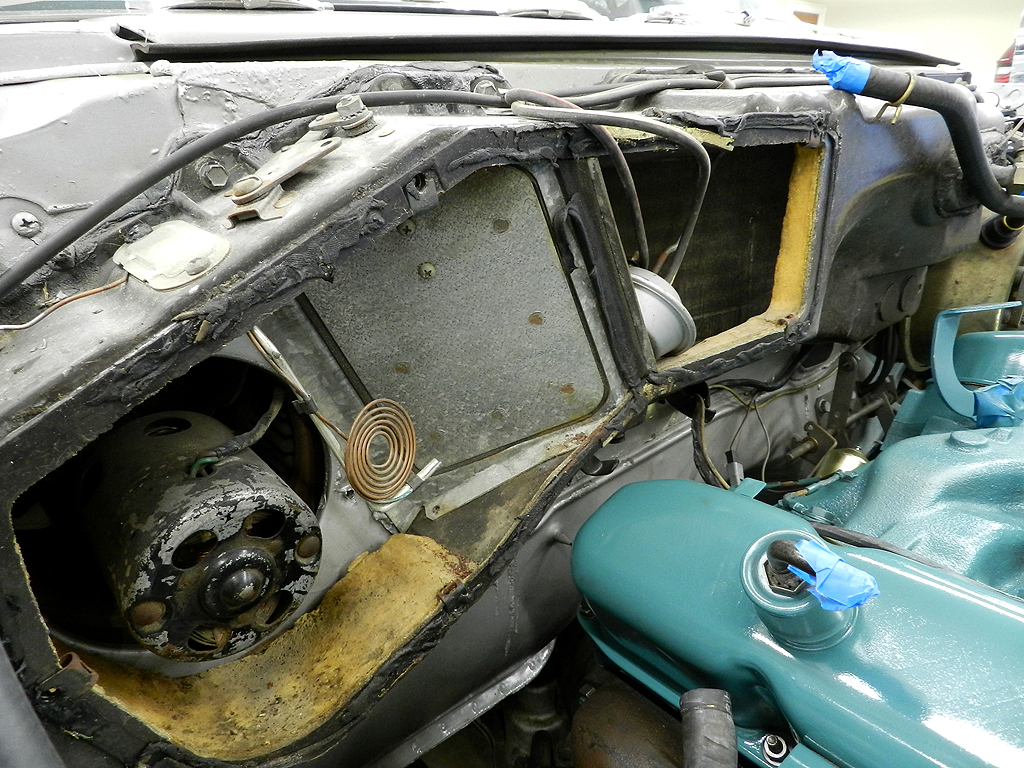
Don't use gasket sealer on the heater box. It makes it tough to remove.
|
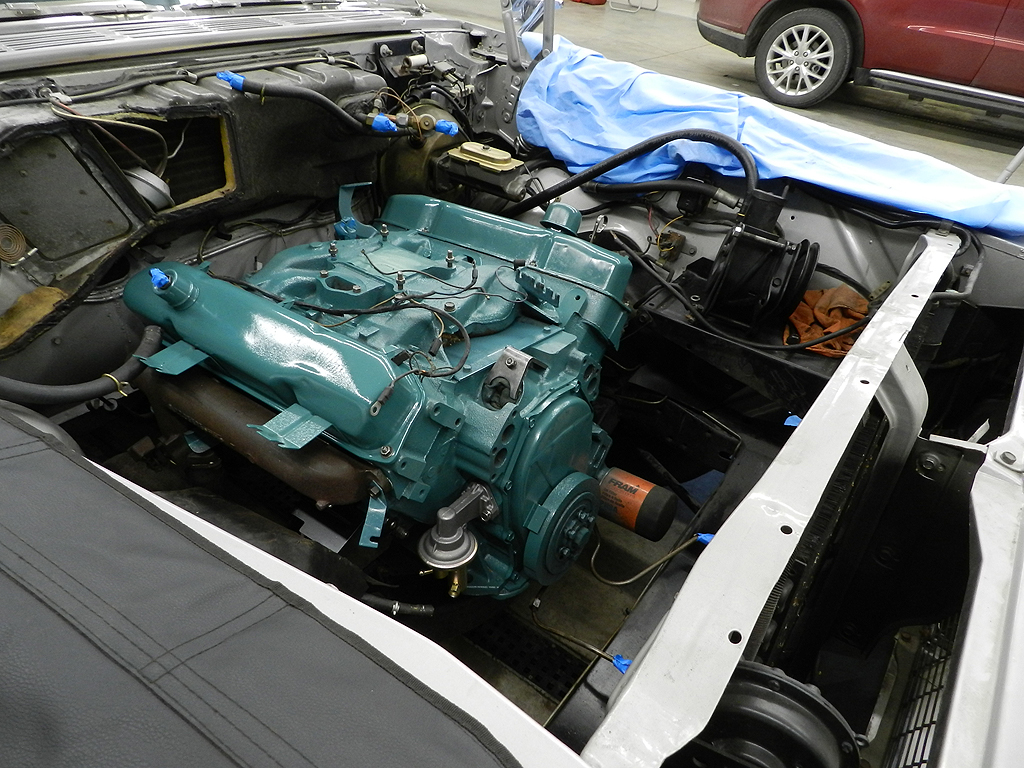
Engine installed.
|
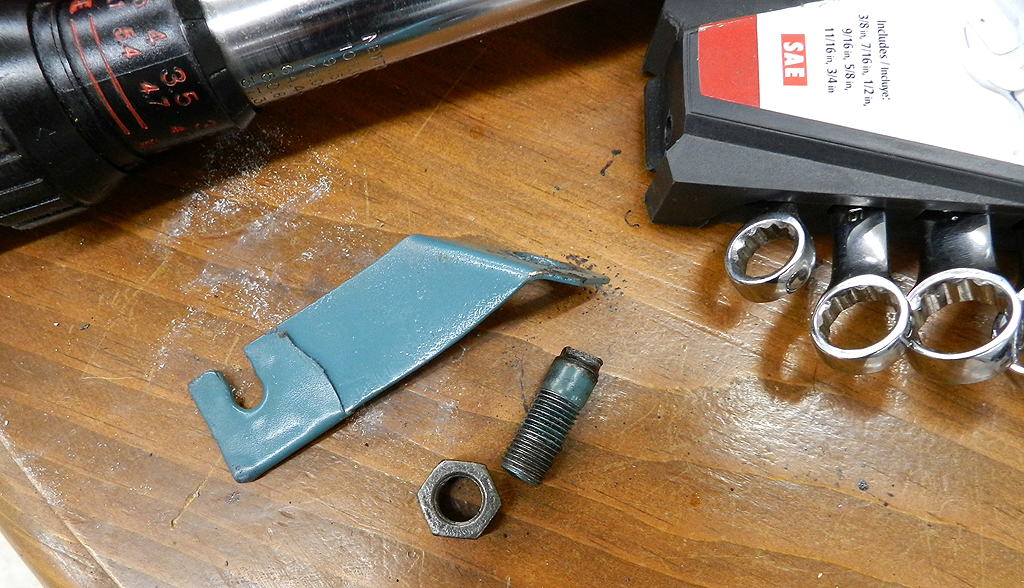
While torqueing the exhaust manifold, one stud failed. Front stud pass side. Might be
easy to get at for repair. We will see. Wish it had broken before the engine went in.
|
|
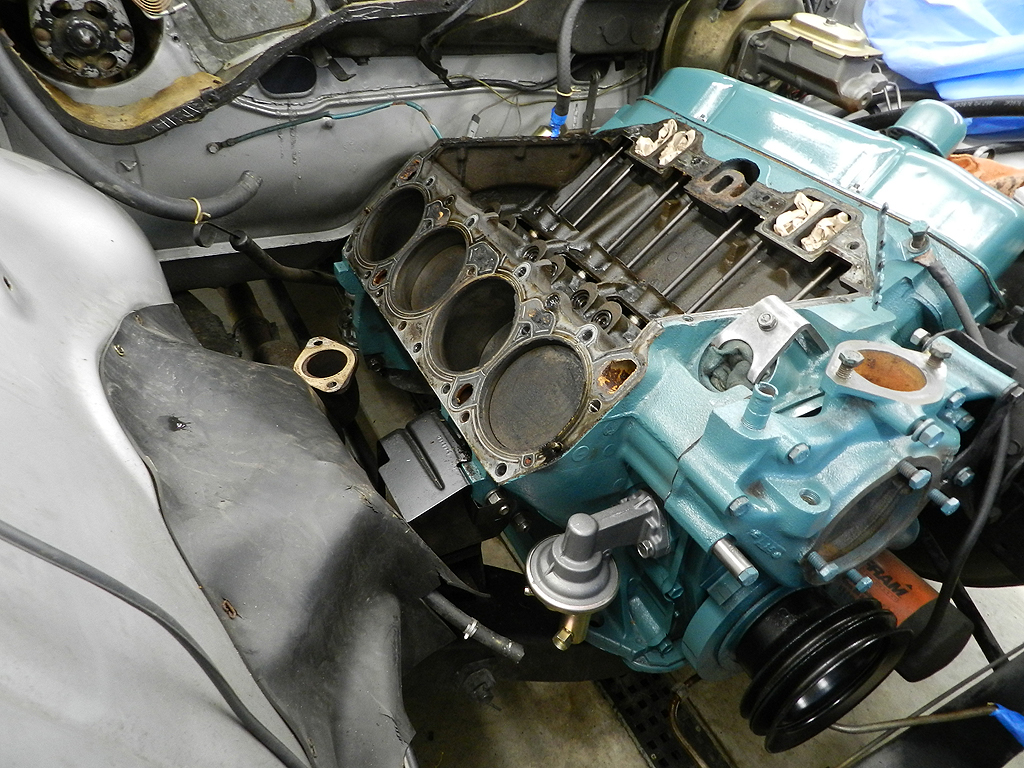
I considered drilling out the stud but it took only 20 minutes to remove the head.
I could have easily spent 20 minutes drilling the stud and only made things worse.
The head went to the engine shop who did the repair and milled .010 off the head for flatness.
So while the broken stud was a setback, it was not a disaster.
|
The old engine.
|

Plugs out of the old engine show oil consumption.
|
Driver's door serviced for lube.
Inside of door rust free and clean.
|

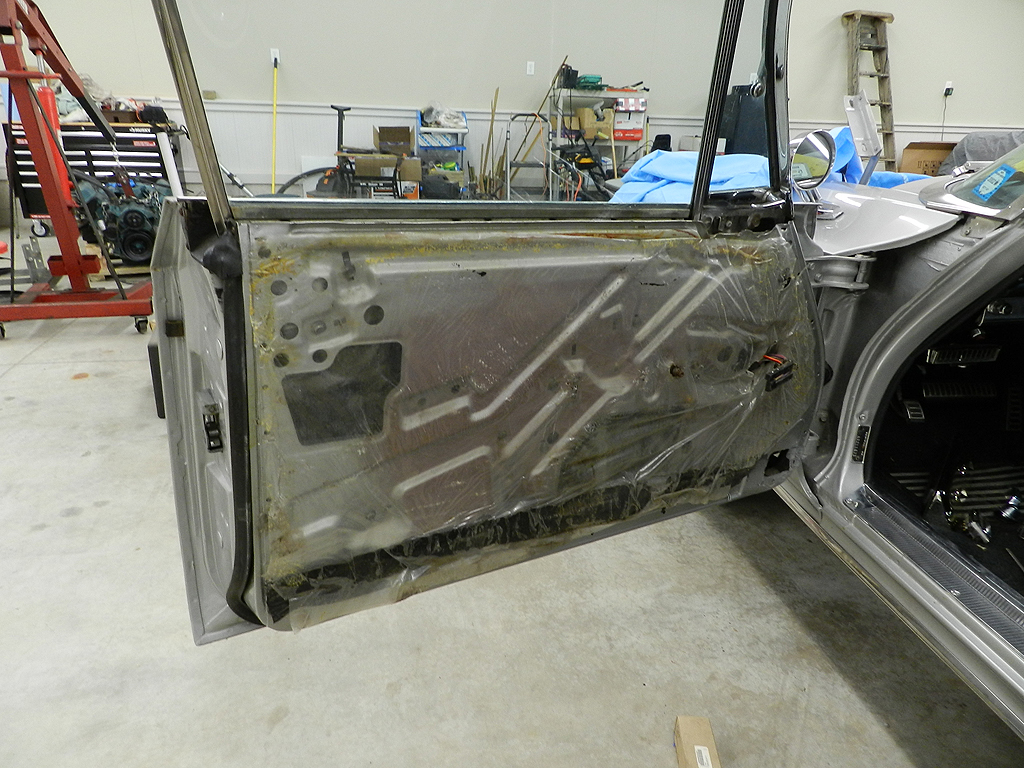
Passenger door serviced for lube.
The vapor barrier was missing. We replaced.
|
|
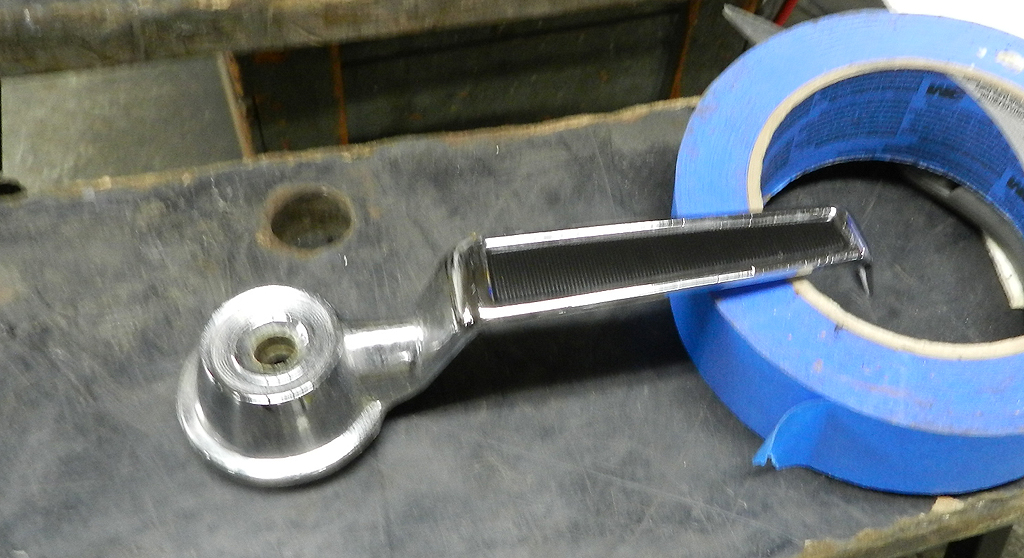
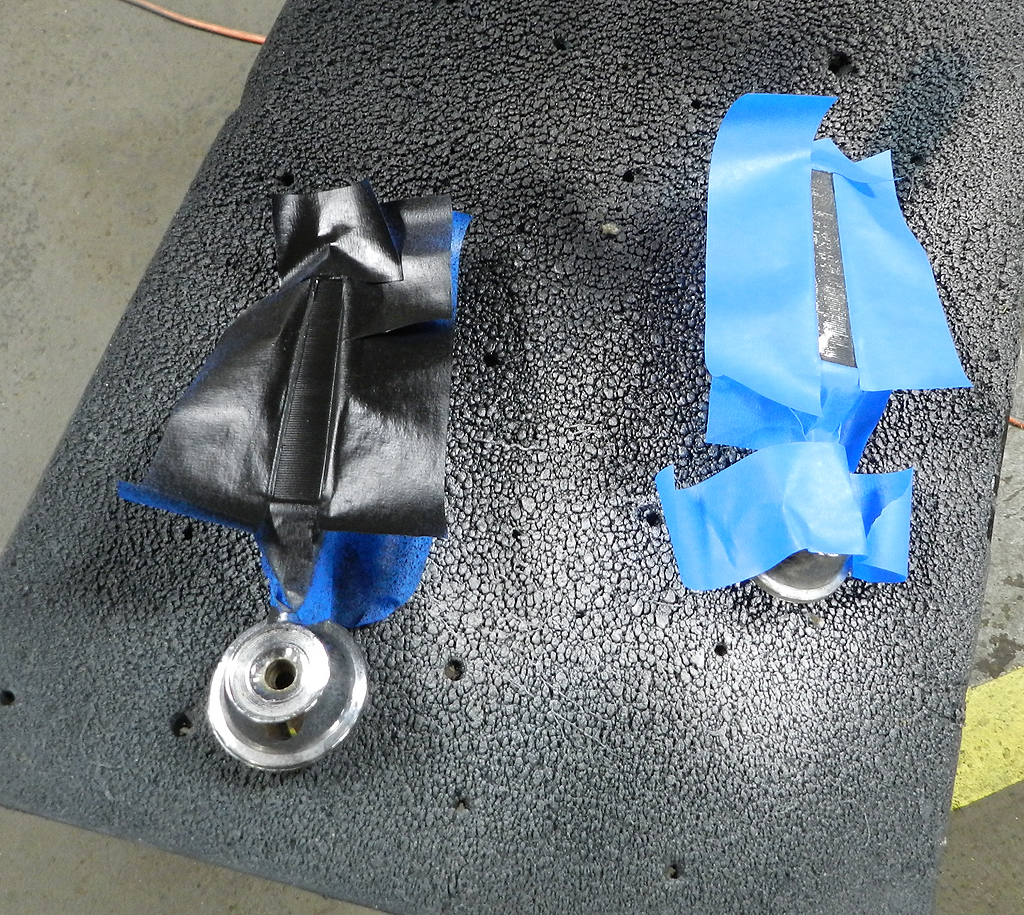
Decided to take a minute and paint the inner door handles.
A few extra minutes with the masking tape makes for good results.
|
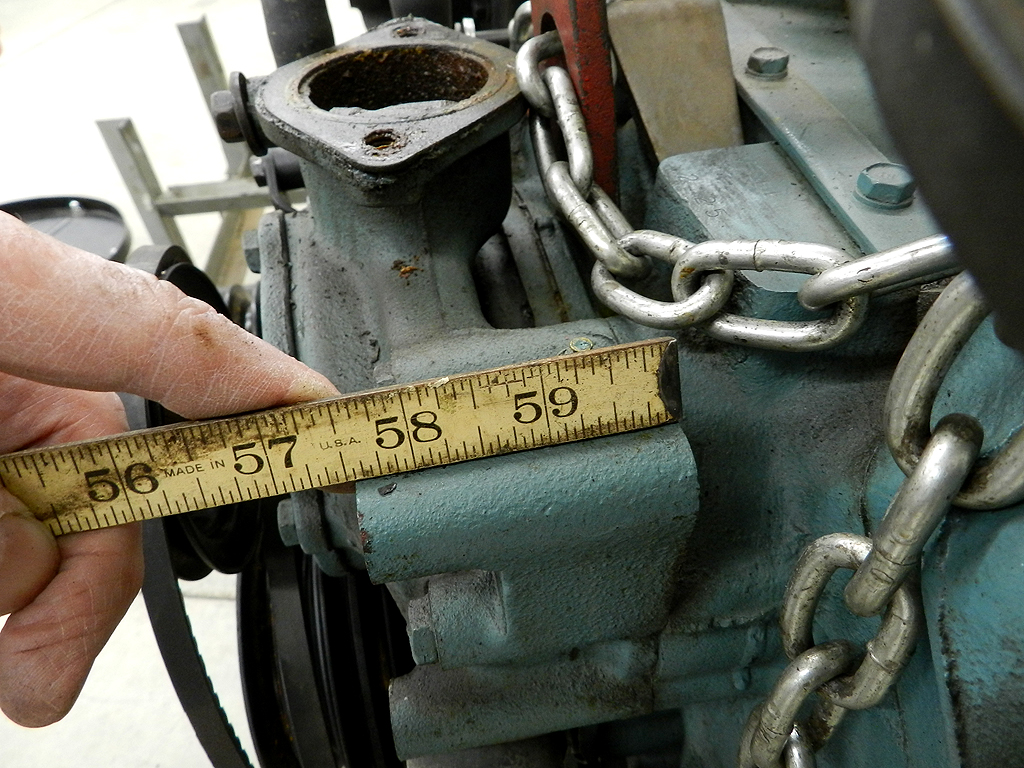
This is the power steering mount on an AC water pump housing. 2-1/2" long.
|
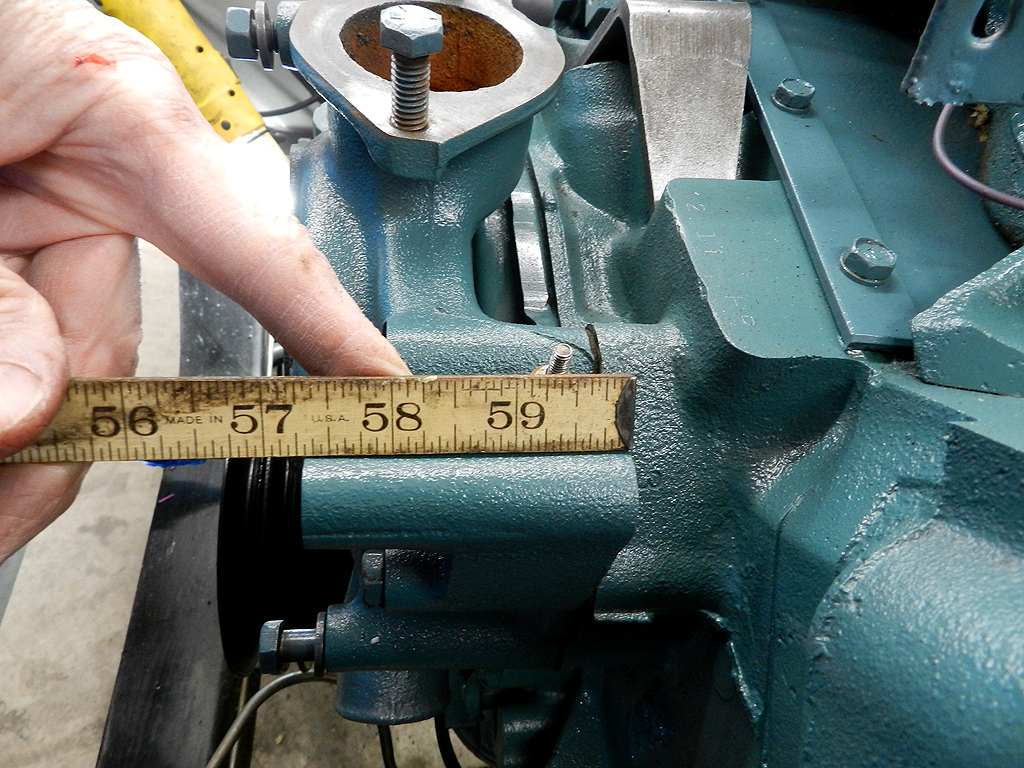
This is the power steering mount on a non AC water pump housing.
2-3/4" long. The difference is due to the compressor mount bracket.
|
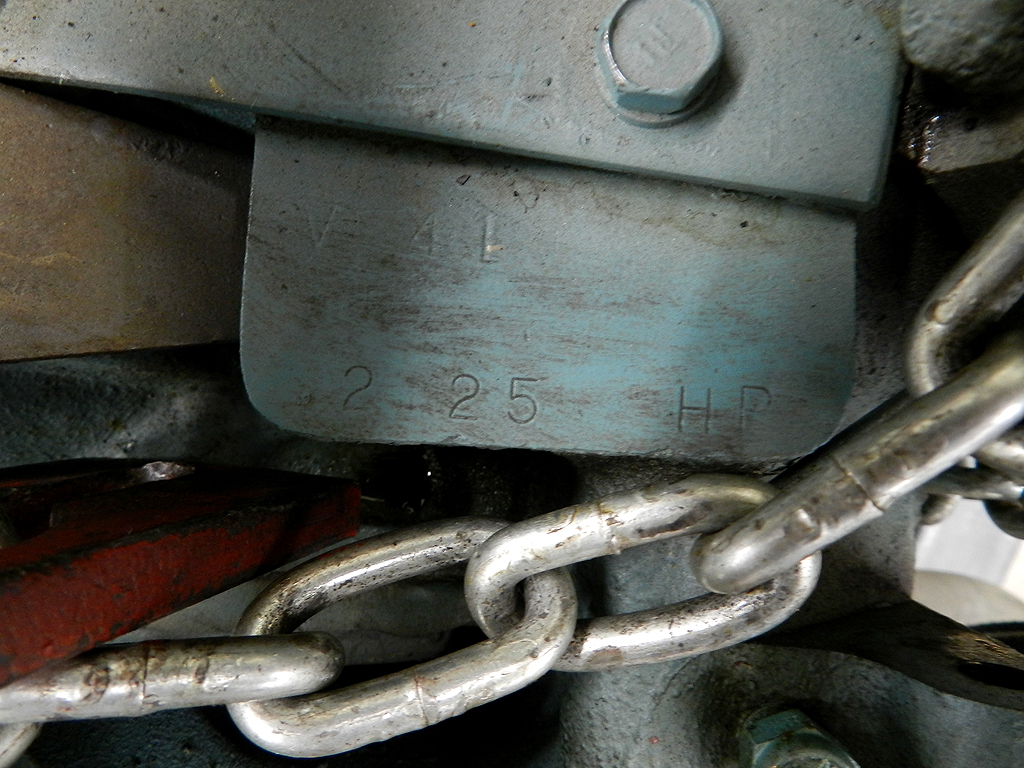
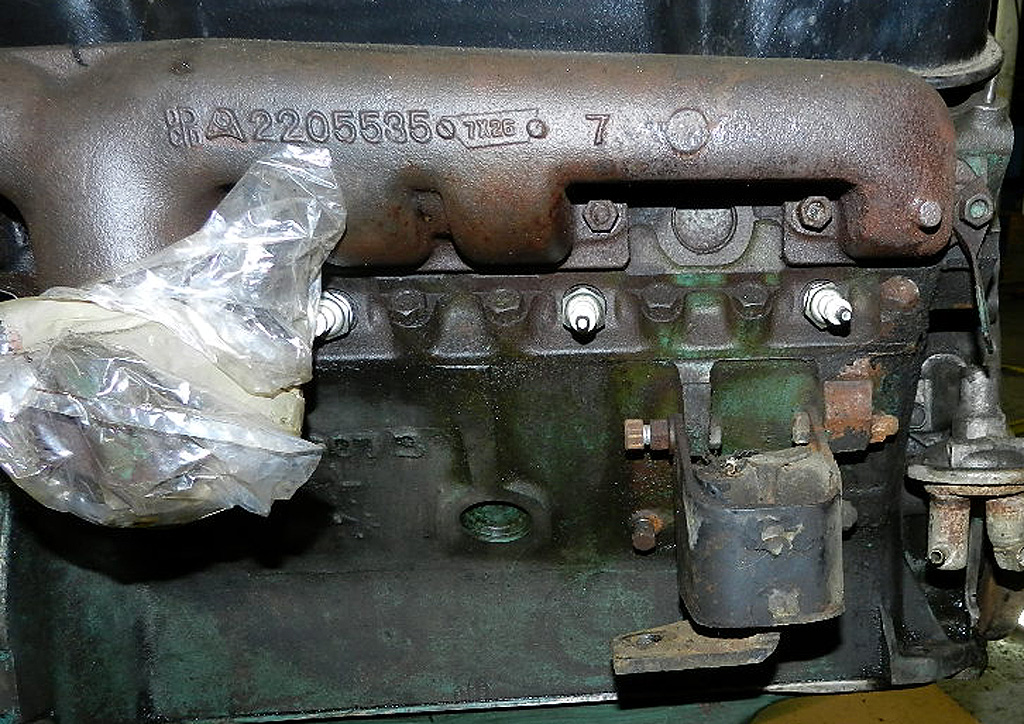
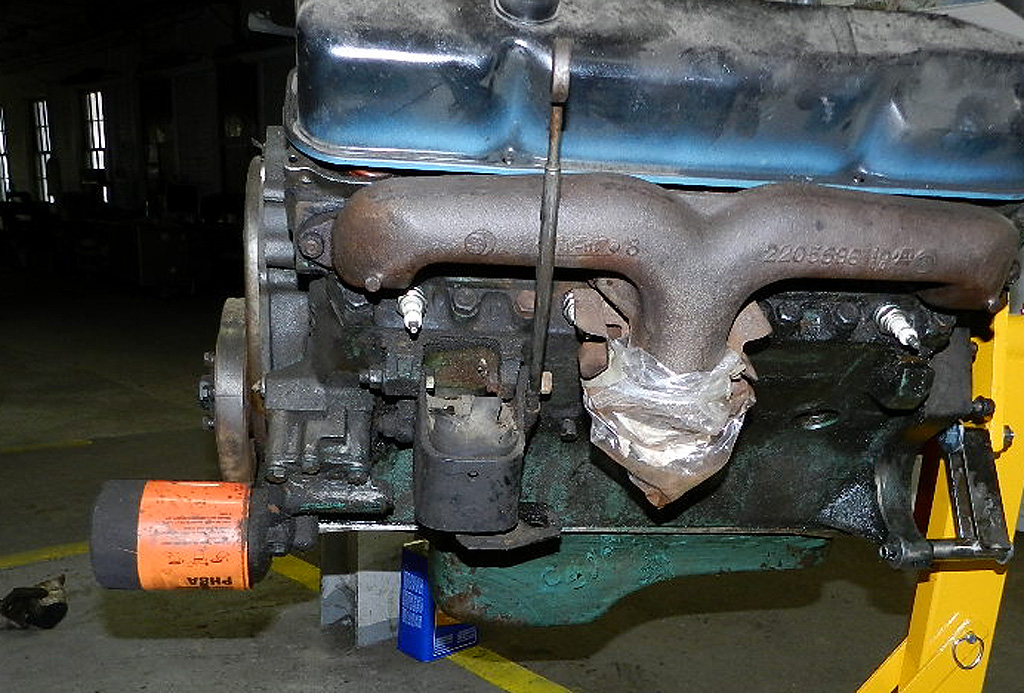
The original engine has a date of Feb 25, 1964.
|
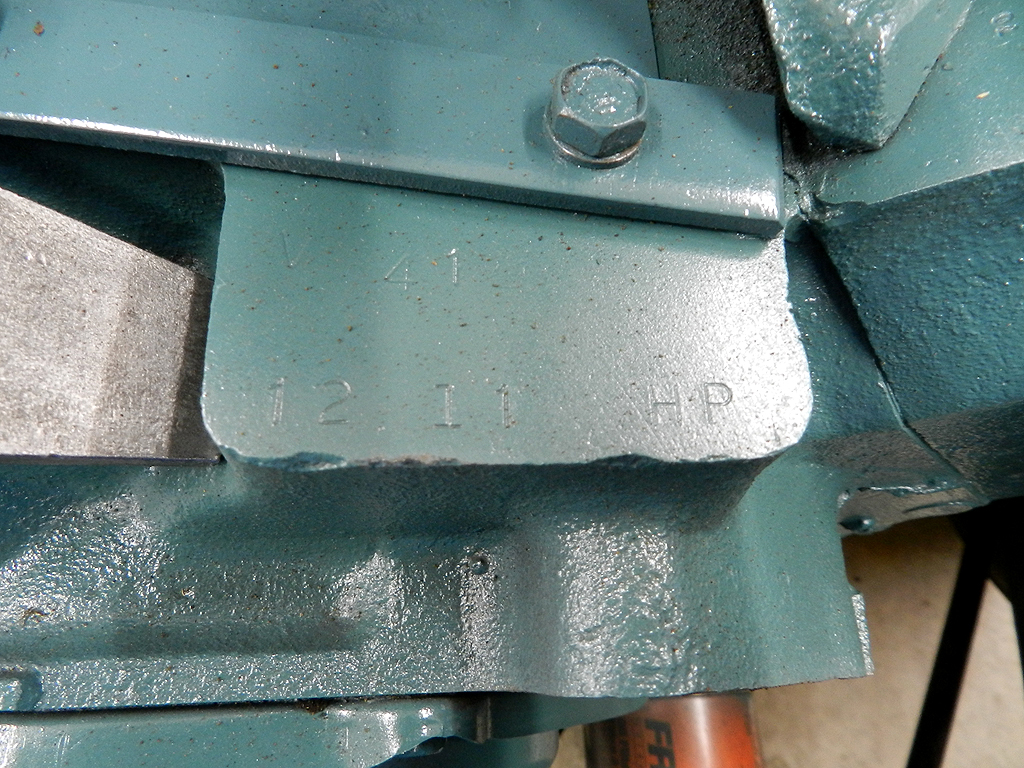
The replacement engine has a date of Dec 11,1963.
|
The stud is repaired and the head reinstalled.
|
Parts and pieces going back on.
|
|
How to install a hood without a third person:
Lay the hood horizontal. Rear support by the hood hinges, front support
by a box over the rad support. Use a short rope from the hood catch to the engine hoist.
With lots of dunnage around the rear of the hood, raise the hood with the hoist until the hood
is nearly on the same plane as the hood hinges. Install bolts. It is that easy.
|
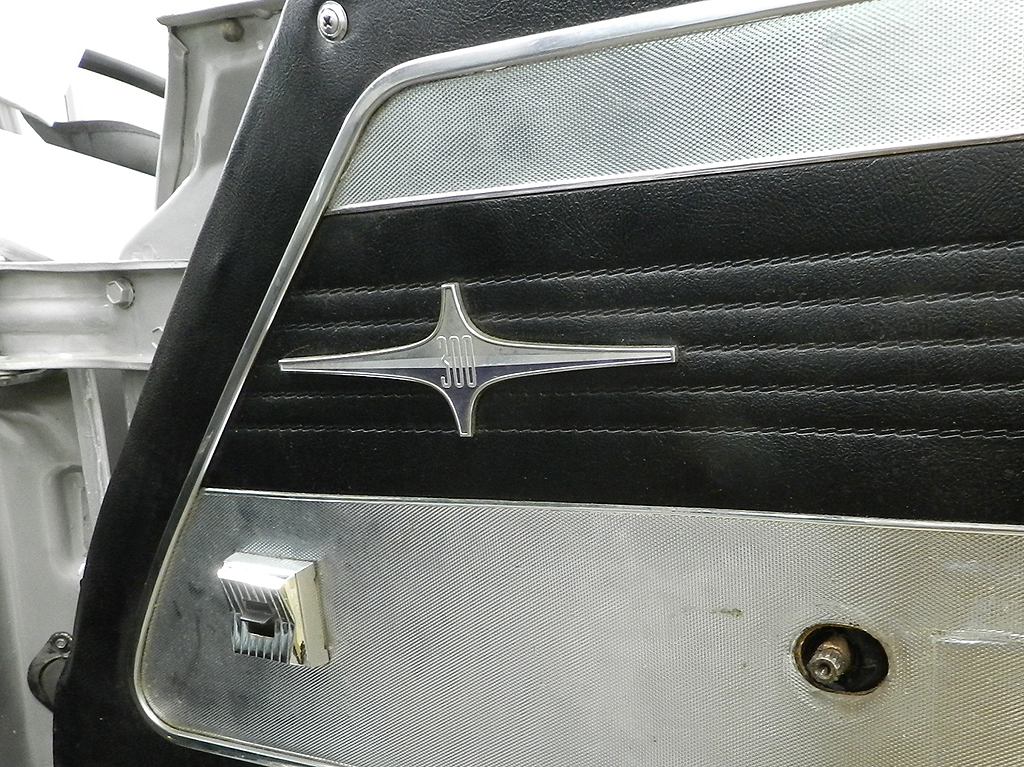
The original door star, well faded.
|
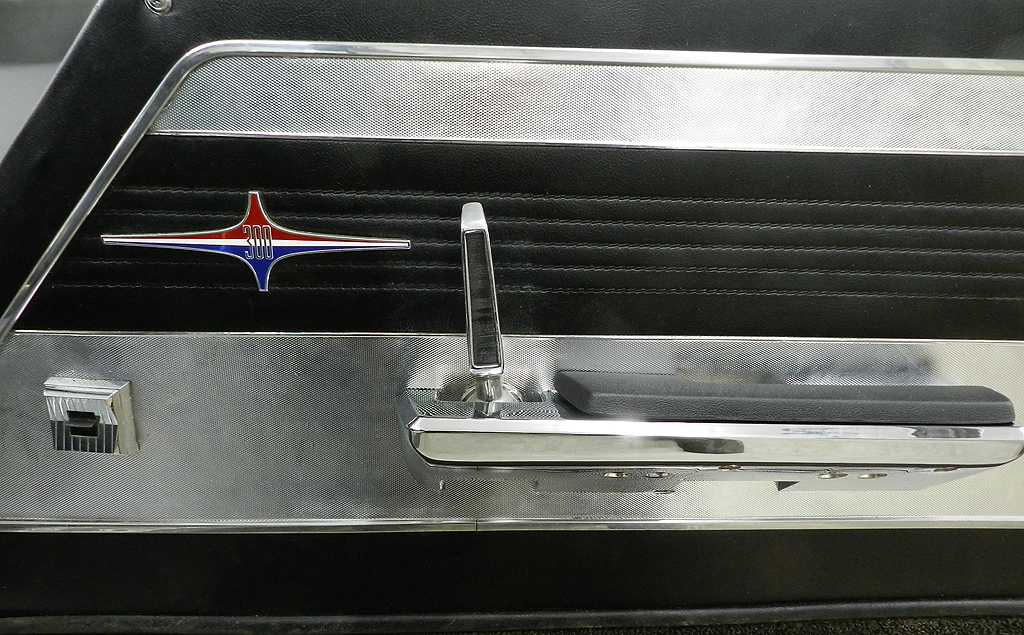
New door star, new arm rest.
|
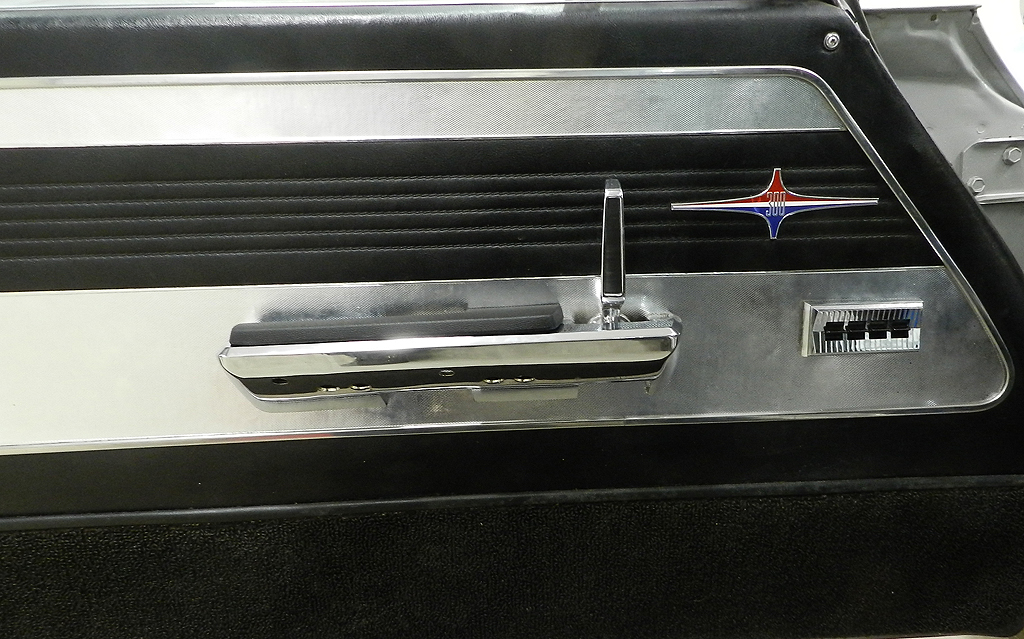
Driver side with new door star.
|
Reassembly continues on the engine.
|
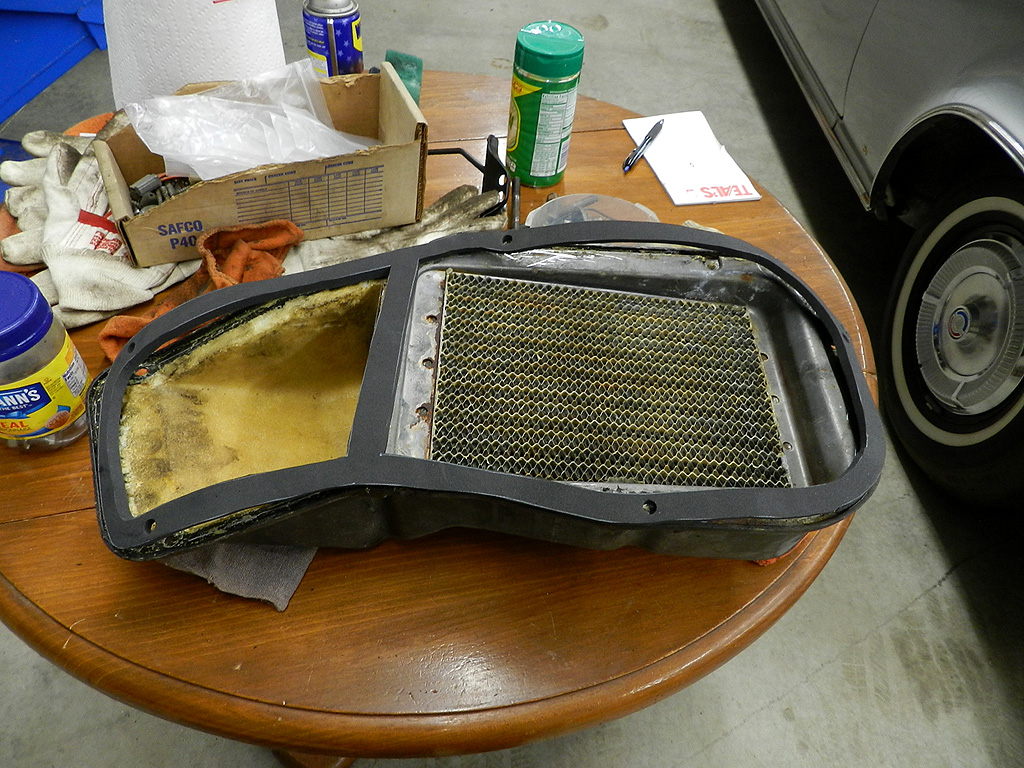
The new heater box gasket arrived.
|
The heater is back on the fire wall.
|
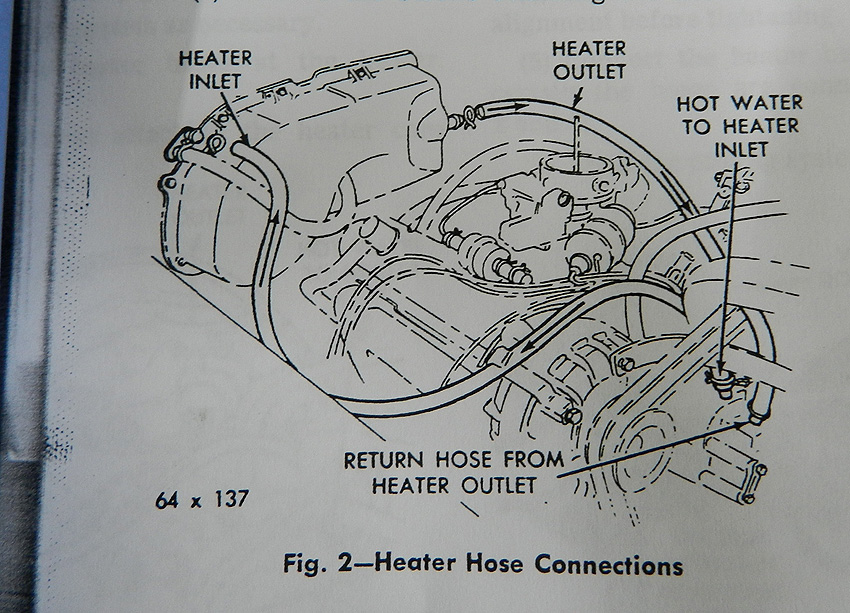
Correct routing of the heater hoses is found in the service manual. This is for non AC.
|
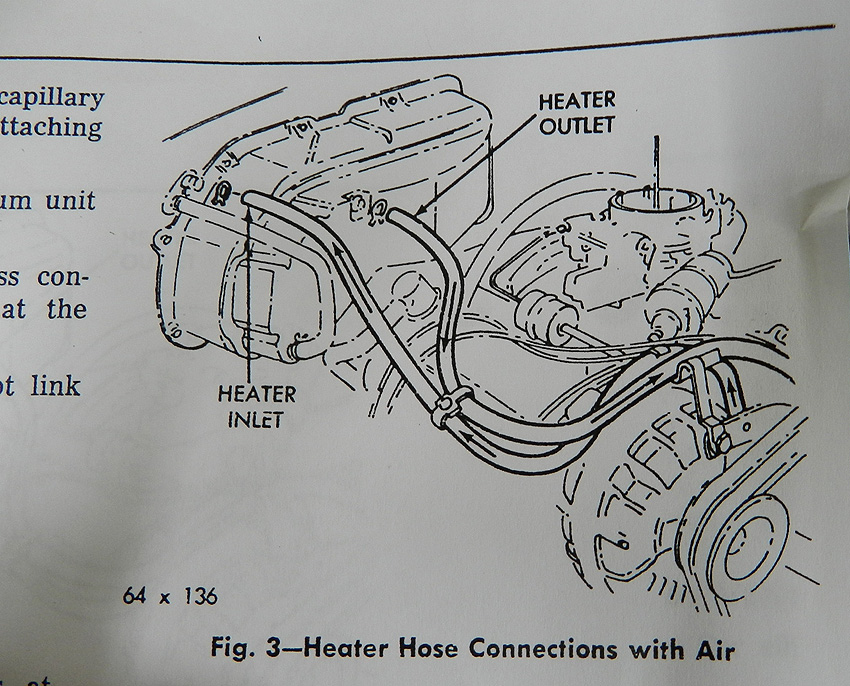
This is for AC. See section 1 "Accessories" in the FSM although the 1960 FSM does not have it.
|