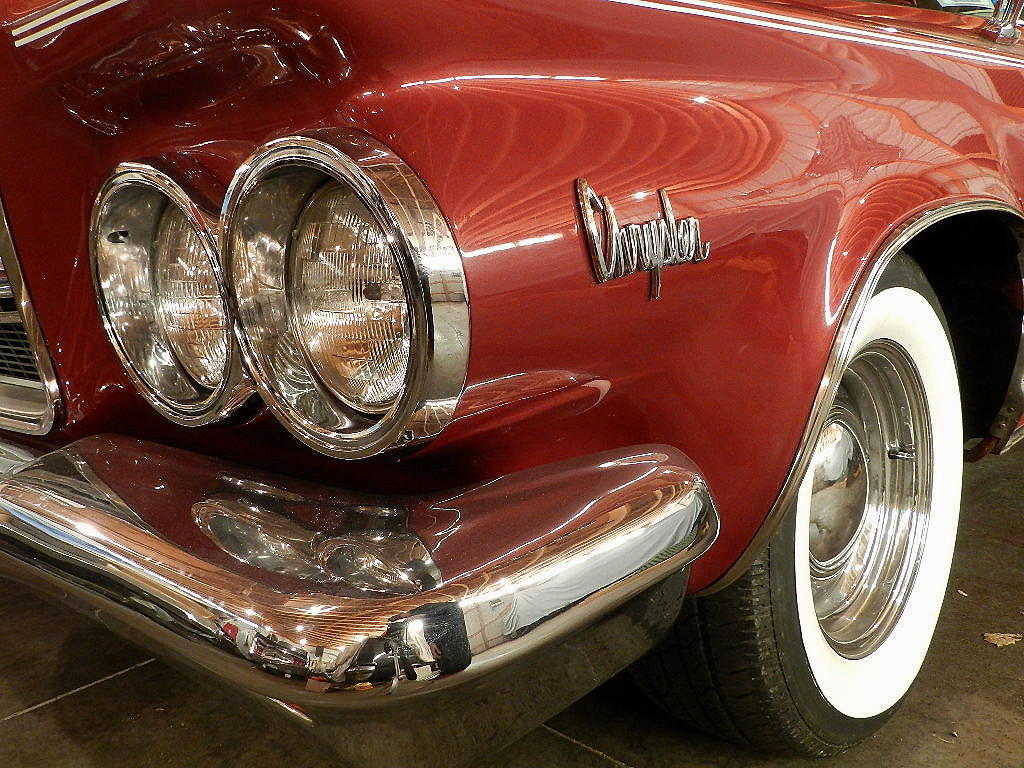
1964 Chrysler 300K Ram Coupe
"The Buffalo Ram"
.JPG)
266 K coupes were built with the Ram engine. 35 ram coupes were built in Roman Red (TT1). The ram engine was option #332 and retailed for $375.40 while the base 300K was $4,043. Option #332 gave you Firepower 390 engine, dual 4 barrel carbs and exhaust, heavy duty suspension and brakes. It was not available with the manual transmission, or auto pilot. |
|||||||||||||||||||
This car has a few more options;
The 50 year old interior is mighty good for its age. I plan to keep it rather than replace with a new set. |
.JPG)
|
||||||||||||||||||
|
This car came from Buffalo, NY in late 2014 just before
a storm left 6 feet of snow in the area. It had been in Buffalo
since 2005 and in Virginia from 1990 to 2005. In Virginia it
received many NOS parts (door handles, tail lights, lenses, headlight doors).
Remarkably, the car was never under coated yet has no rust.
In 1991 the car had 74,000 miles, in 2005 it had 77,500 and in 2014 it had 89,050. |
|
||||||||||||||||||
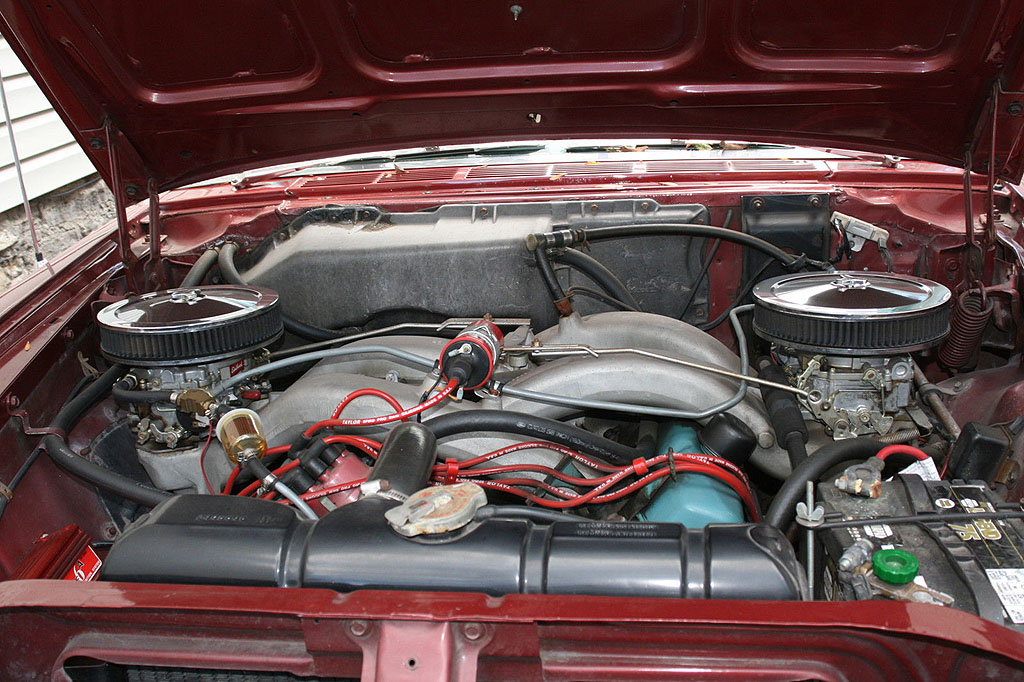
In this picture you can see the previous owner replaced the original carburetors with new ones from Edelbrock. |
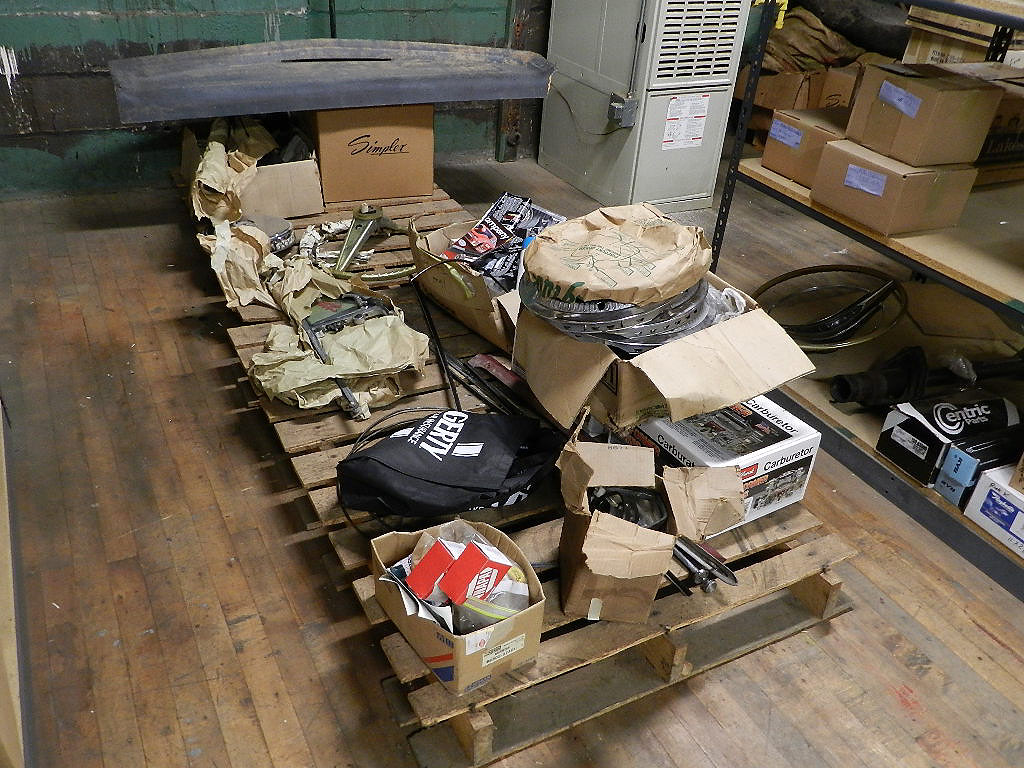
In the trunk was a collection of spare parts. |
||||||||||||||||||
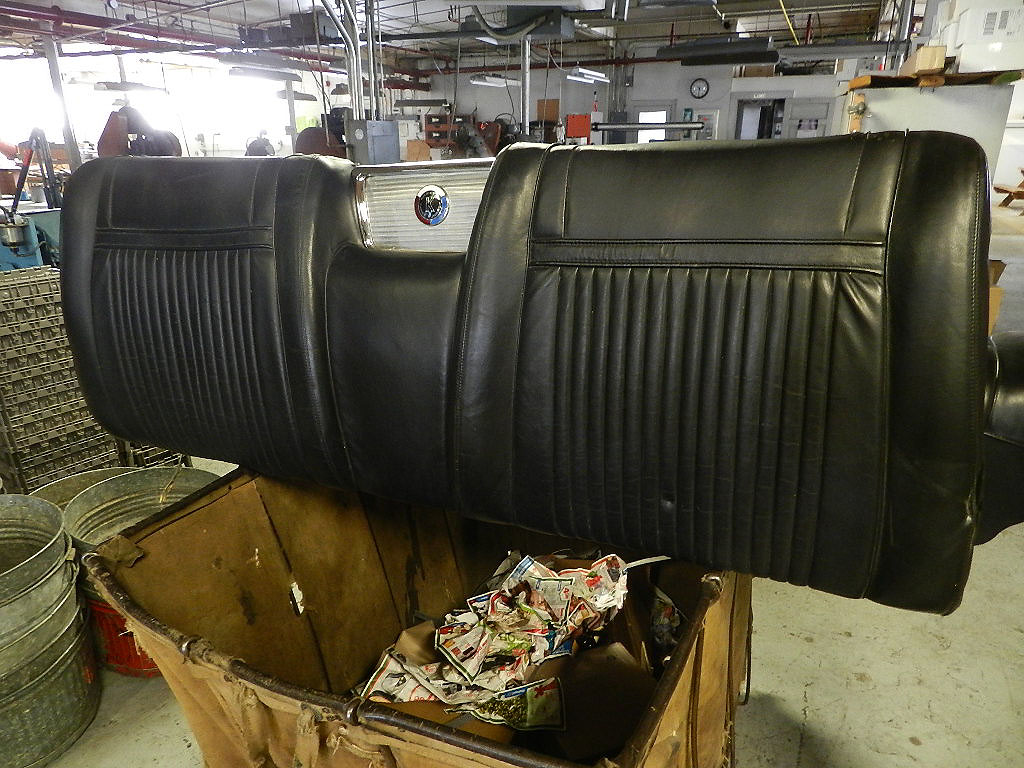
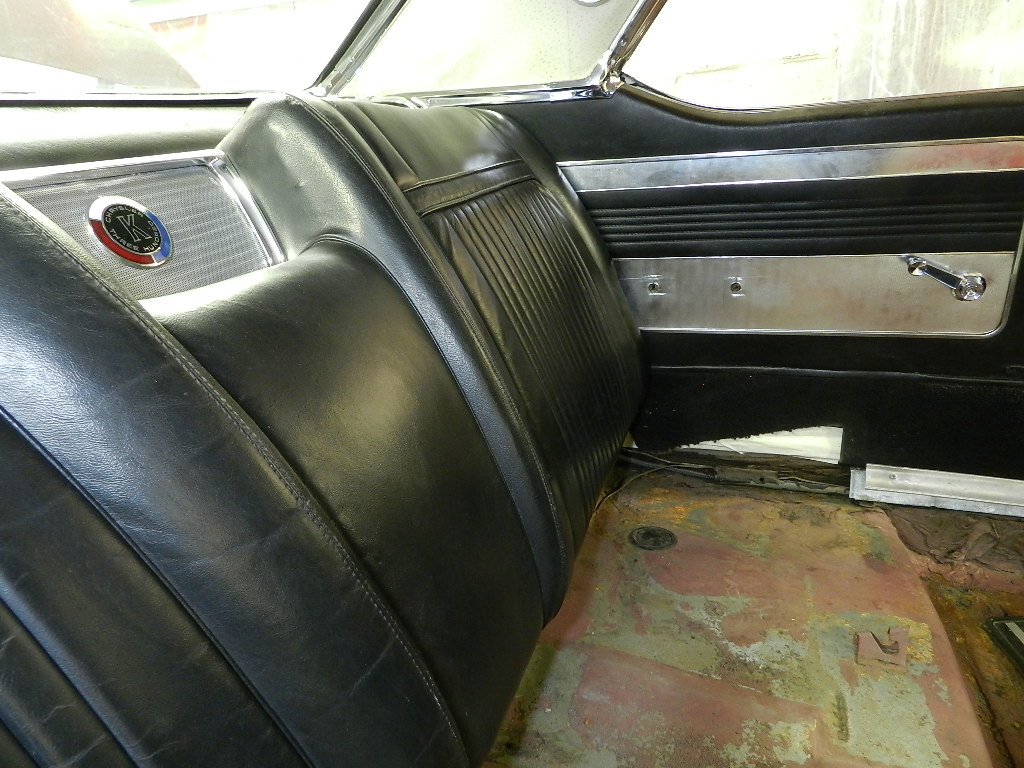
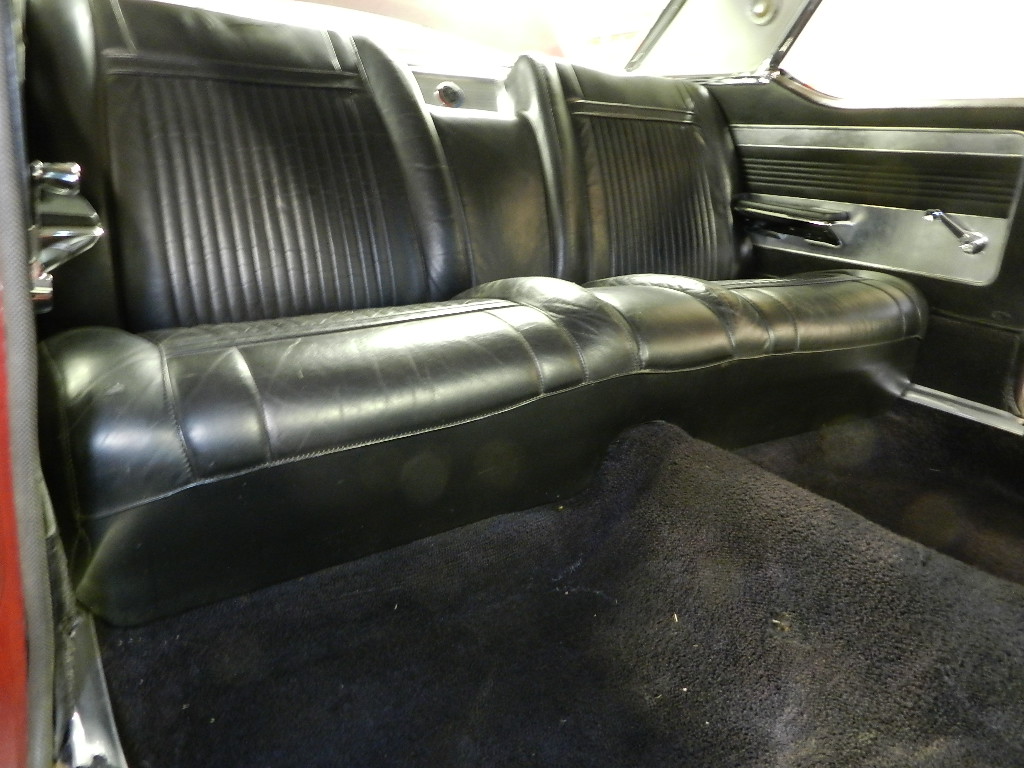
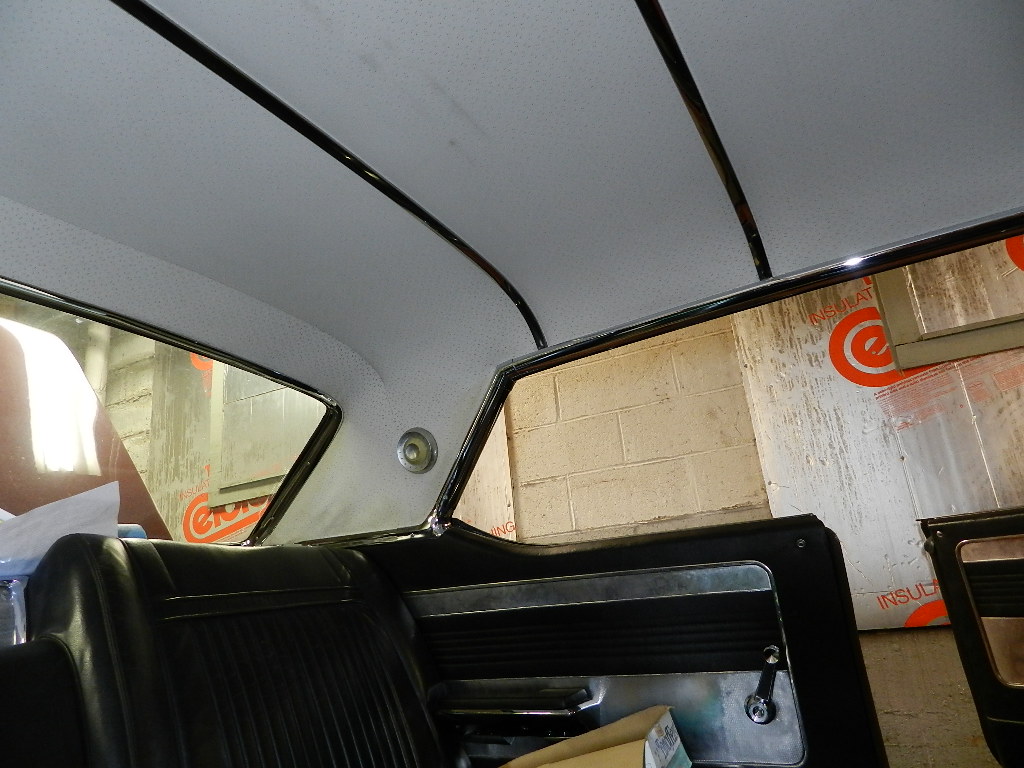
I had the back seats out and was pleasantly surprised how well they cleaned up. Chrome polish and wax to the rear 300 speaker grille did wonders. |
|||||||||||||||||||
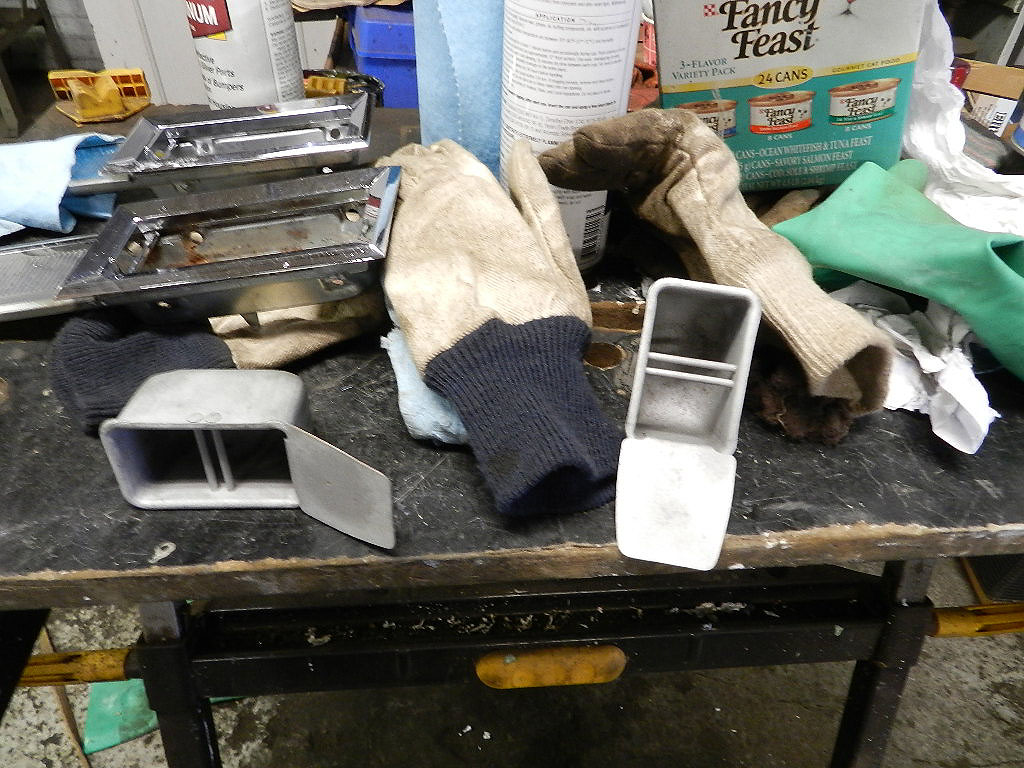
This is a pair of ashtrays from the consoles. They have been blasted to remove rust. |
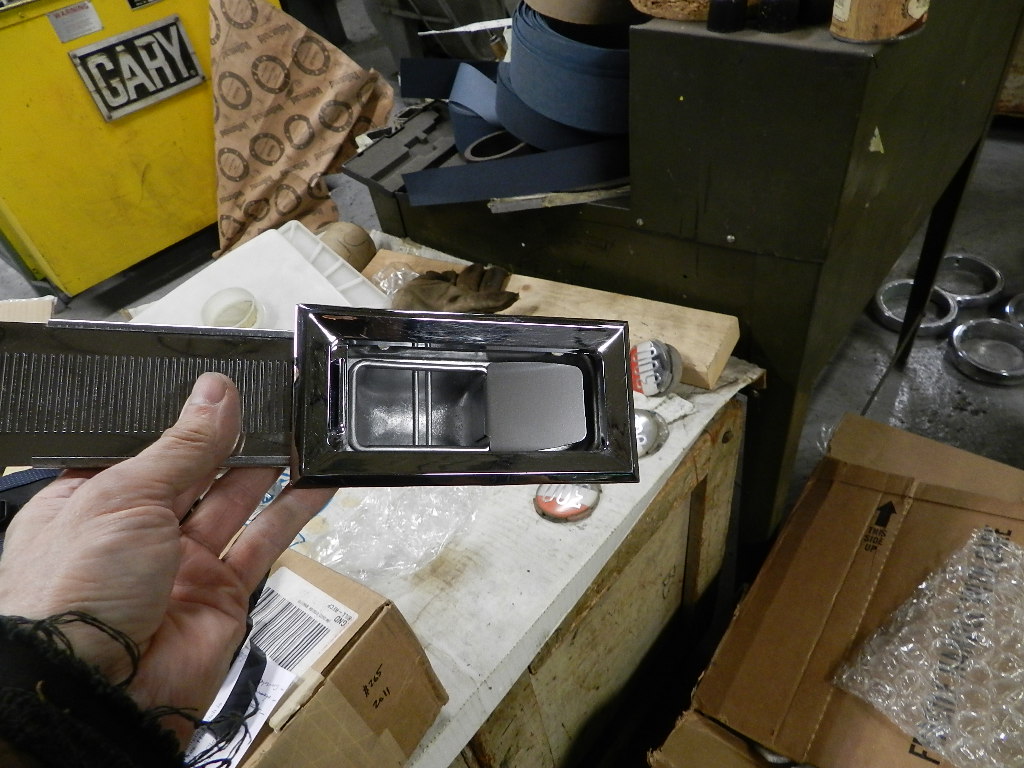
After several light coats with reflective aluminum paint, the finished product. |
||||||||||||||||||
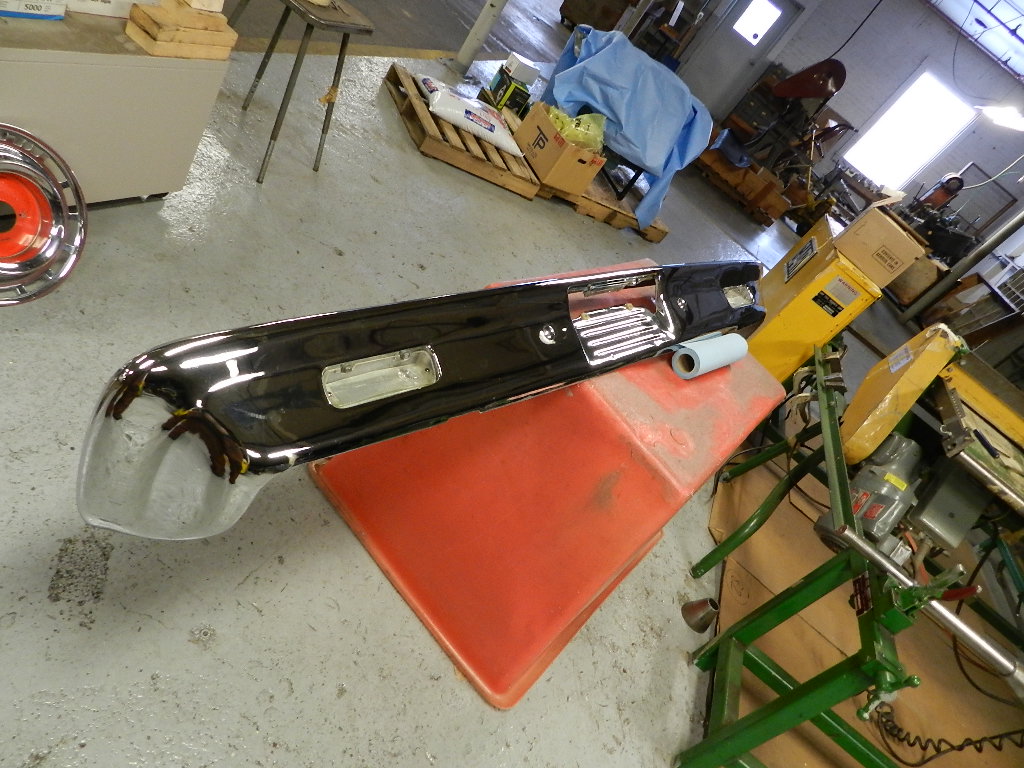
The rear bumper was removed, cleaned and polished. The re-plate from 15 years ago remains in great shape. |
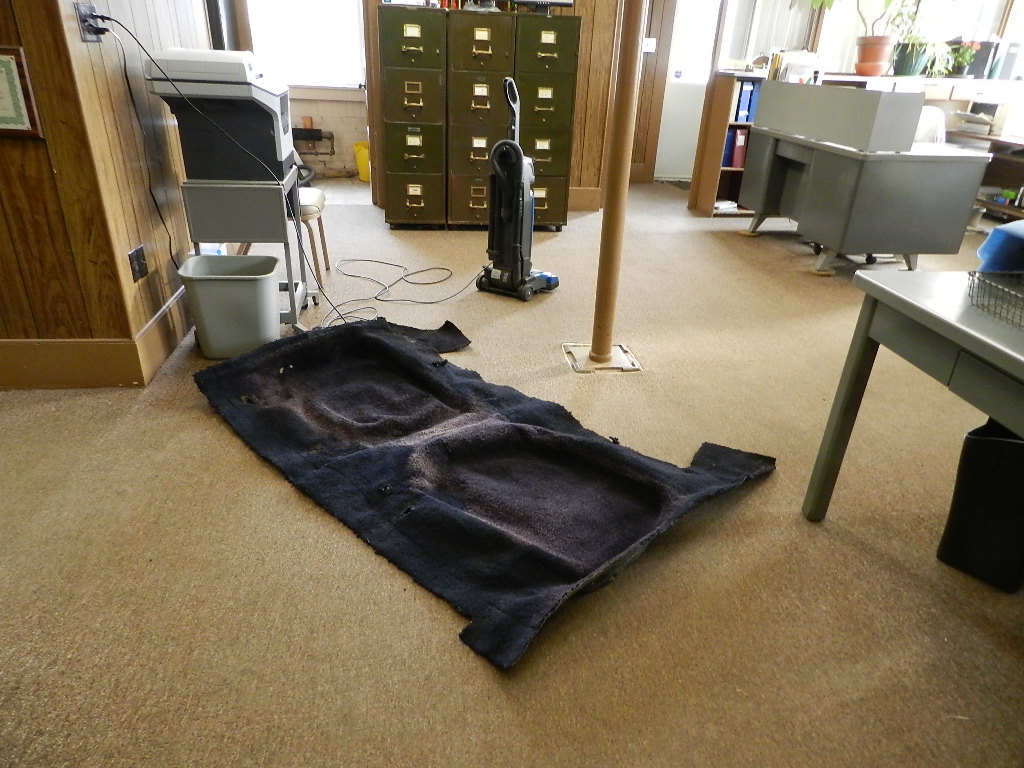
The rear carpet was removed, vacuumed and determined that a dose of dye is all it needs. |
||||||||||||||||||
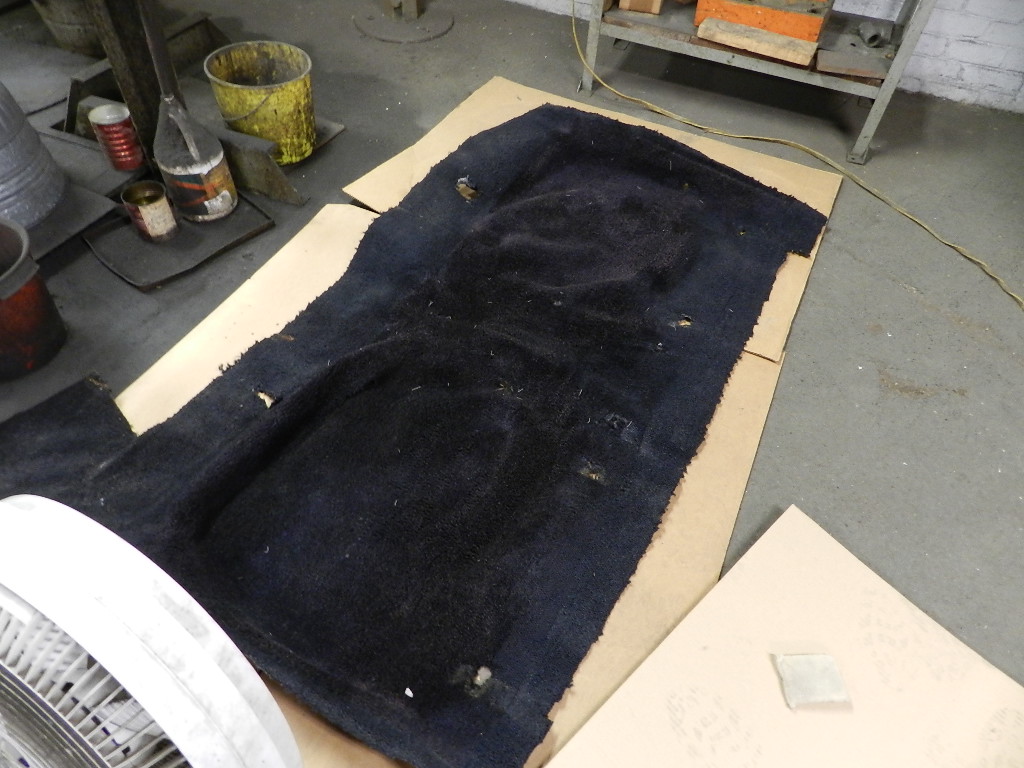
Black dye was scrubbed into the fabric with nice results. |
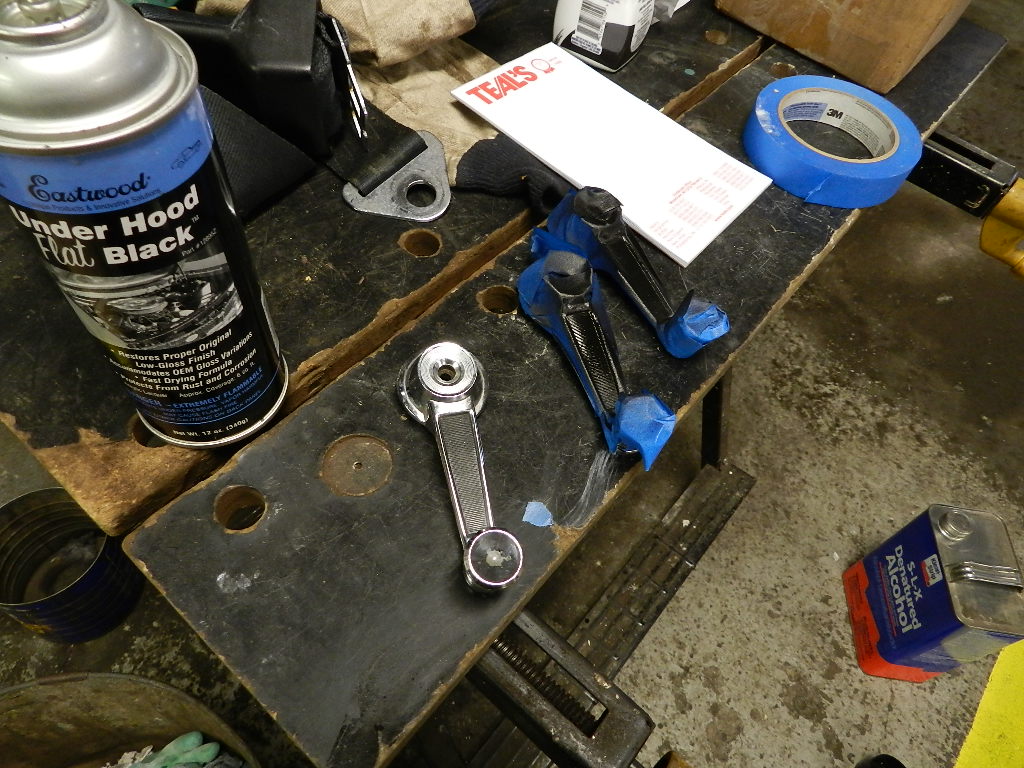
Painting the black in the window crank recess. Patience in masking will be rewarded. |
||||||||||||||||||
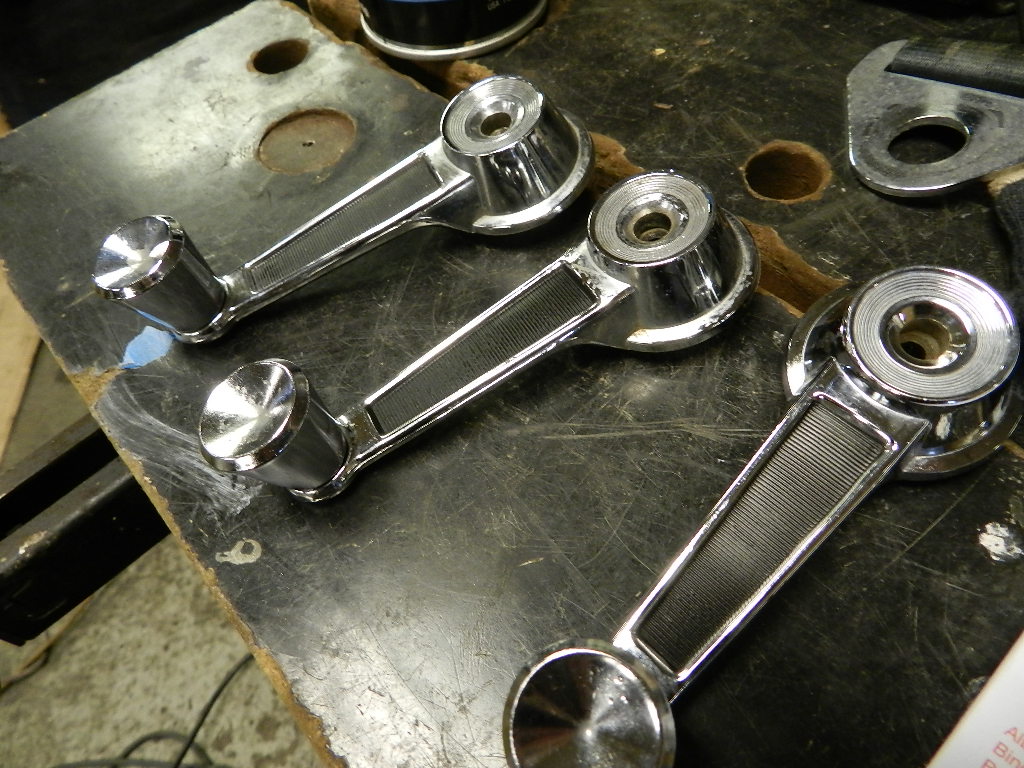
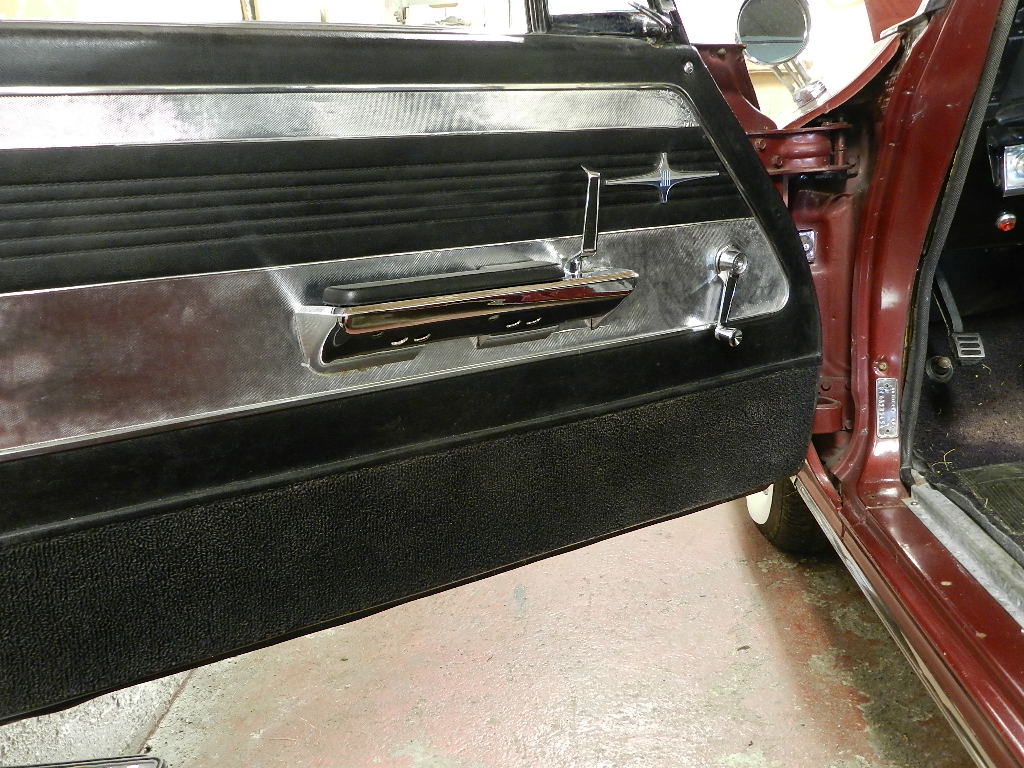
How about those crank handles! |
Let's get the rear seat installed. I have lubricated the quarter window tracks so they work easily and installed new vapor barriers. Soon I can button up the back seat area. |
||||||||||||||||||

With the door apart, might as well freshen the latch mechanism. |
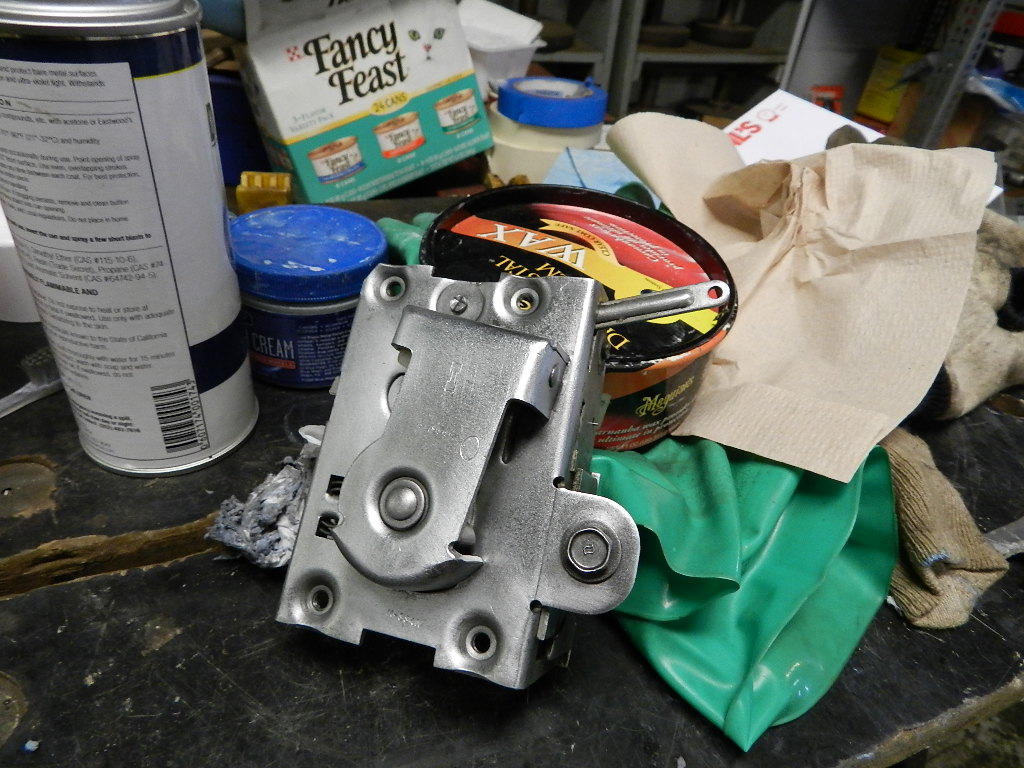
Here is the passenger door latch cleaned, lubricated and ready to install. |
||||||||||||||||||
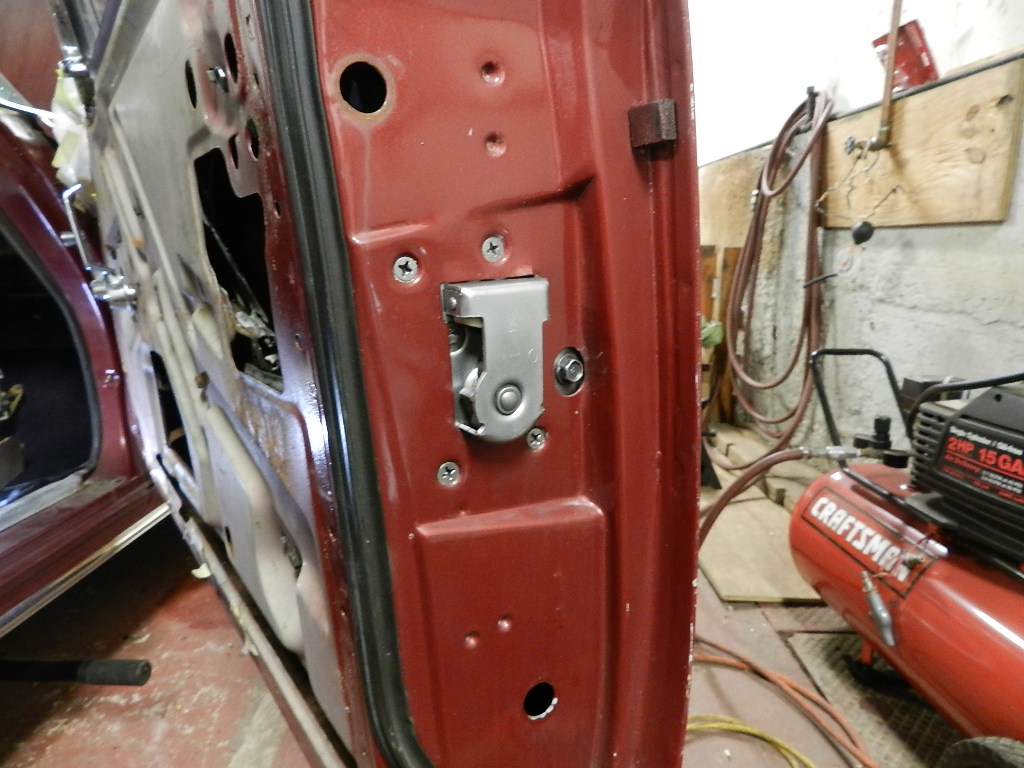
Latch installed, window cat whisker installed, glass adjusted. |
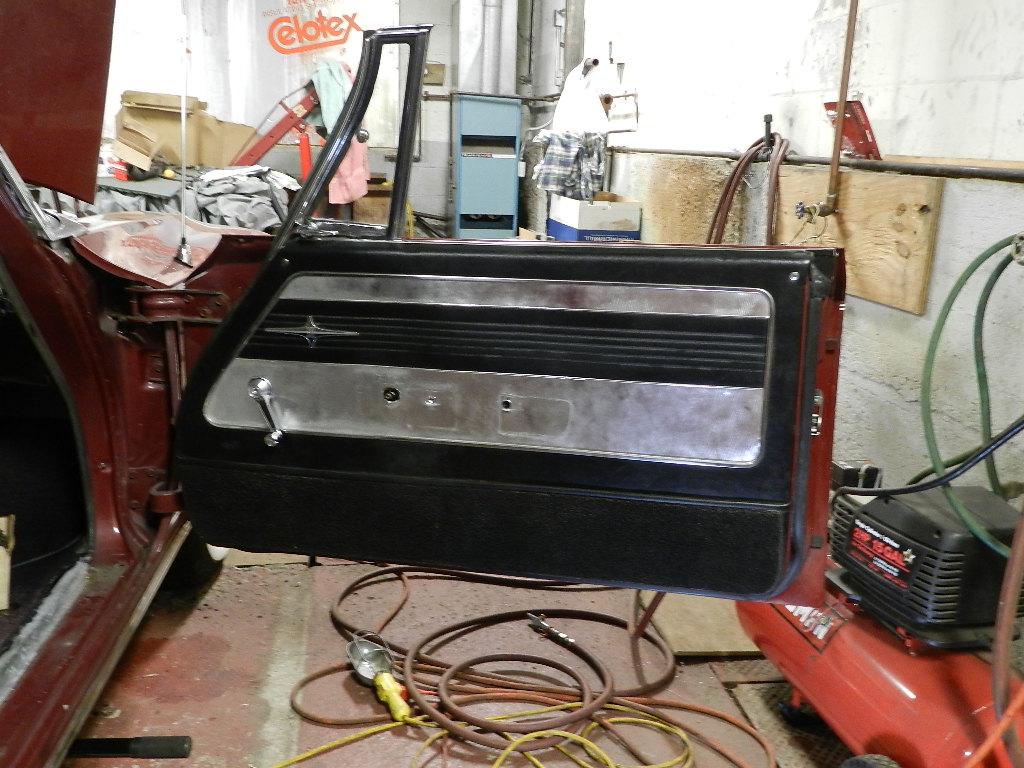
New vapor barrier, reusing the old door panel for now. |
||||||||||||||||||
The defroster was missing the trim ring. A replacement was located and installed. |
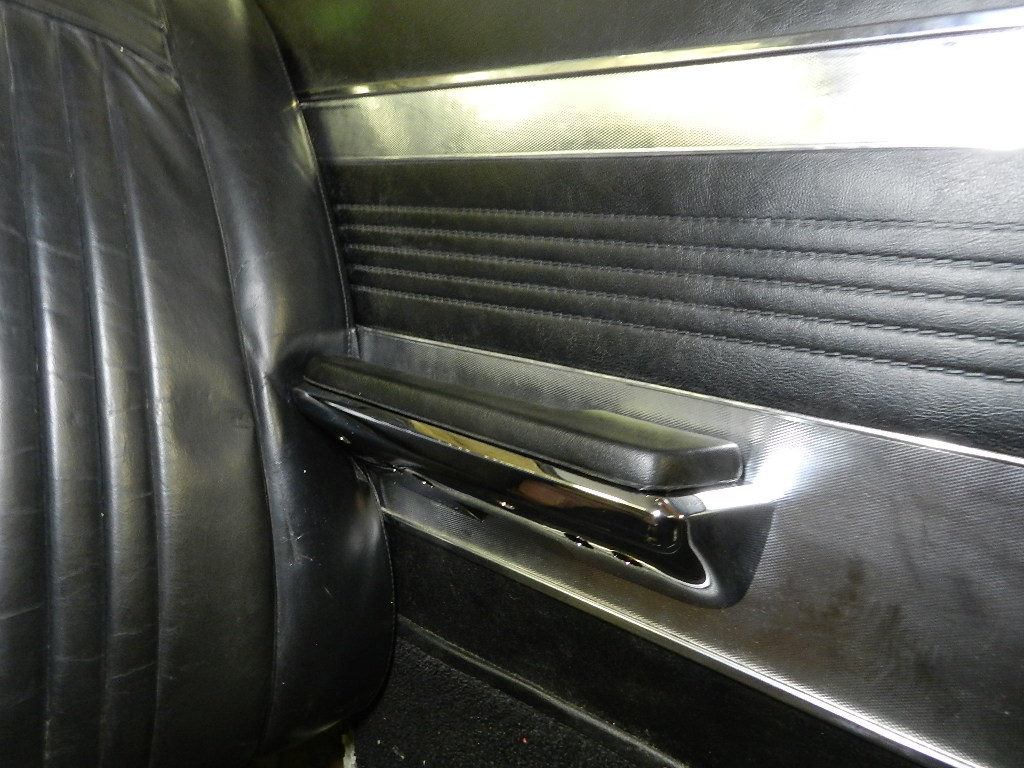
The rear arm rests were missing. ABC Moparts has new ones. |
||||||||||||||||||
The carpet is back in along with the rear seat cushion. |

On to the driver's door, lubricate the window and latch mechanisms, make a vapor barrier, and do a general freshen as needed. |
||||||||||||||||||
The driver door is completed with new arm rest and cushion. |
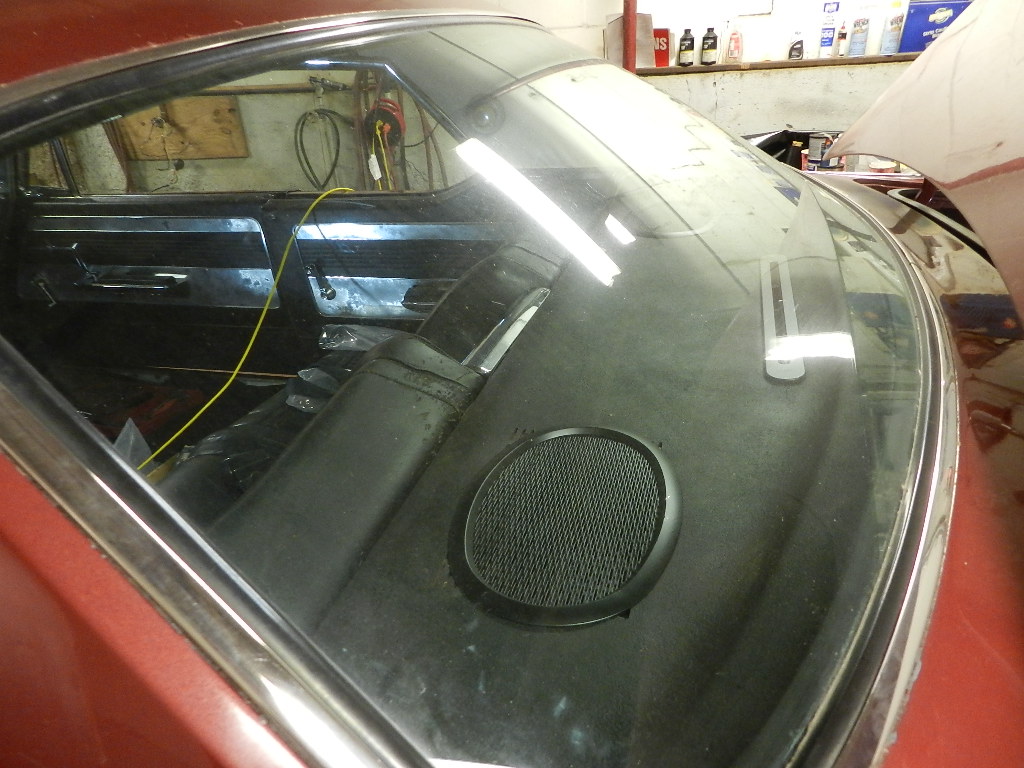
The rear defroster was replaced along with another rear speaker. I used 1962 style grilles on the package shelf. |
||||||||||||||||||
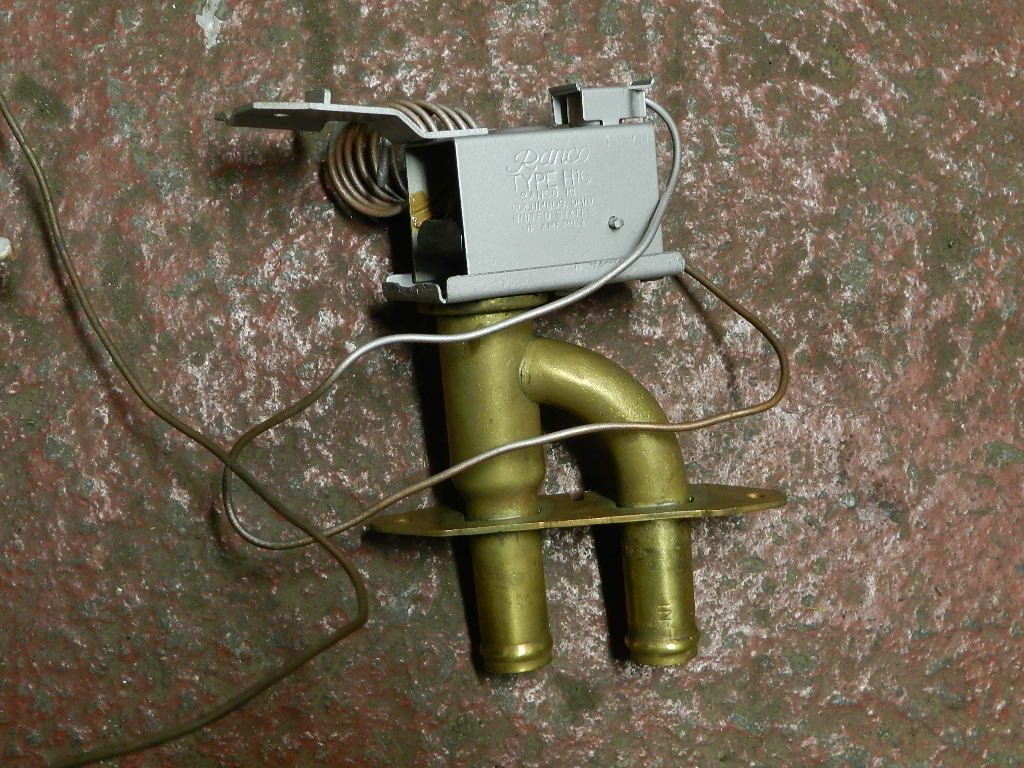
A rebuilt heater valve from Joe Hudacek was installed. |

Since the cooling system was drained for the heater valve replacement, new heater hoses, radiator hoses, water pump and thermostat went in as well. |
||||||||||||||||||
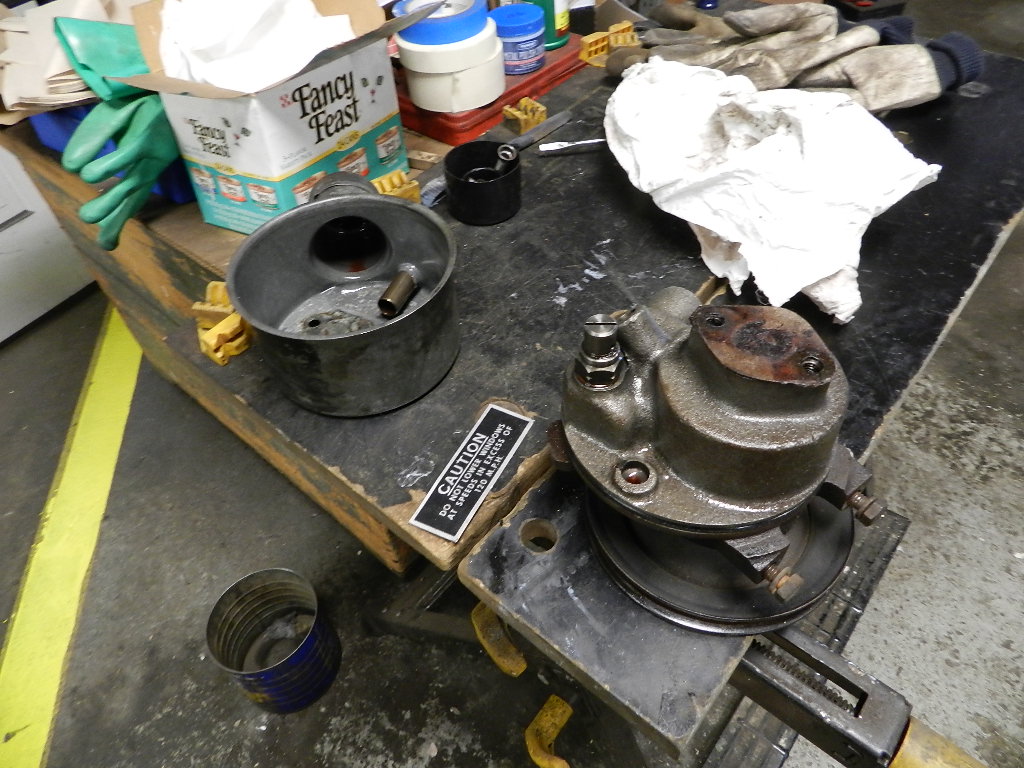
Good time to work on the power steering pump which had a slow leak. The bracket was rebuilt as well. |
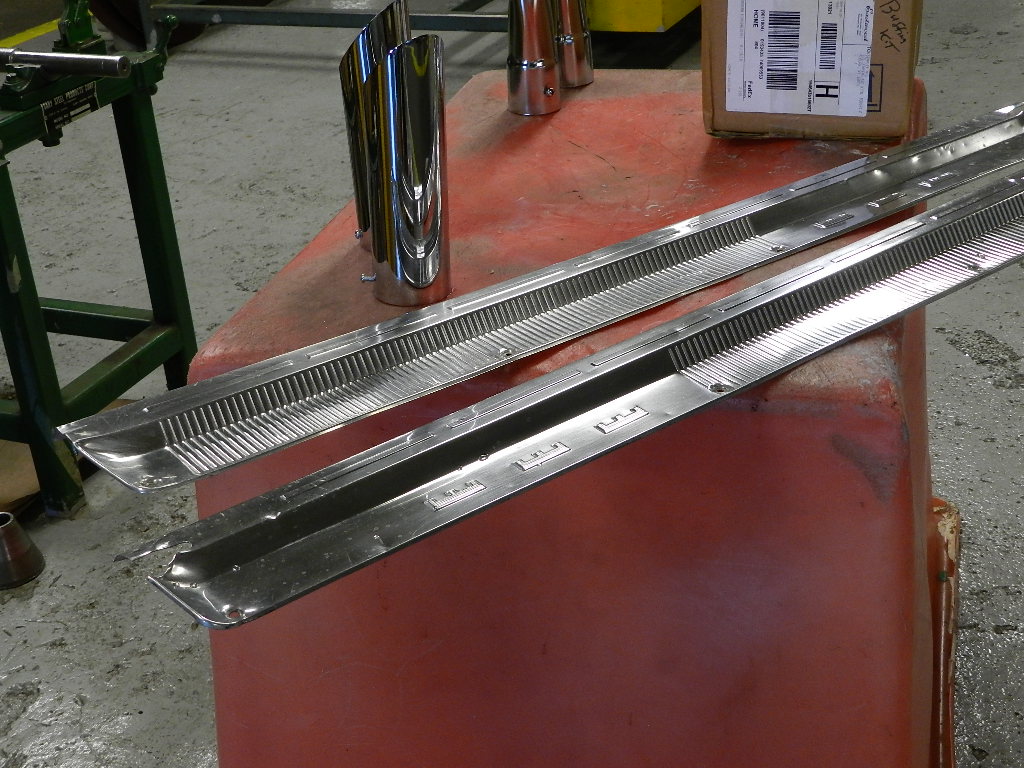
The original sill plates were free of corrosion so I gave them a hand work-out with polish and was pleased with the results. |
||||||||||||||||||
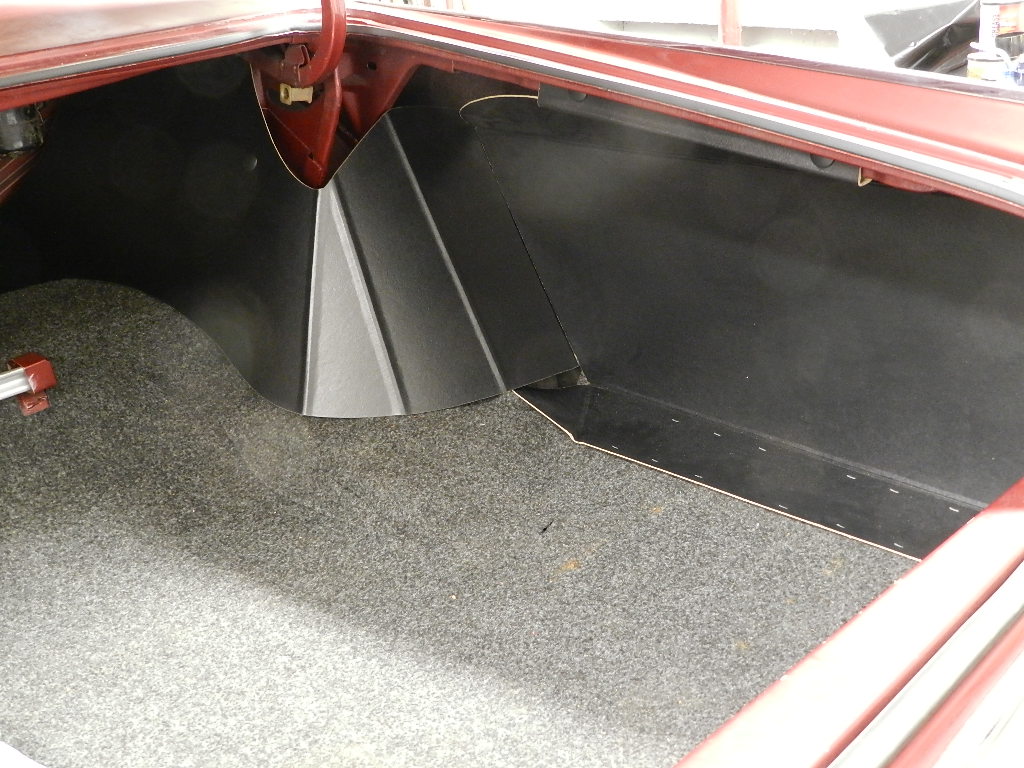
A new trunk cardboard kit arrived from Gary Goers and was installed. |
The interior chrome (and there is a lot of it) was polished and waxed. The chrome came up perhaps better than any I have done before. I used flexible plastic pieces to keep polish and wax from the headliner. |
||||||||||||||||||
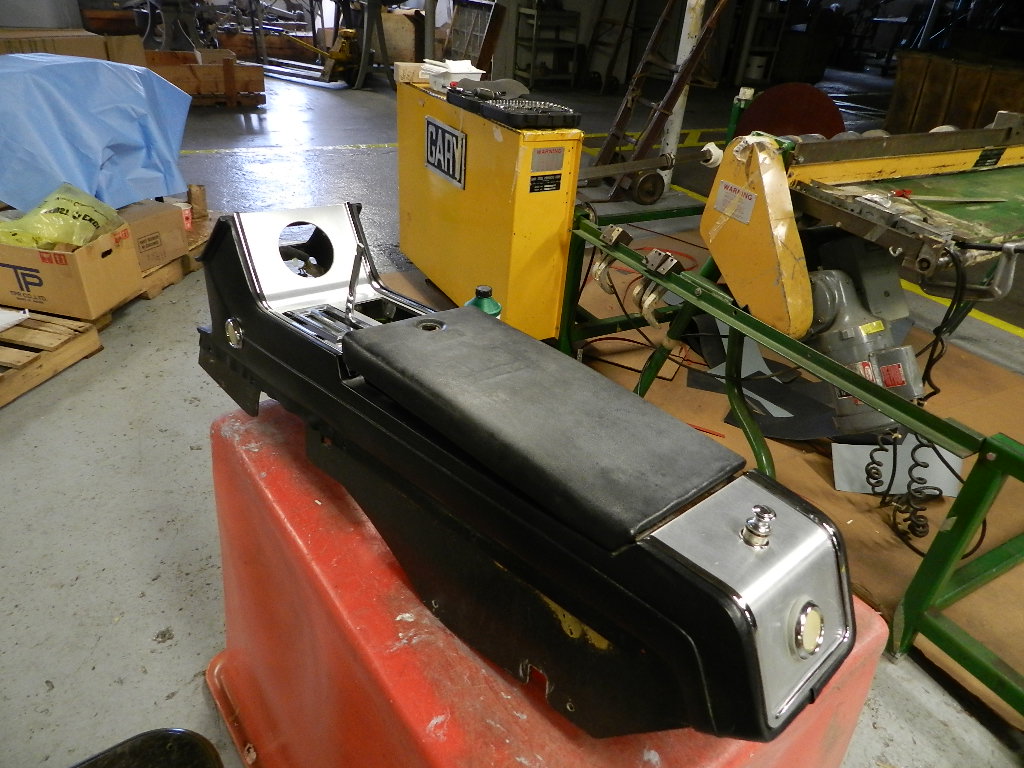
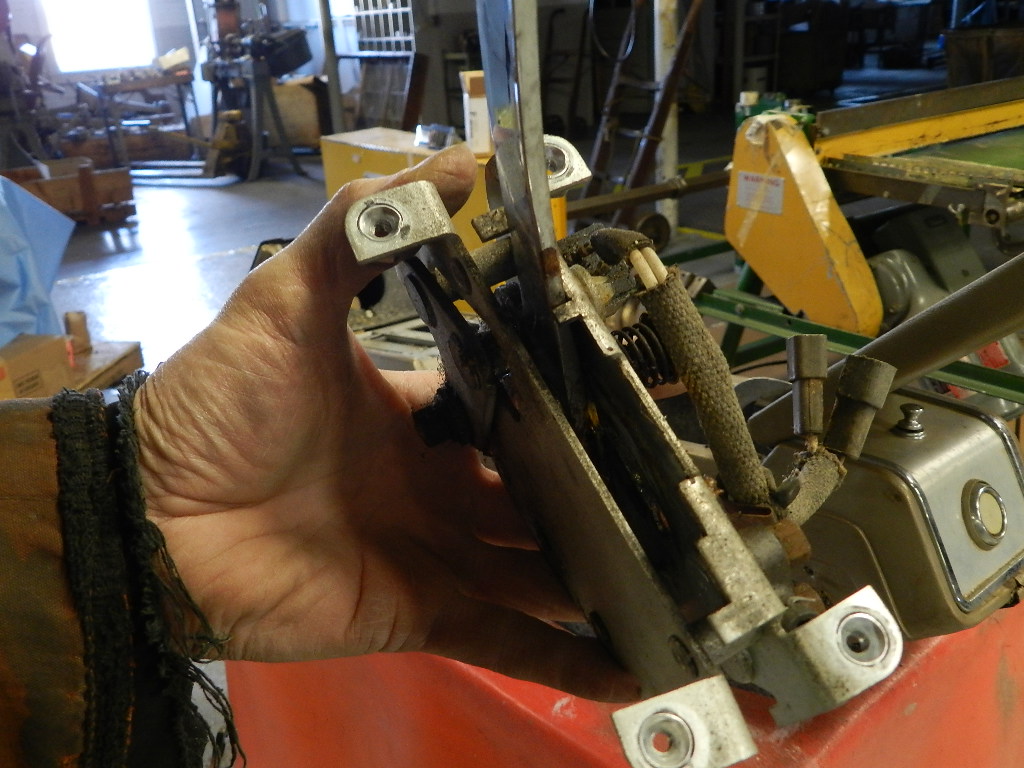
While the console was out, I got looking at the shift lever. The "park" position detent was worn and I thought I would swap mechanisms with a better spare. |
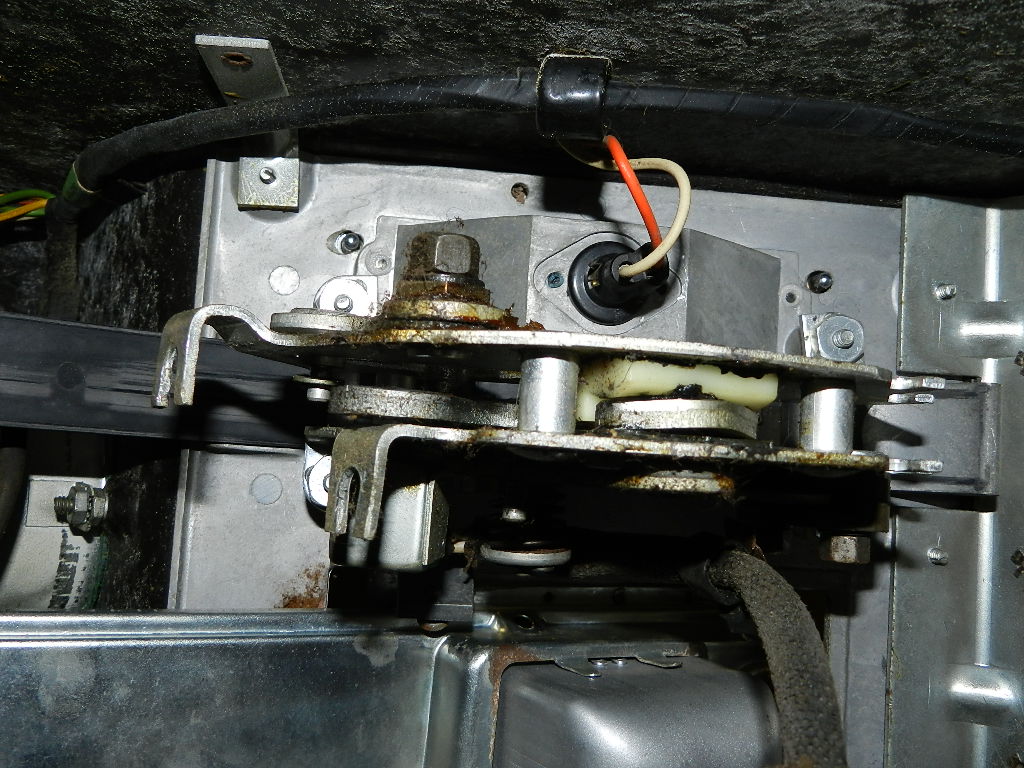
This is the view of the shift lever mechanism from below. I thought it could be removed by the 4 nuts shown here. Not so, they don't budge. From Chris Pinder I learned disassembly is done from the top down by removal of the top trim strips and trim plate. Priceless advice from the KManiac. |
||||||||||||||||||
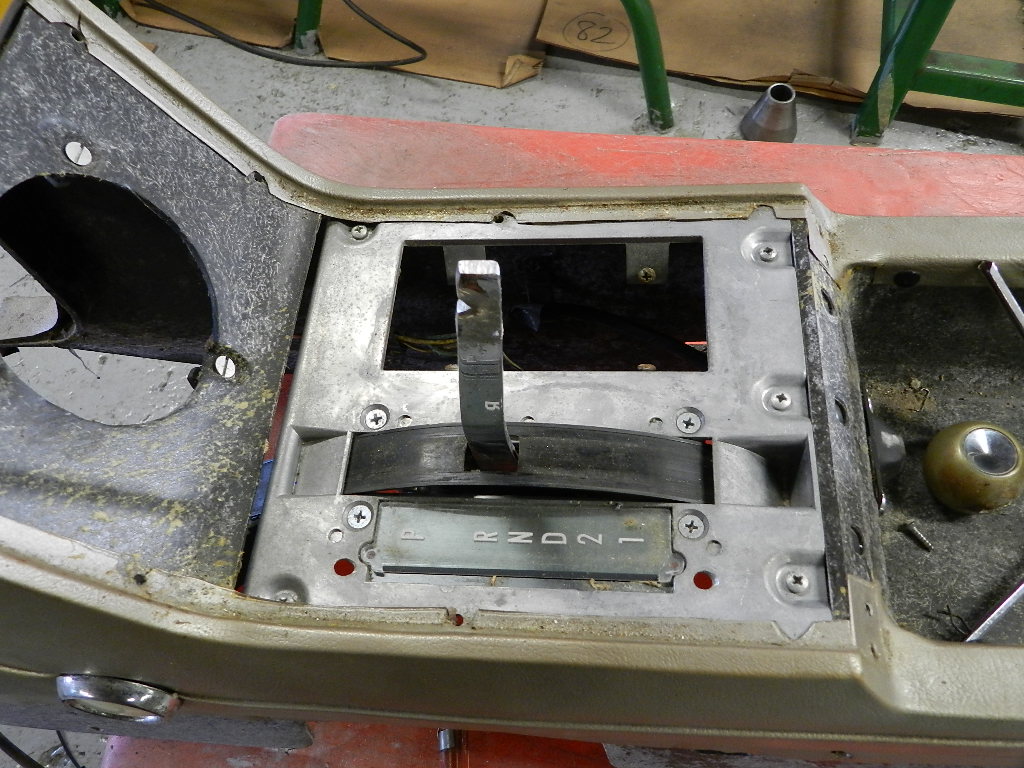
Working from the top down, trim removed, exposes the 4 screws to release the shifter. |
This is a good shifter unit. Note the gates for the various shift positions. I swapped this into the black console and reinstalled it. |
||||||||||||||||||
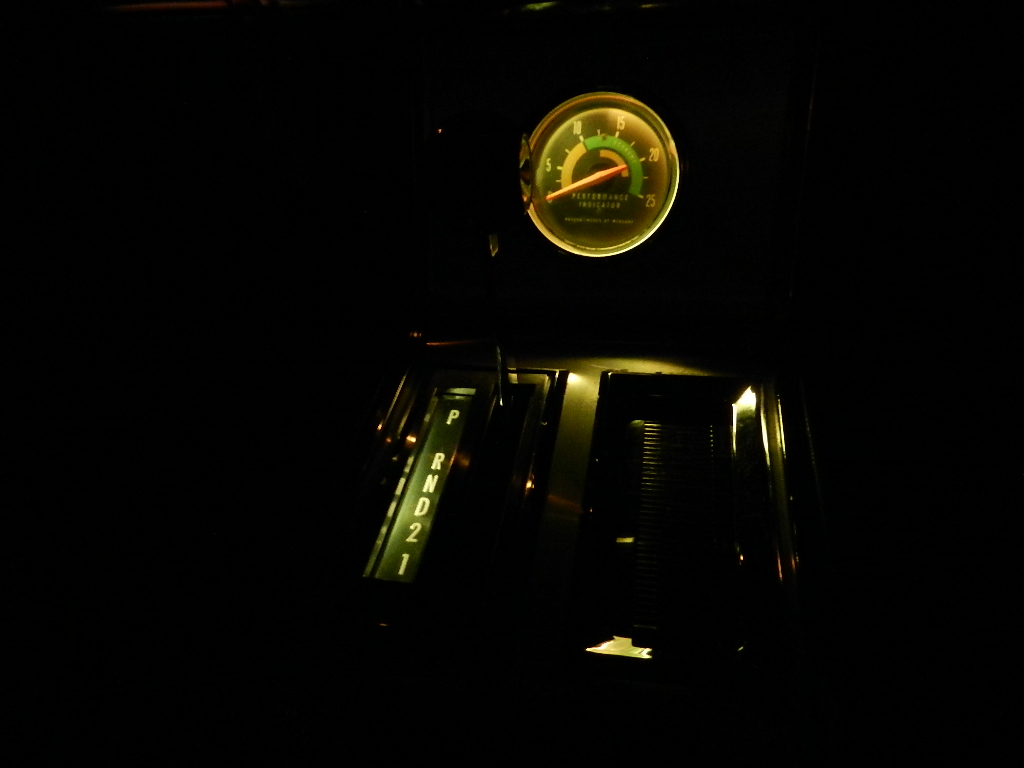
A nagging problem had been the console shift lamp and vacuum gauge lamp were not working. After many hours of fussing the problem in the wires was repaired. |
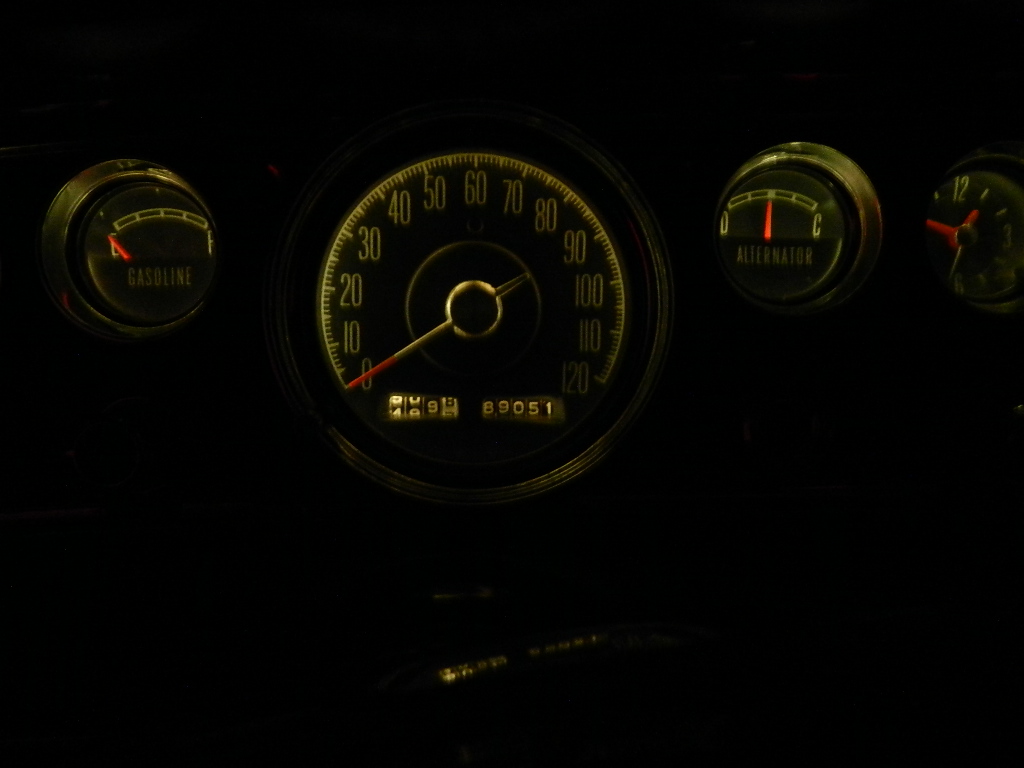
So nice to have the instrument panel lights working. |
||||||||||||||||||
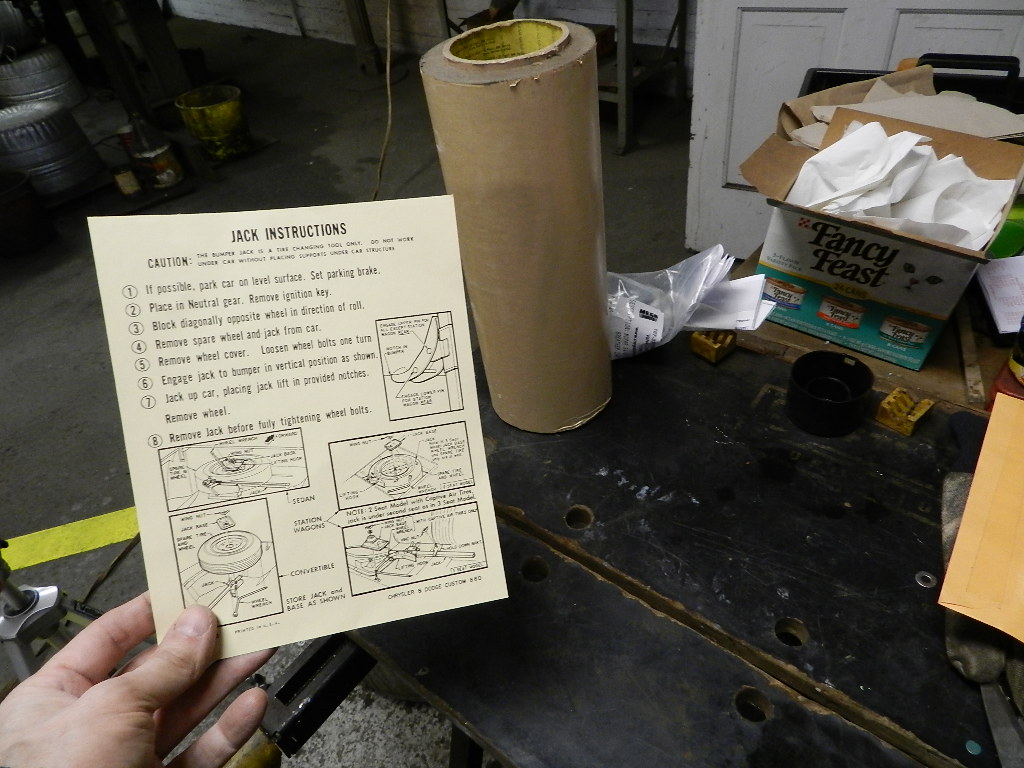
A new jack instruction sheet for the new trunk kit. I use a layer of pressure sensitive adhesive on the back for installation. |
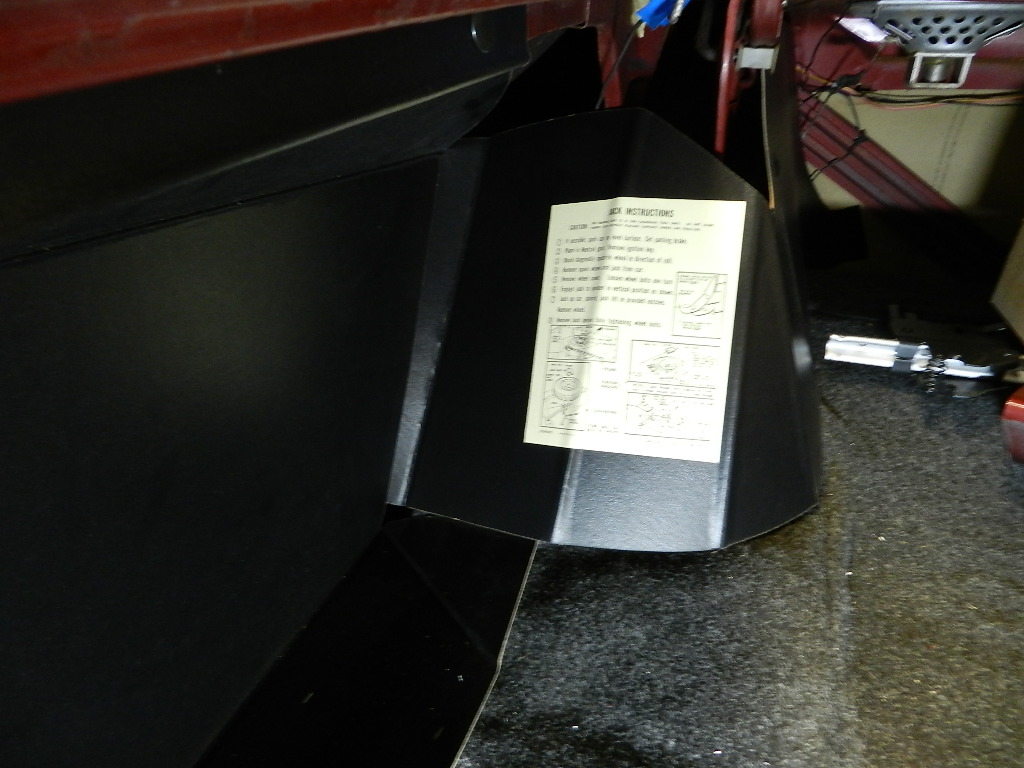
This is the location for the jack instruction sheet. |
||||||||||||||||||
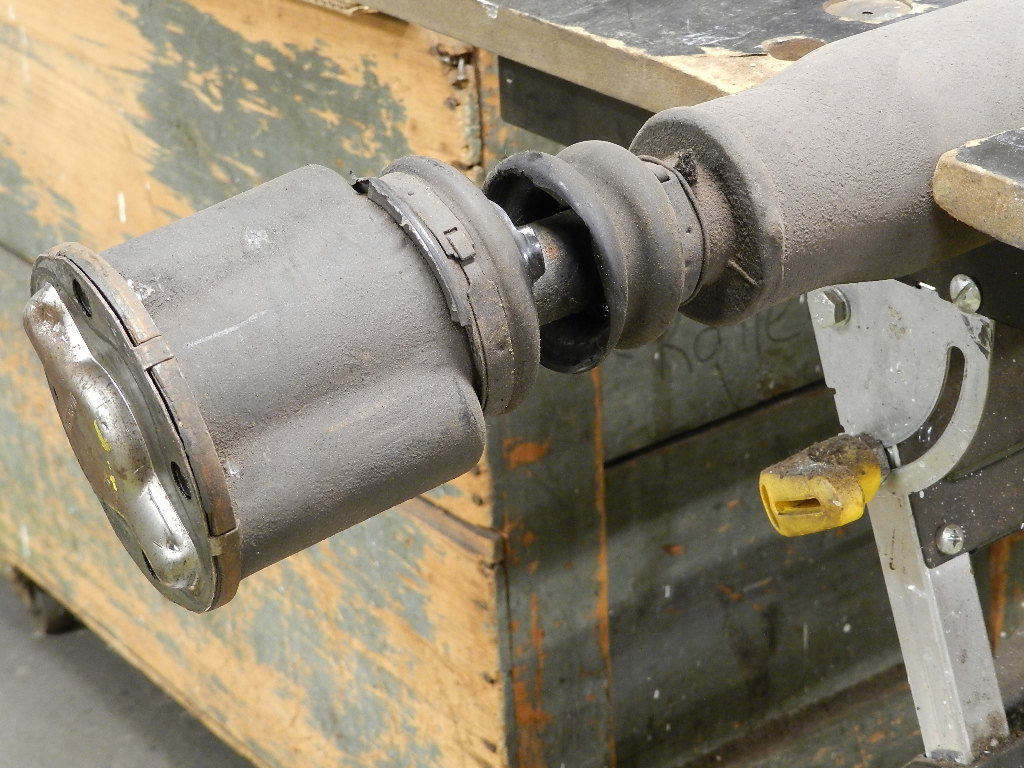
The drive shaft boot needs to be replaced. |
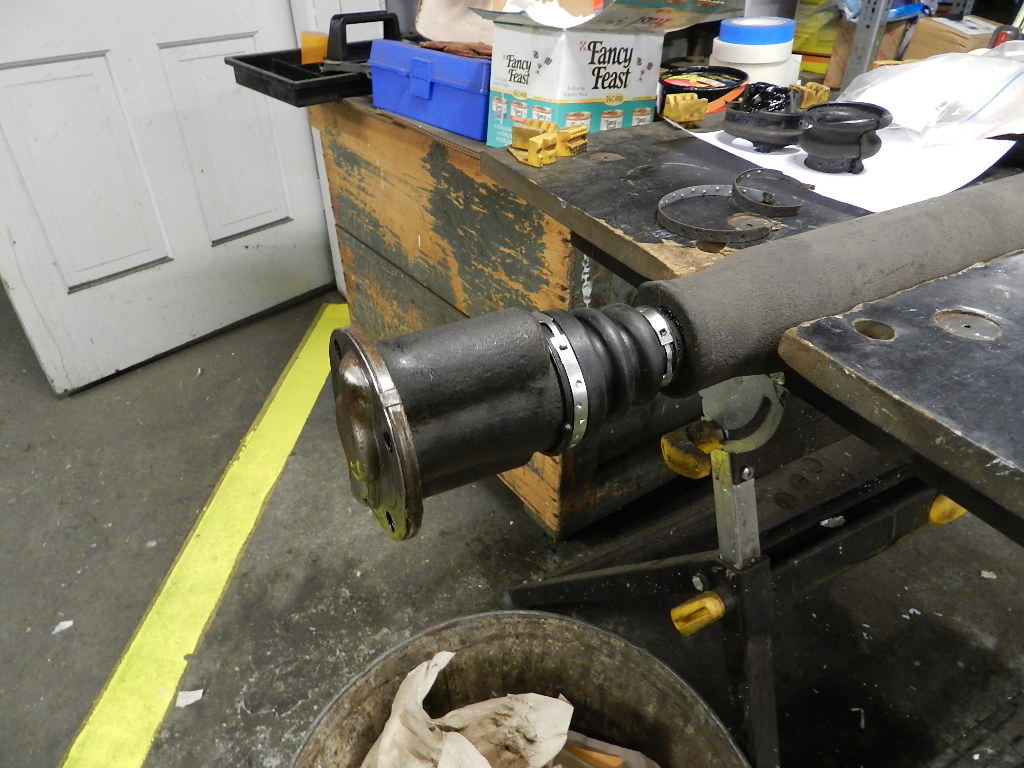
New boot installed. The service manual has a procedure to install a boot without disassembly of the ball and trunion. |
||||||||||||||||||
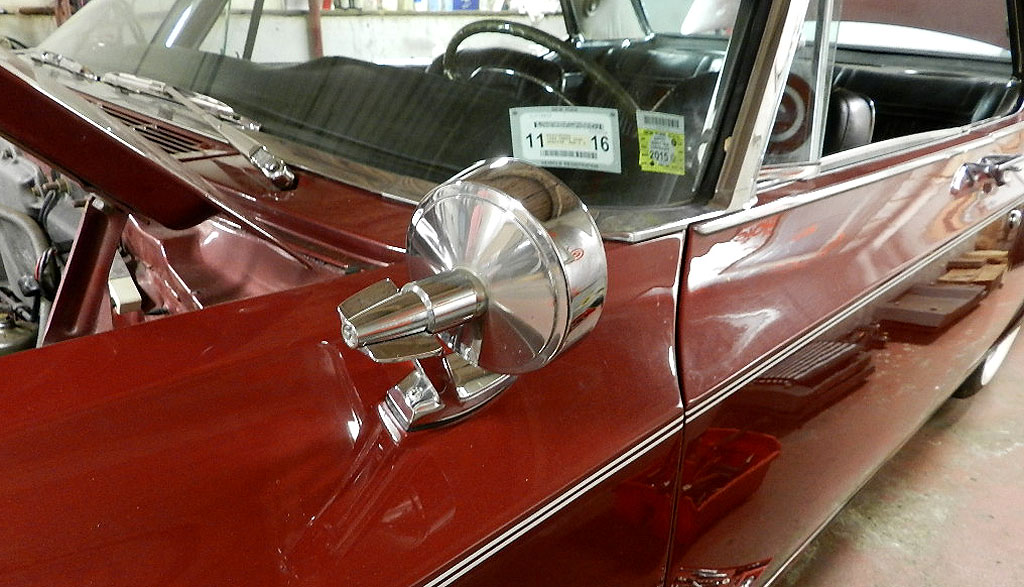
The chrome on the driver mirror was showing its age so it was replaced with a better piece. |
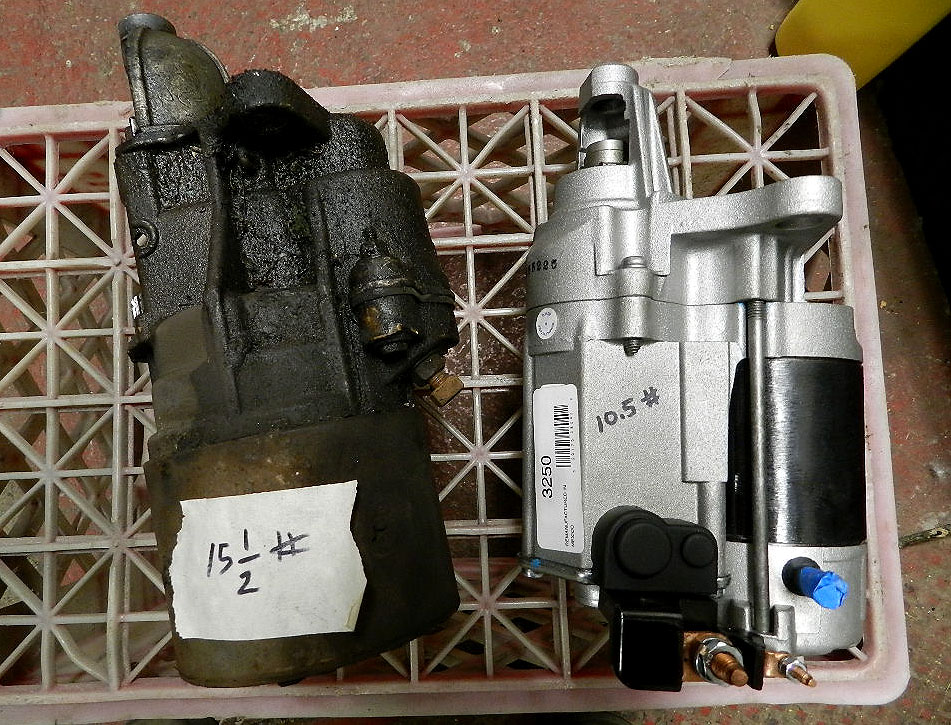
The starter cranked slowly so I replaced it with a new one. The new ones are lighter and smaller, easier to install. On the ram cars, the upper bolt on the starter is not accessible unless you remove the fender access panel and come in from the side. |
||||||||||||||||||
| There were at least two styles of Mopar gear reduction starters. The lower horsepower version (1.3 - 1.5 HP) is the shorter one at 8.5" long and weighs 14.5 pounds. The big horsepower version (1.8 HP) is 9.0" long and something like 17 pounds. As above, the new version starters are more compact but you can also use the Nipendenso mini: 5" x 6" at 7.5 pounds. | |||||||||||||||||||
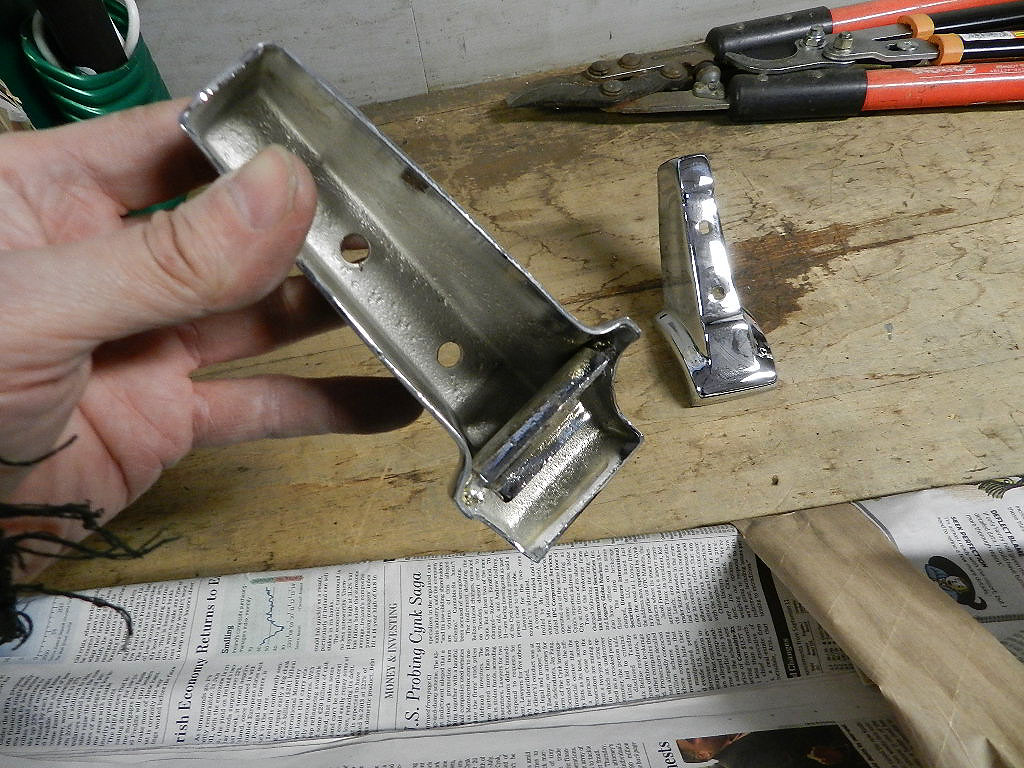
The rear bumper guards came back from Sandy's Bumper. The mounting bolts were lost in the process. |
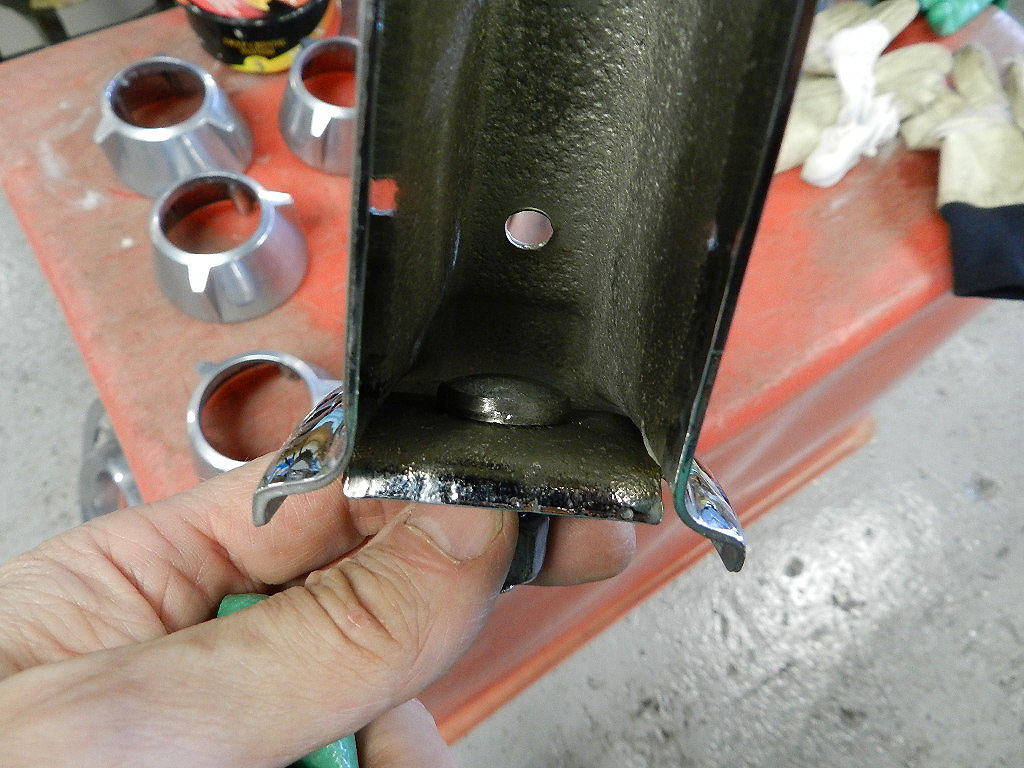
Due to the shape of the guard, the head of the bolt has to be ground in order to fit inside. |
||||||||||||||||||
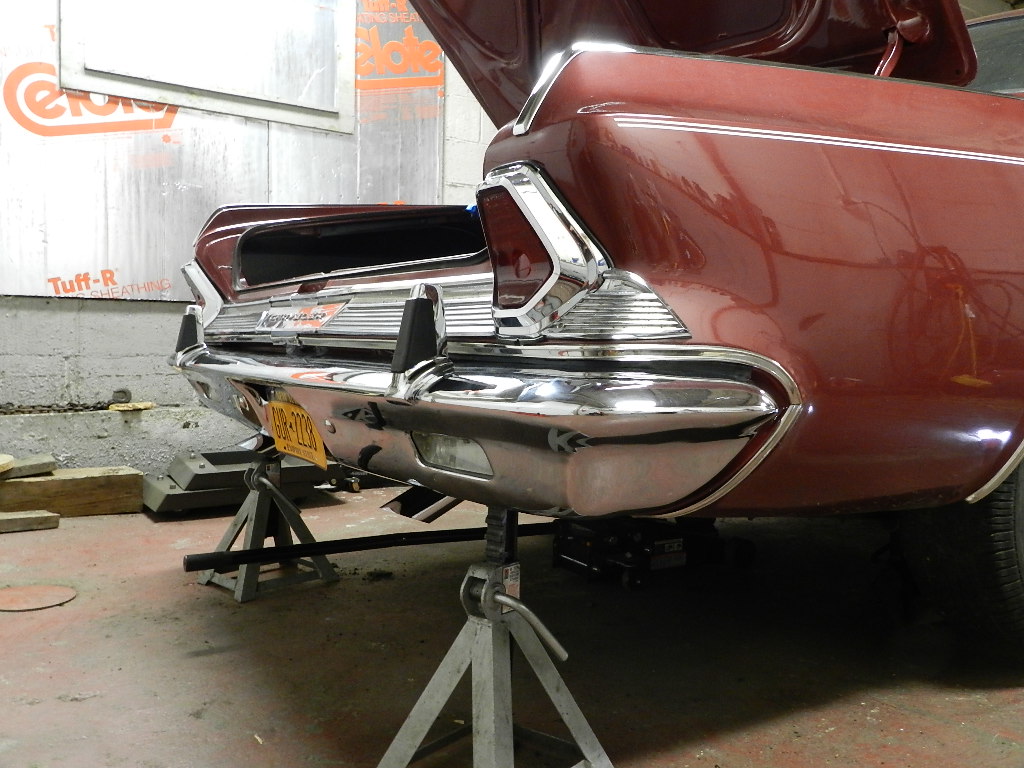
The rear bumper installed, fits nice. |
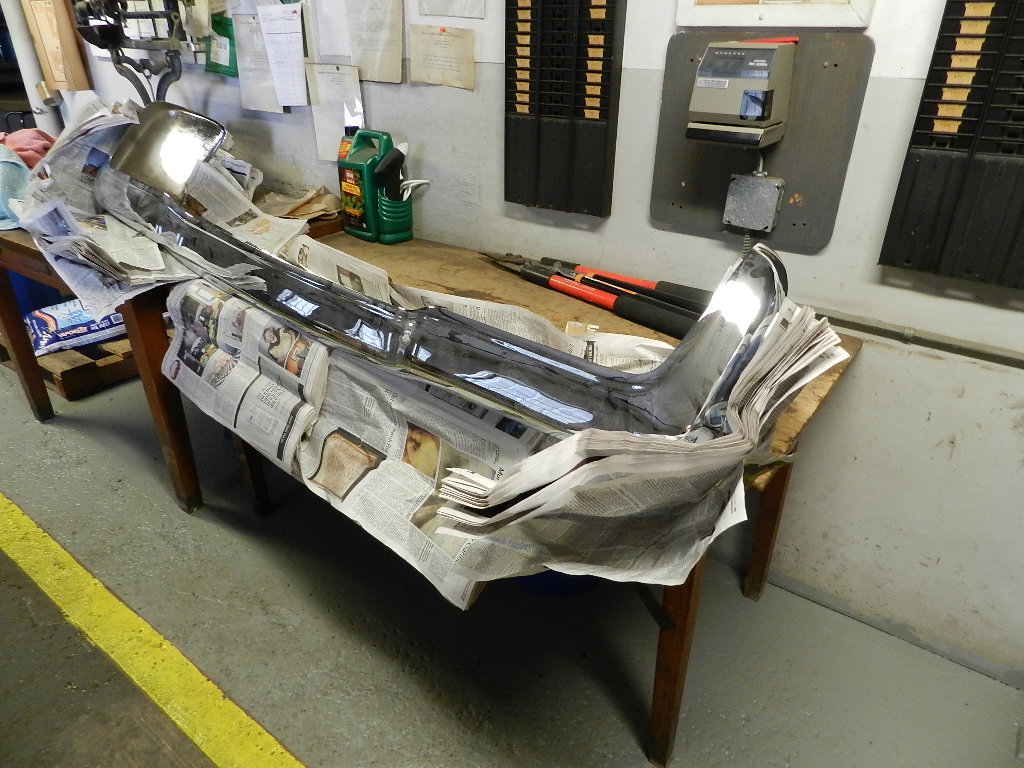
The front bumper came back from Sandy's. |
||||||||||||||||||
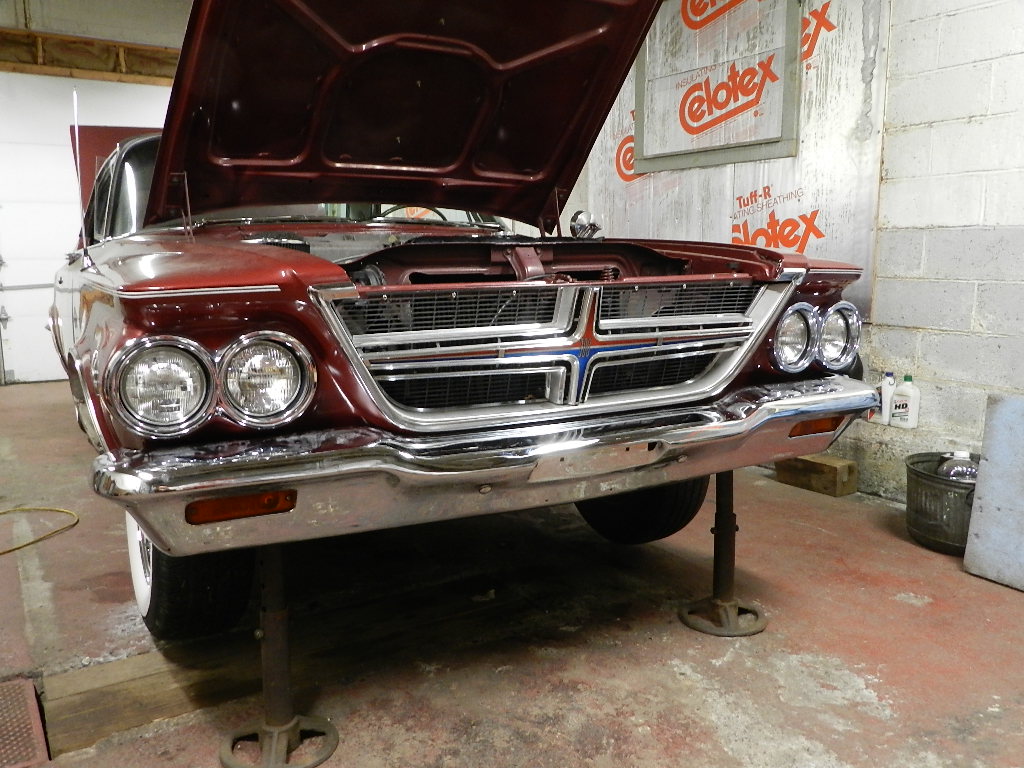
The front installed, also a good fit. |
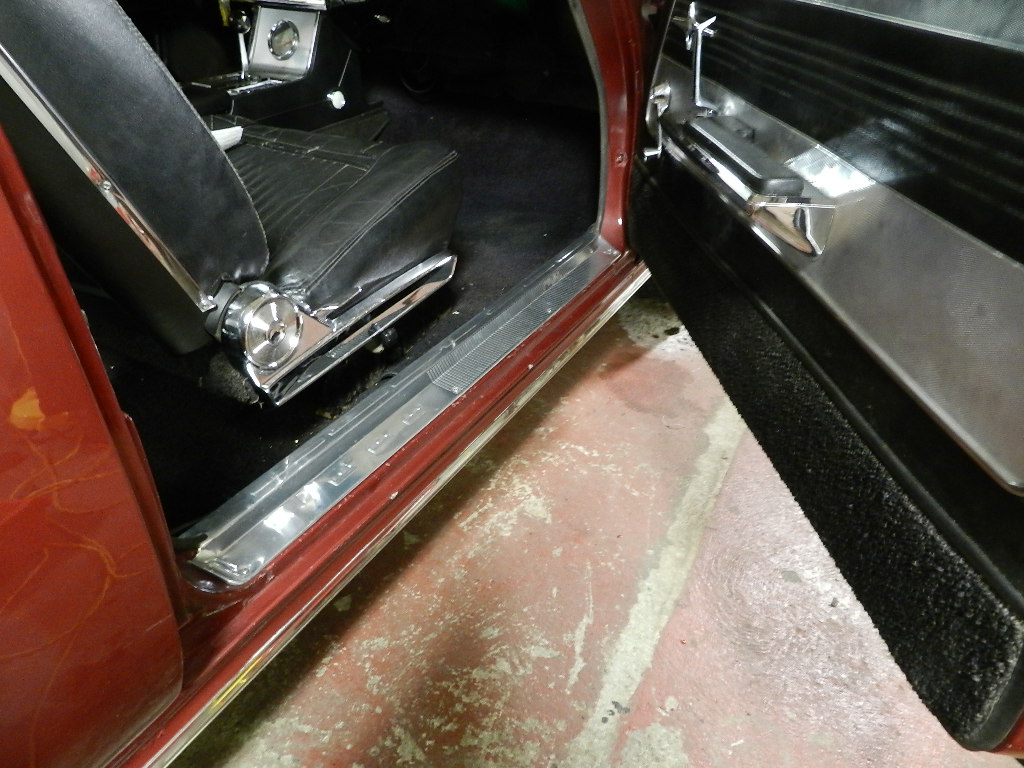
The original sill plates were polished and installed. |
||||||||||||||||||
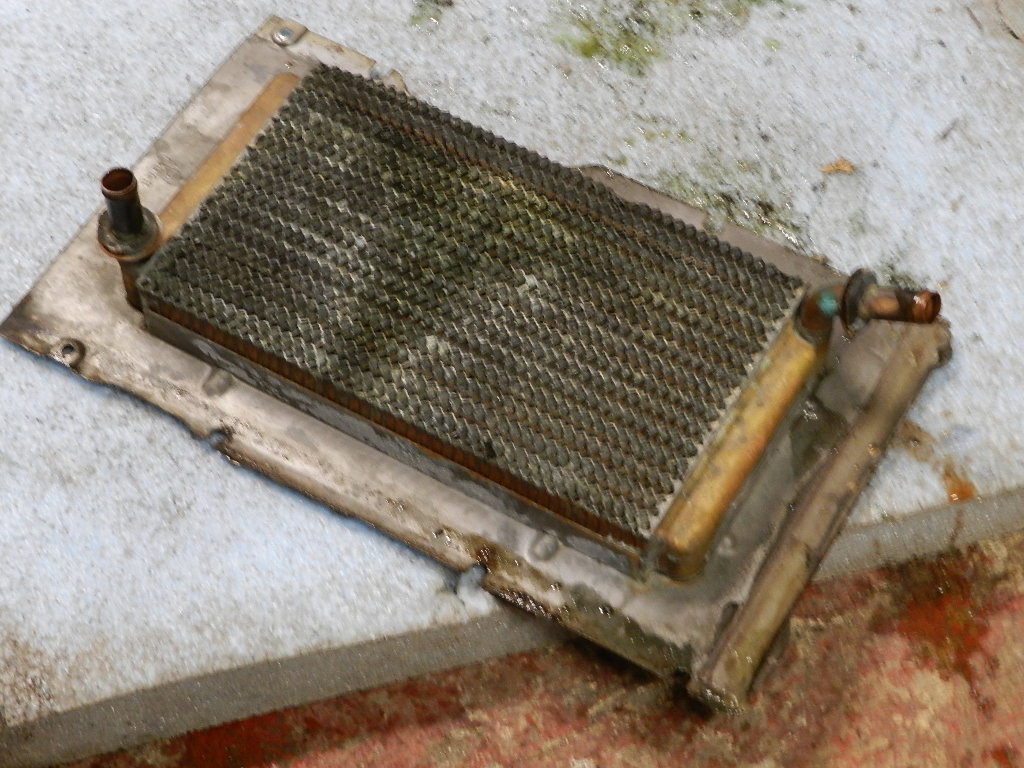
While the winter raged outside, I tended to other things. One day I noticed tell-tale signs of a weak heater core. I will have the local radiator shop make a new core. |
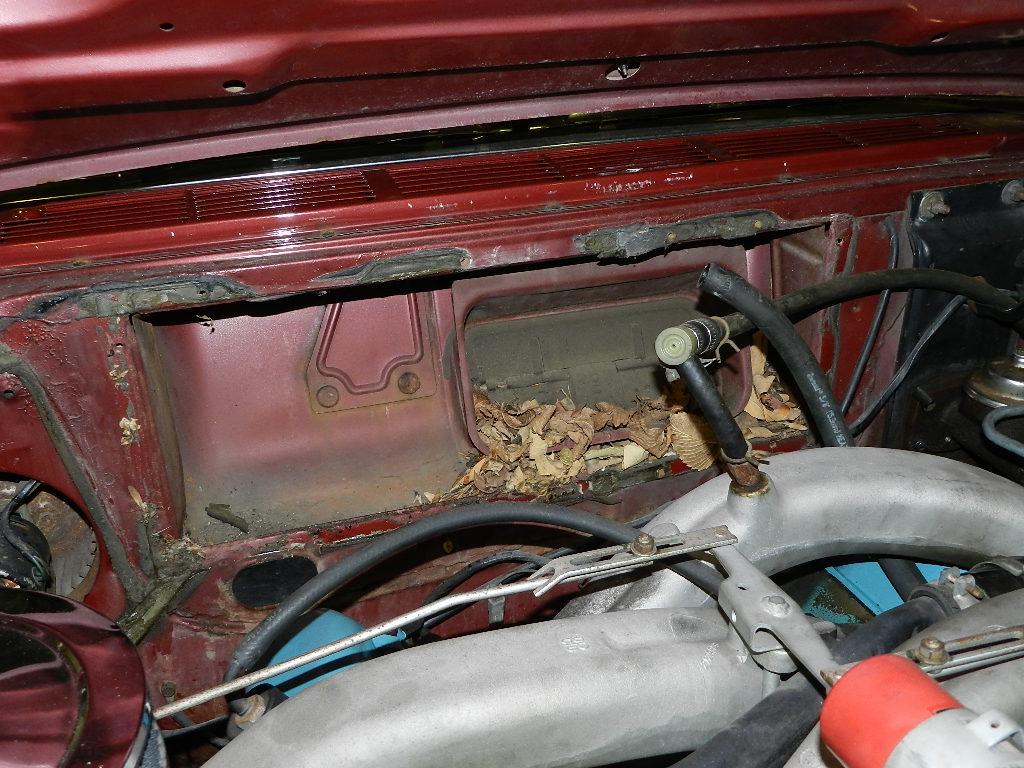
Doggone leaves had collected in the heater. Not as bad as pine needles, but leaves can also hold water and rust the cowl area. A blast of compressed air cleaned this one. |
||||||||||||||||||
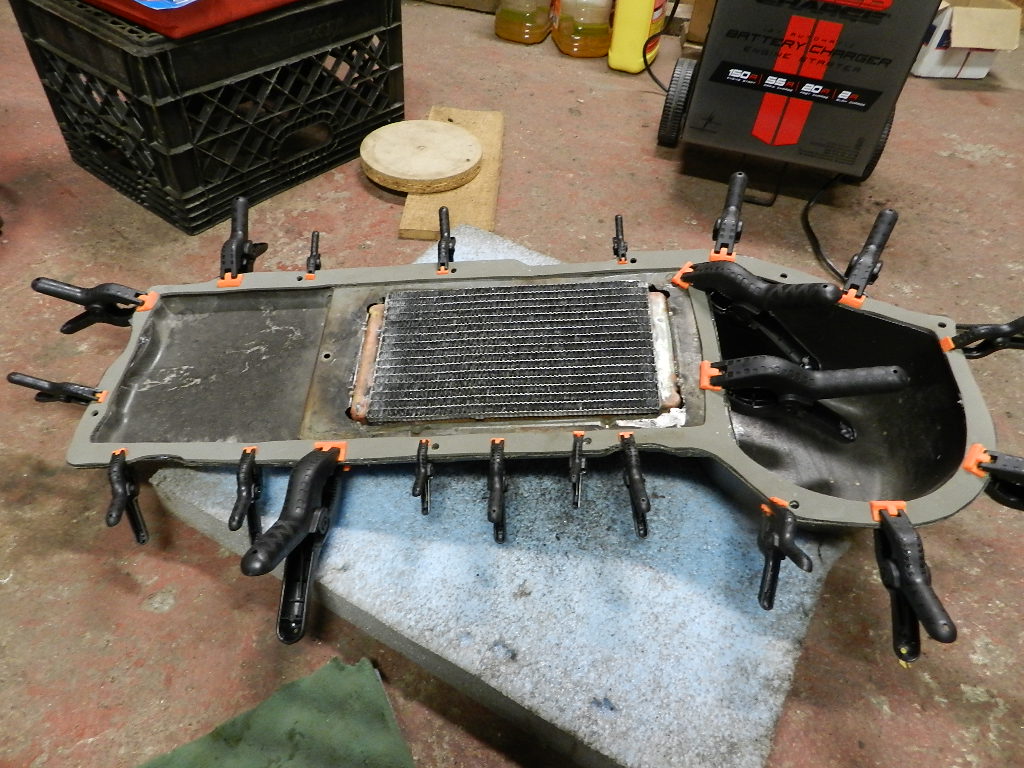
The new heater core is installed in the housing and I got a chance to use my box of discount clamps as the gasket adhesive dried. |
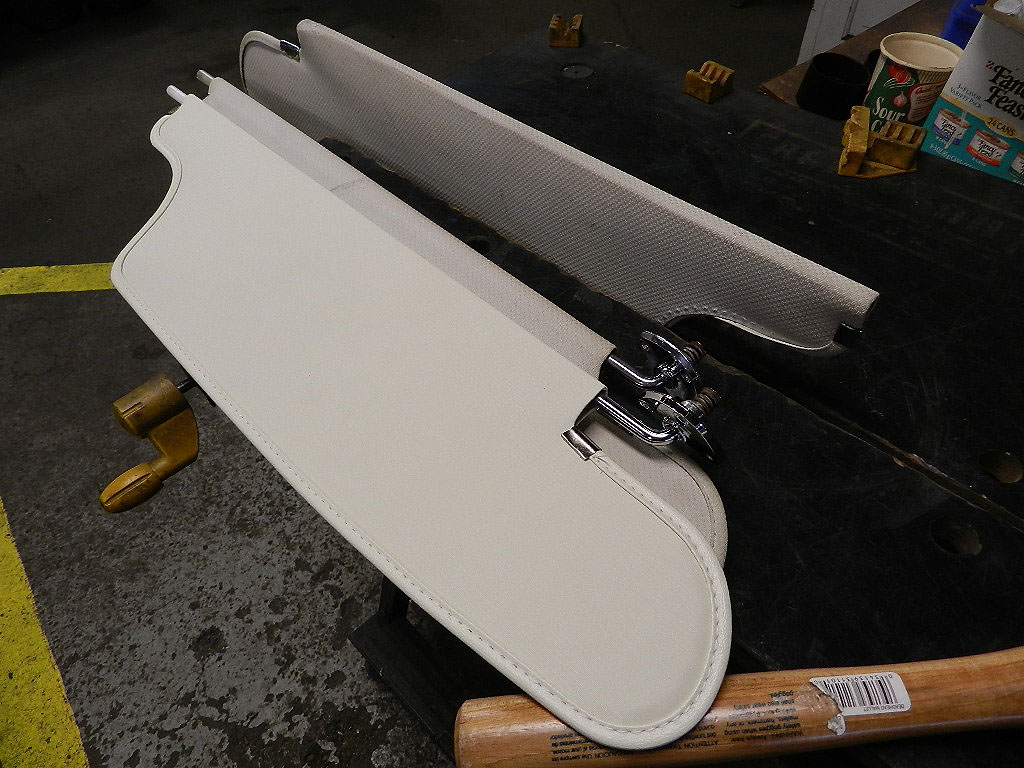
New visors from Legendary. Ordered Jan 13, received April 8. A 3 week order took 11 weeks. |
||||||||||||||||||
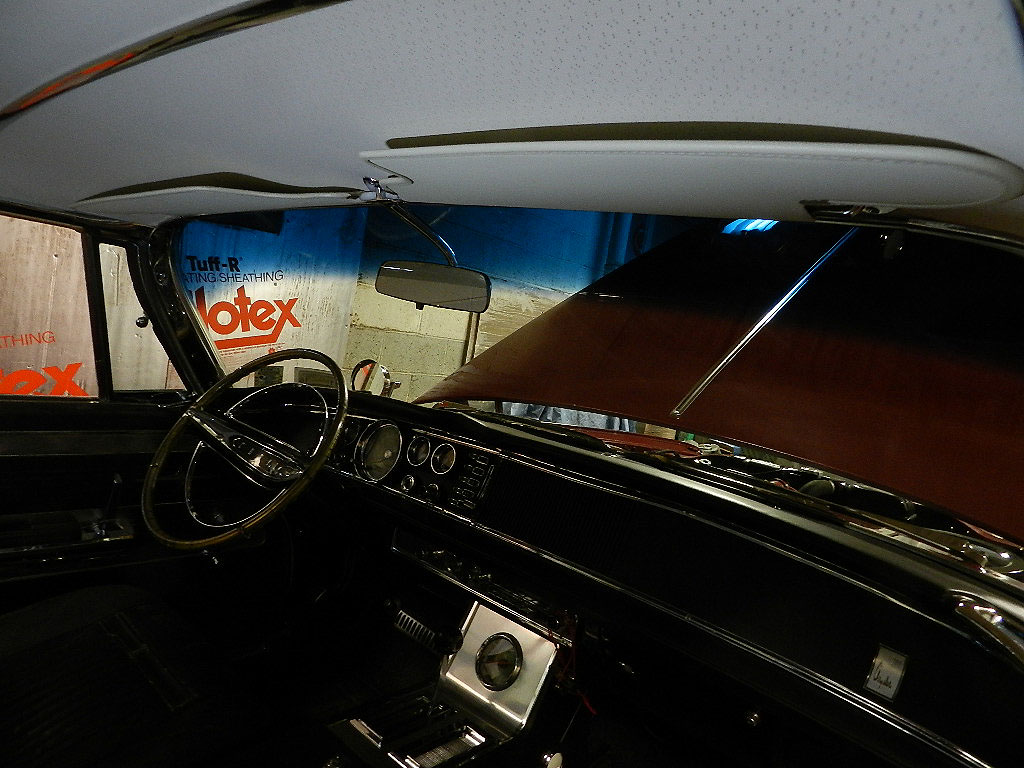
New visors installed. Very nice and worth the wait. |
Leaving the garage
for the first time since November. Video (2:17) |
||||||||||||||||||
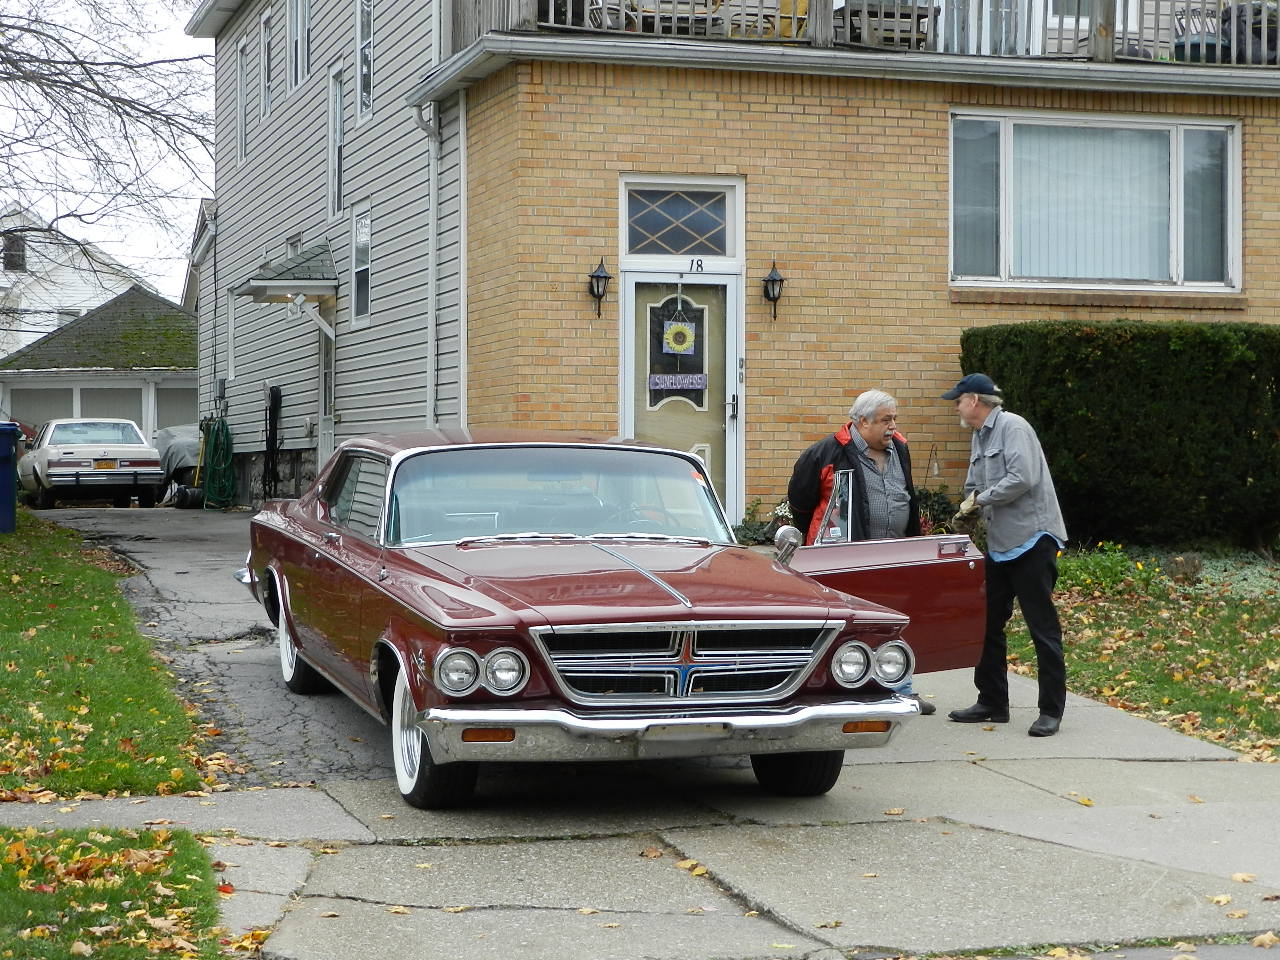
July of 2016. A friend stopped by to visit and by the end of the day, the ram K from Buffalo had a new owner. |
|||||||||||||||||||
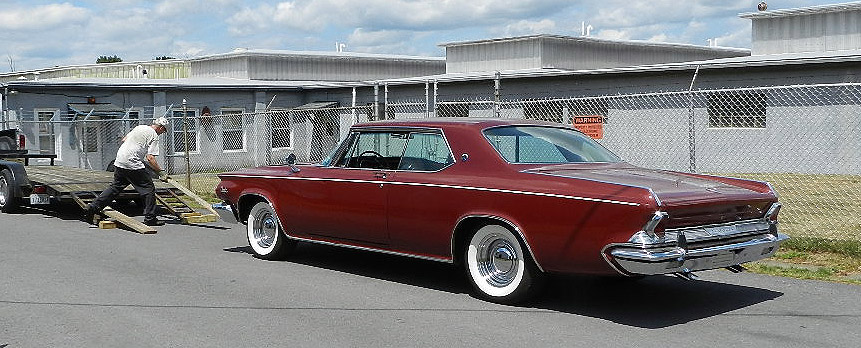
Getting ready to load the trailer and hit the road for Canada. |

The new owner has a long history with Chrysler Letter Cars and I look forward to seeing the Buffalo Ram K again. |
||||||||||||||||||
|
Life is a bumpy road; click here to see what happens next.
Click here and here for sample ram K window stickers. |
|||||||||||||||||||
Back