1964 Chrysler 300K Convertible
Time to freshen the brakes. With the car hauled over to the new garage,
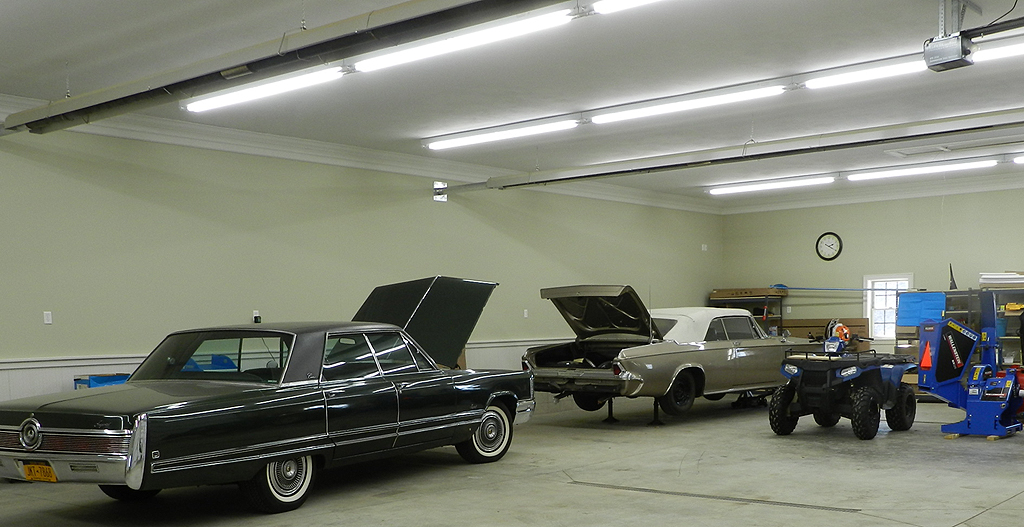
the first order of business was to roll it into the corner. I put it on the
new car skates I bought off ebay and the car would not move.
I had my trusty Roll Masters at the other shop, got them and the car moved fine.
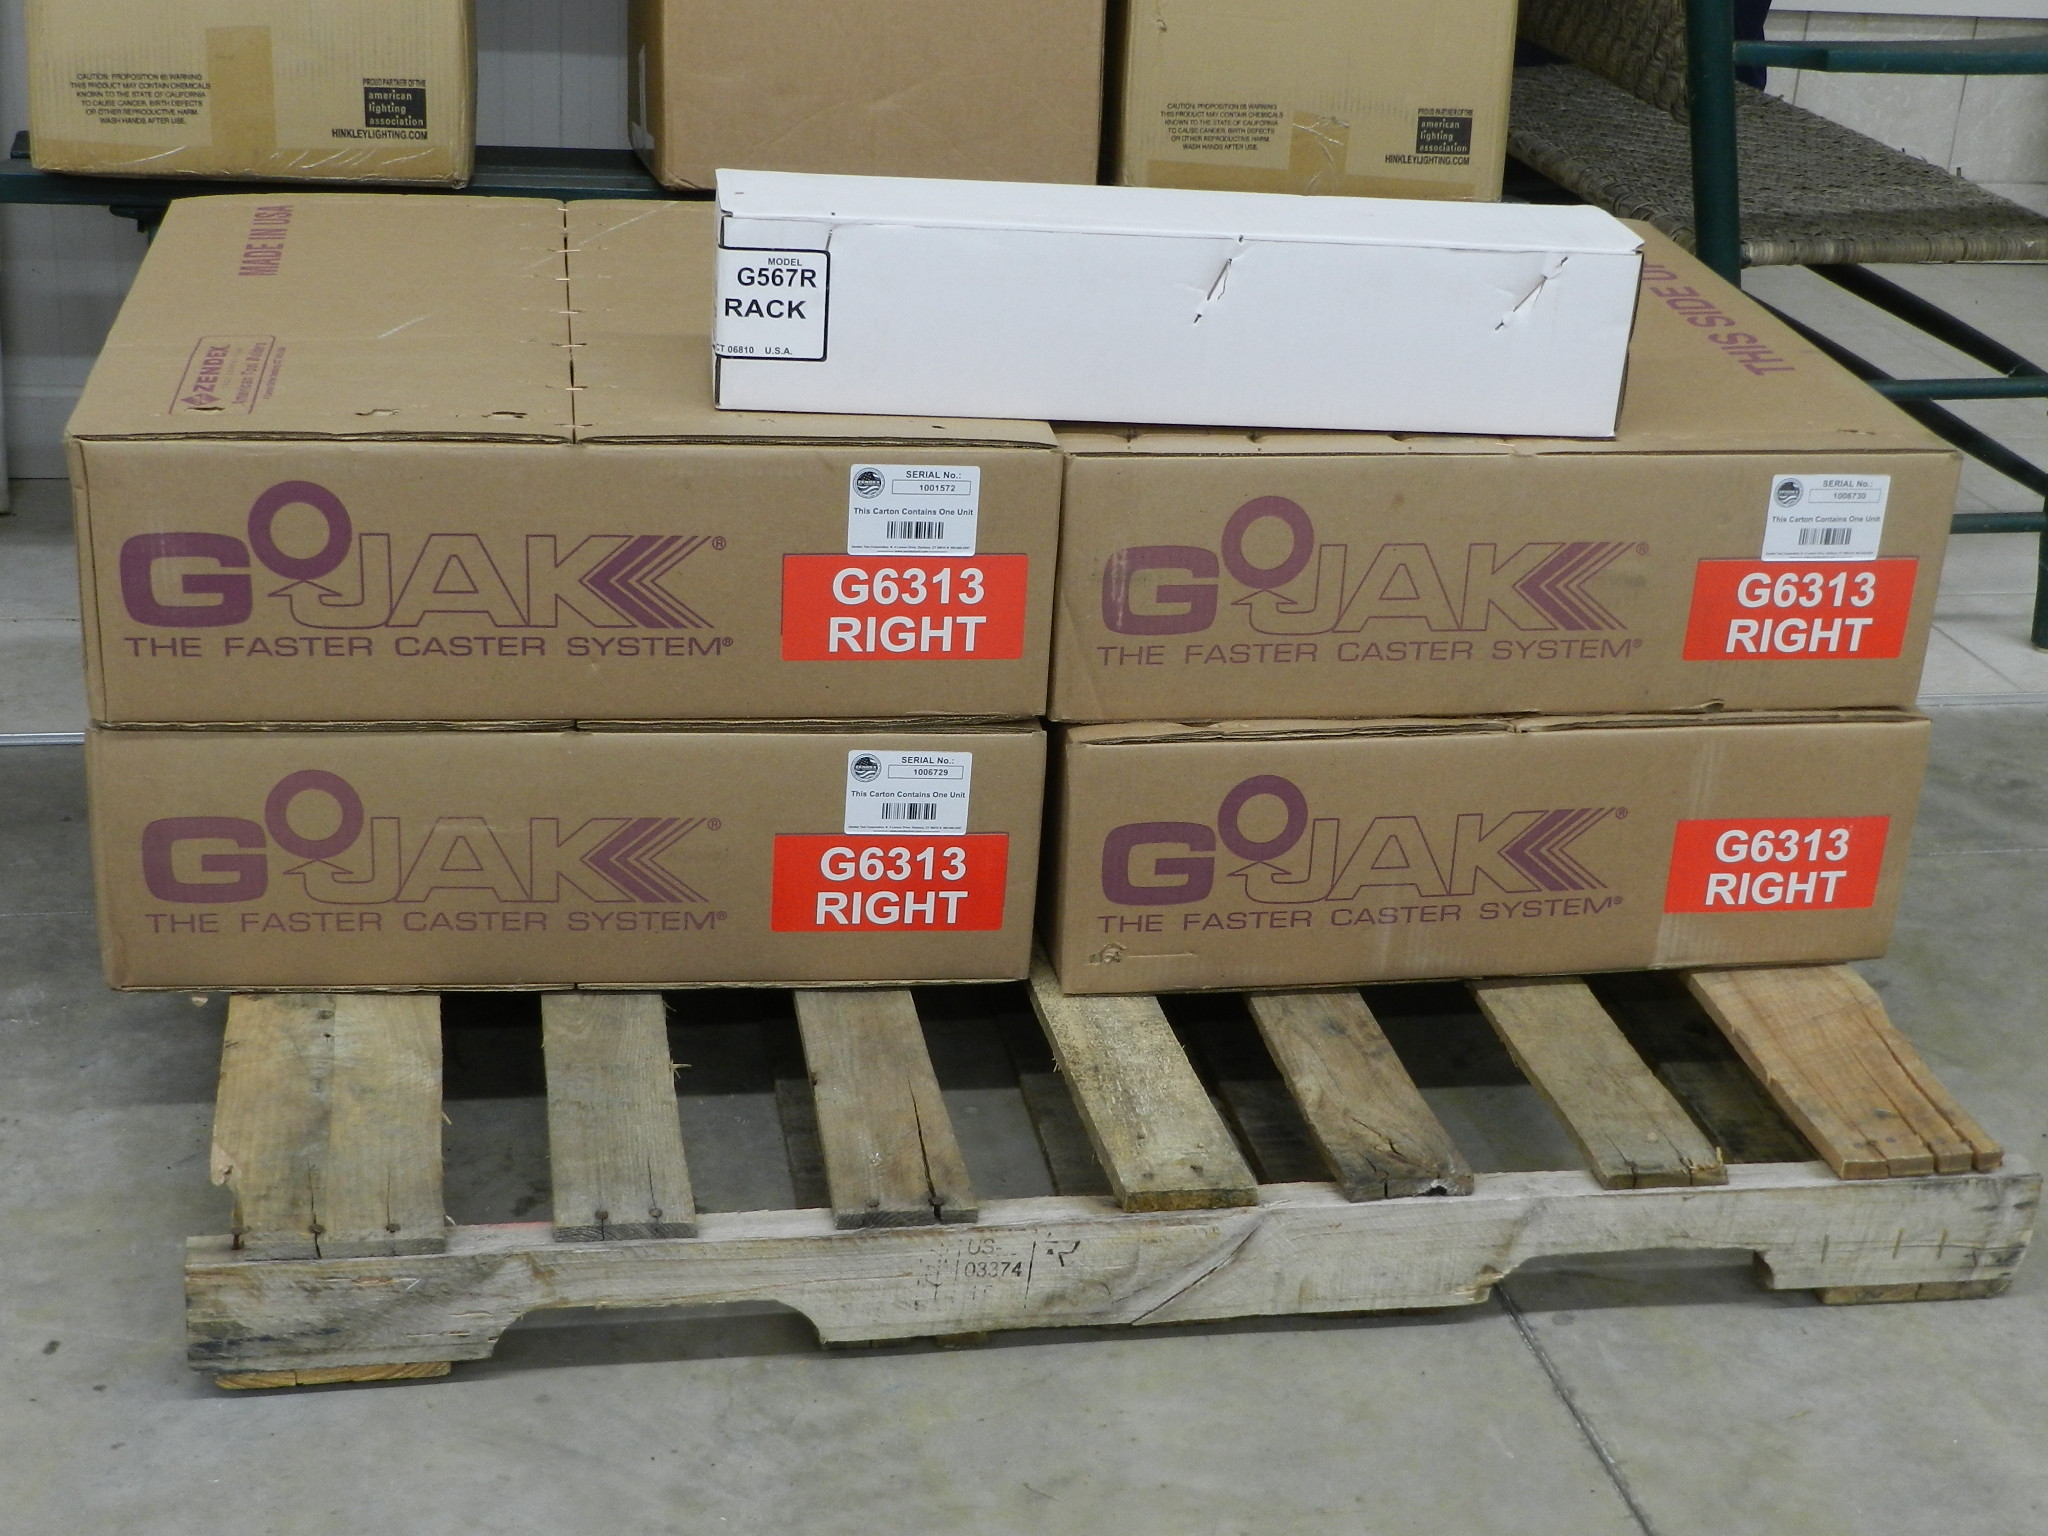
To solve future problems, a set of Go Jacks was purchased.
|
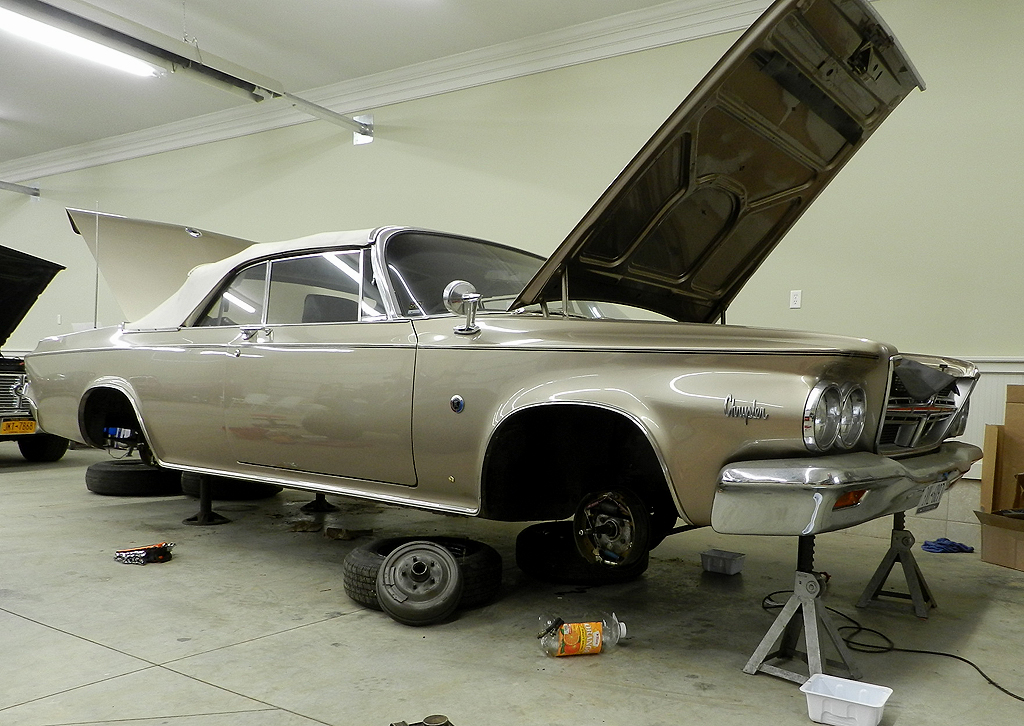
To the brakes. |
|
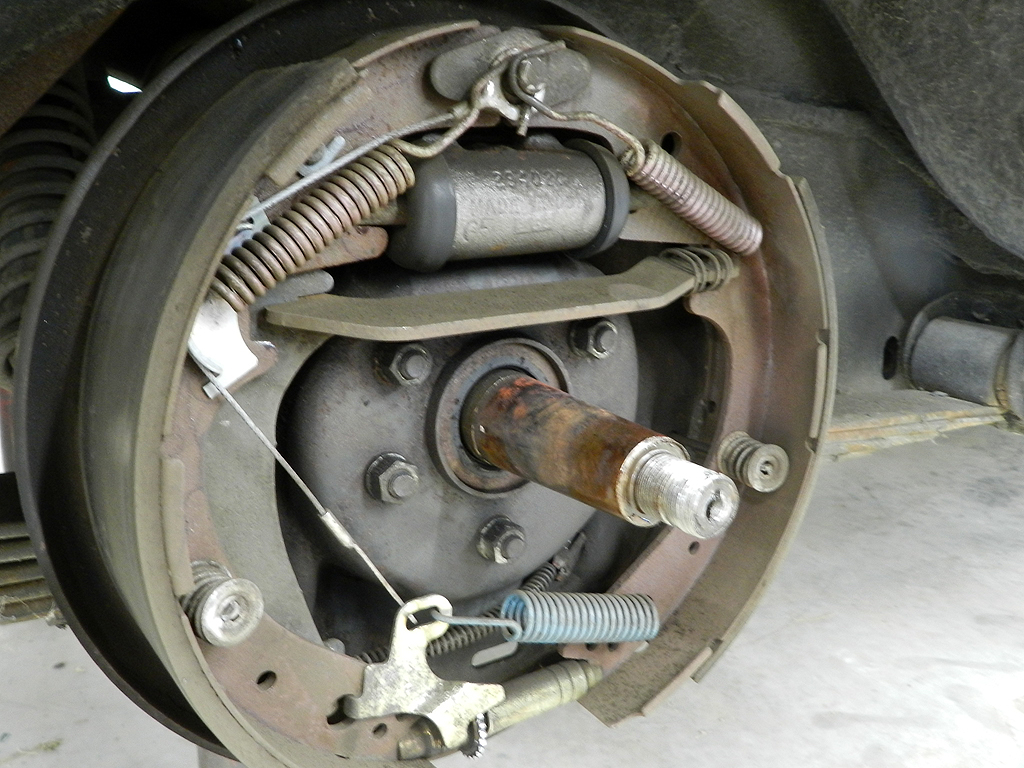
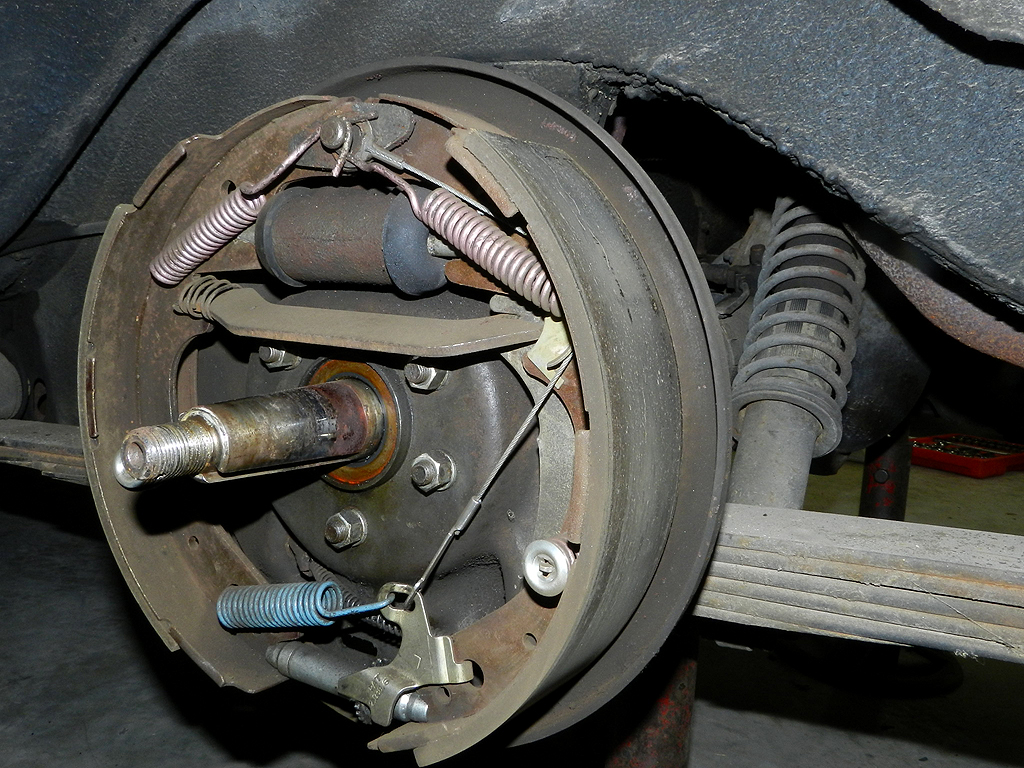
This car was restored in 1989 and has some pretty good miles from the previous two owners
but the shoes show so little wear they will be reused.
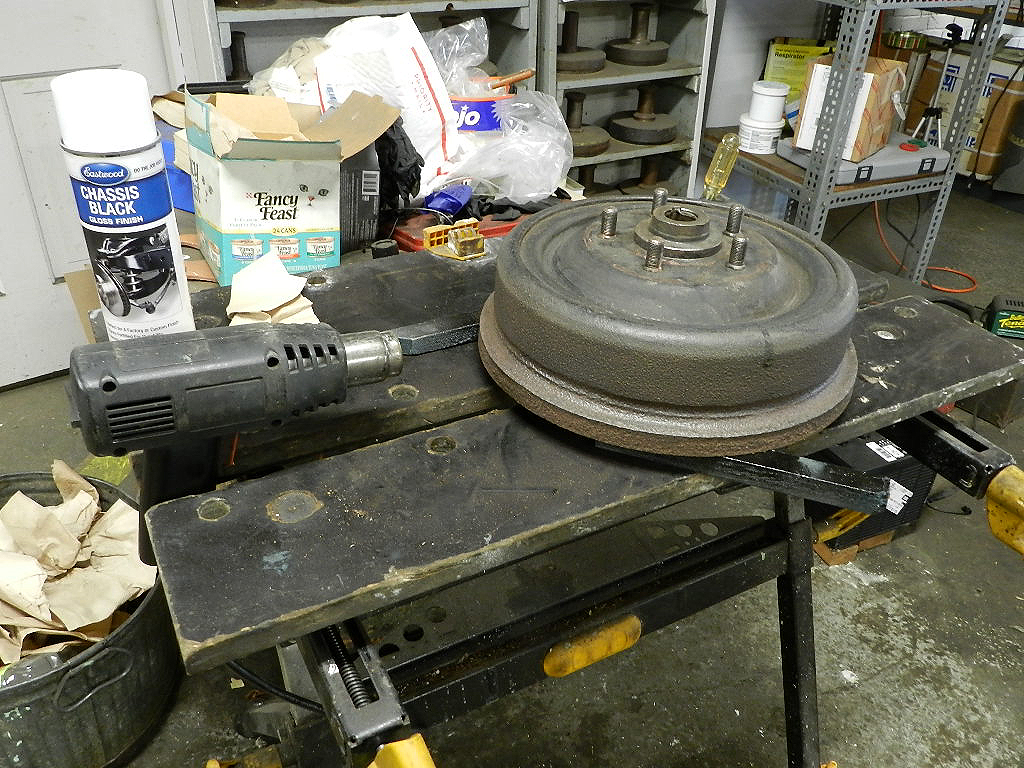
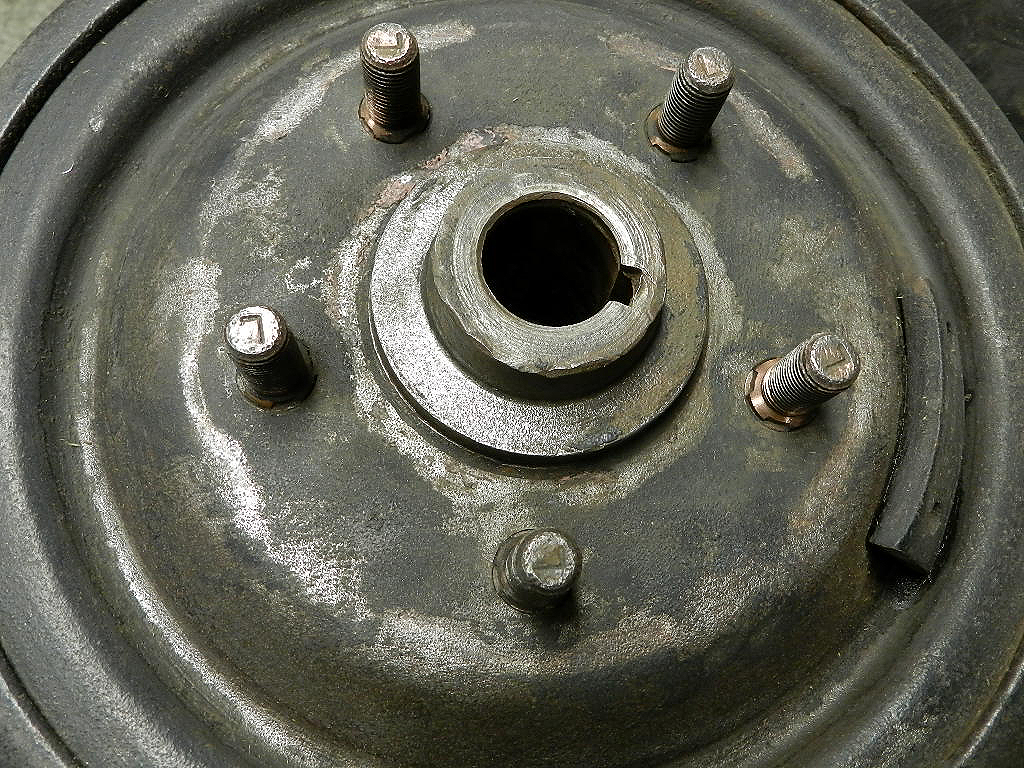
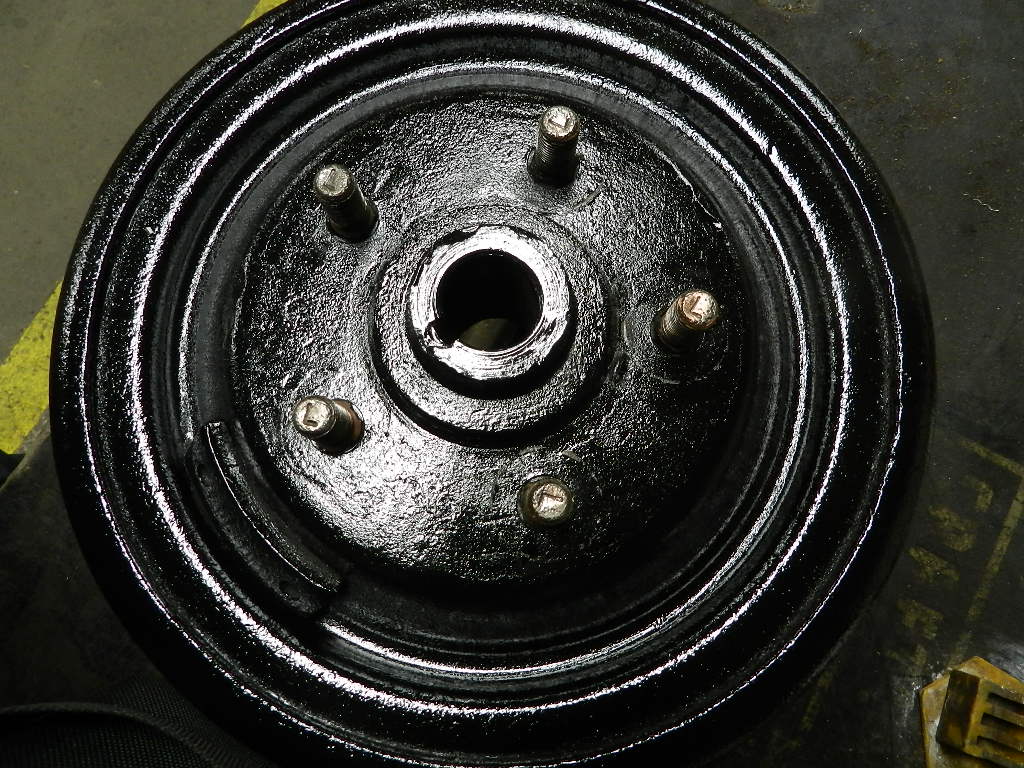
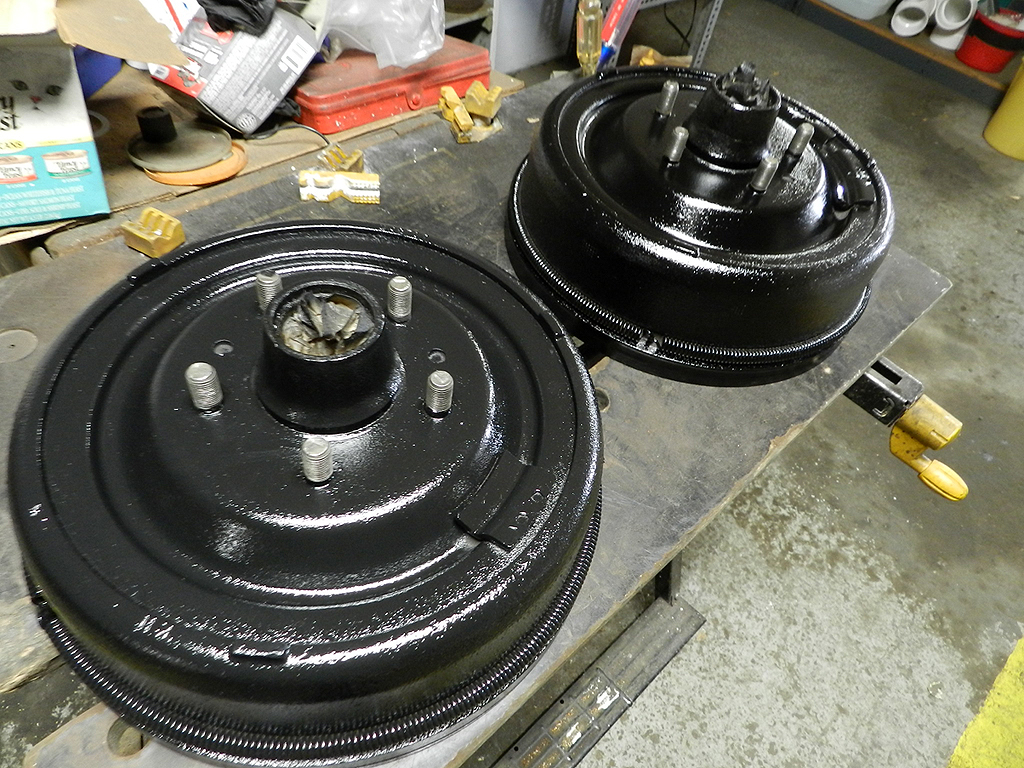
I brought the rear drums to the shop for a quick wire brush and paint. I like to get the drums warm before painting for better bond.
Sharp eyes might notice the anti-howl springs are missing from the rear drums.
I have spares but will leave them off for the present since I'm having no issues.
|
|
|
|
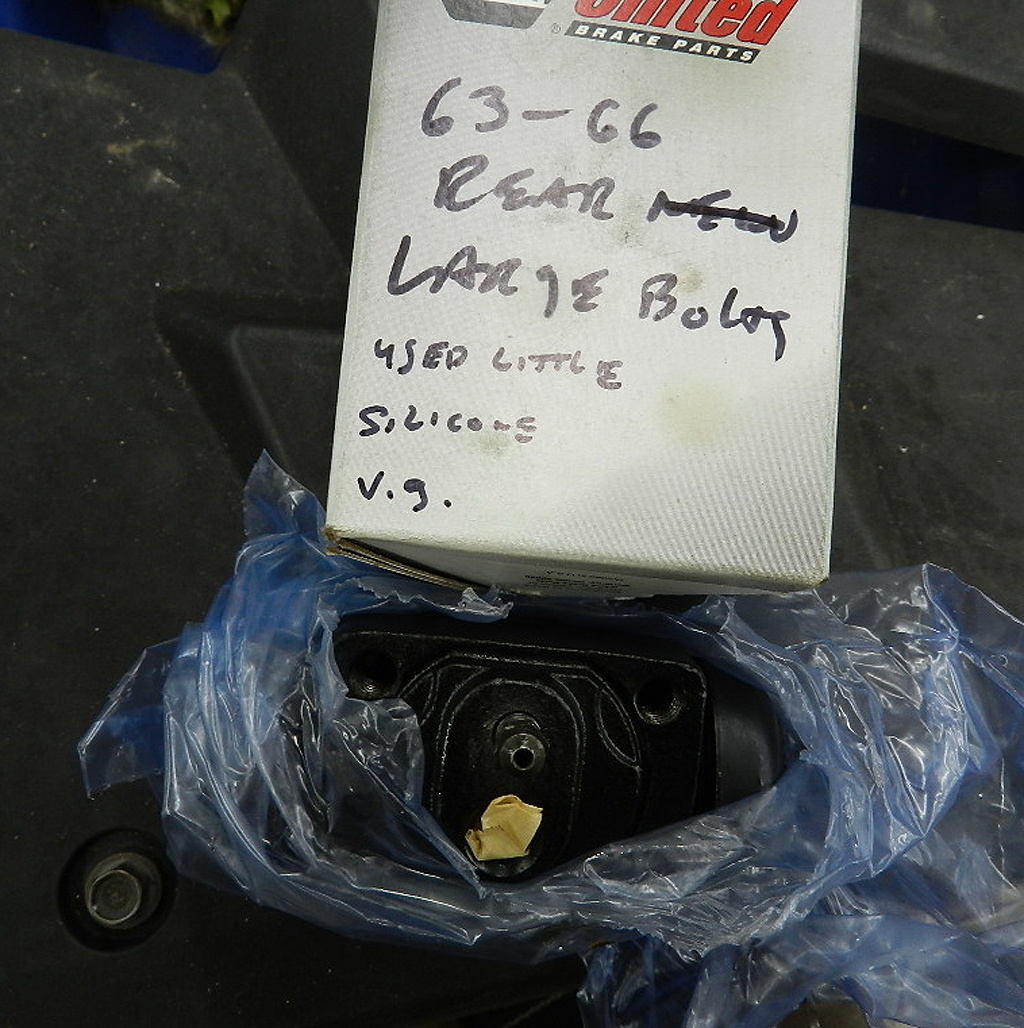
The rear wheel cylinders were in near perfect shape. I think they were installed in 1990. |

|
|
New wheel cylinders will be installed. There are two styles on rear cylinders. Some use small mounting bolts and some use large mounting bolts. |
|
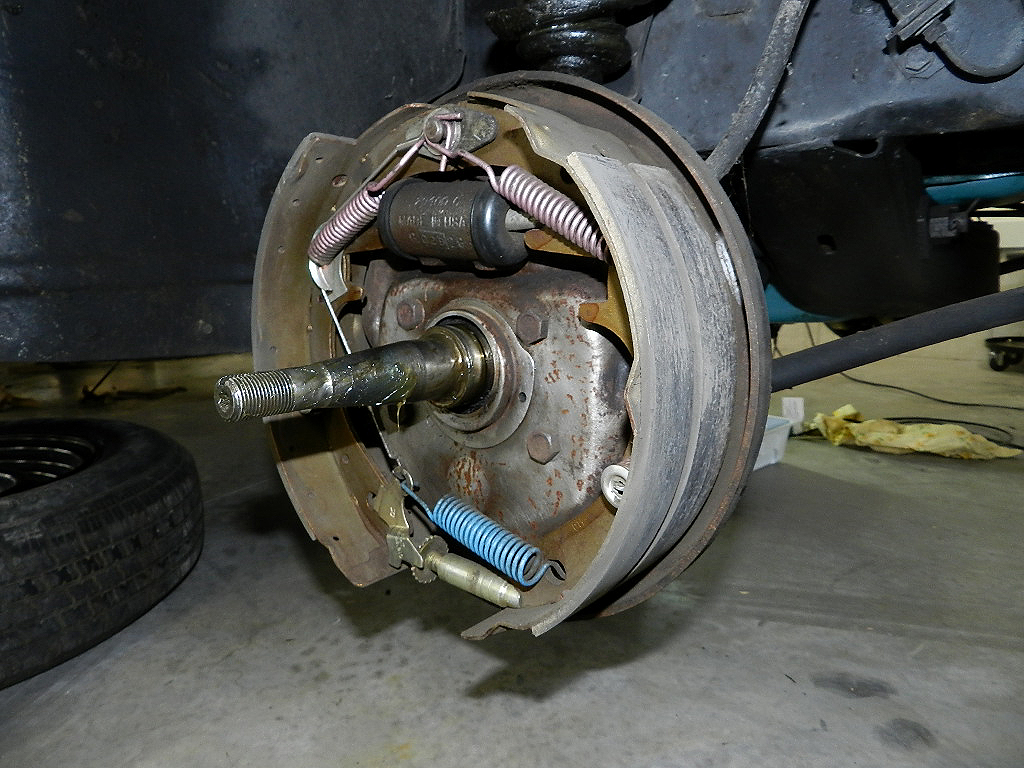
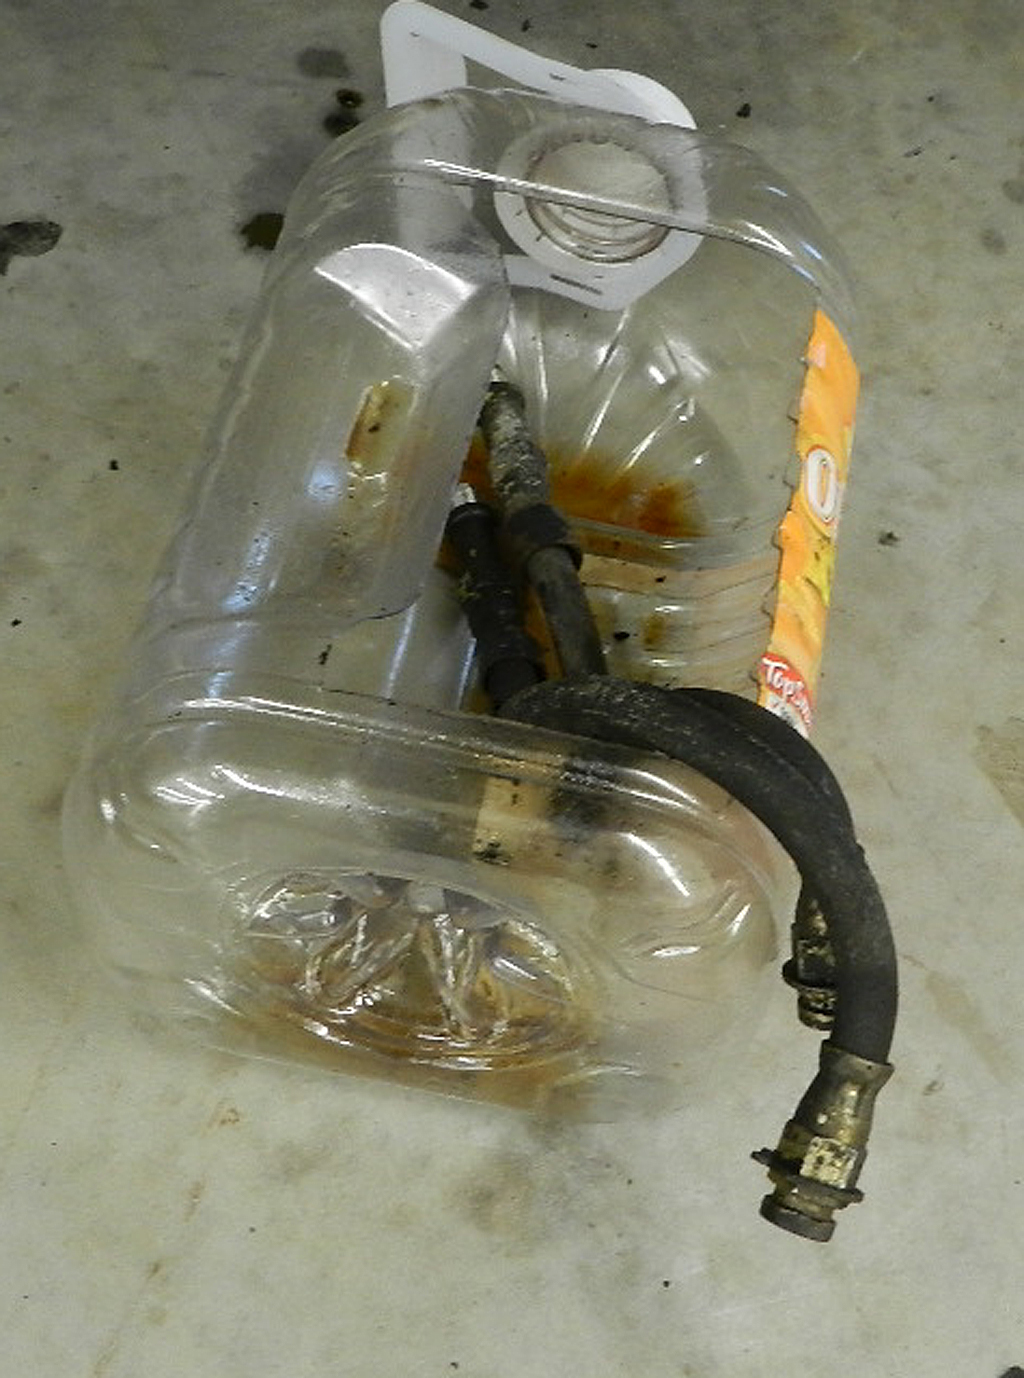
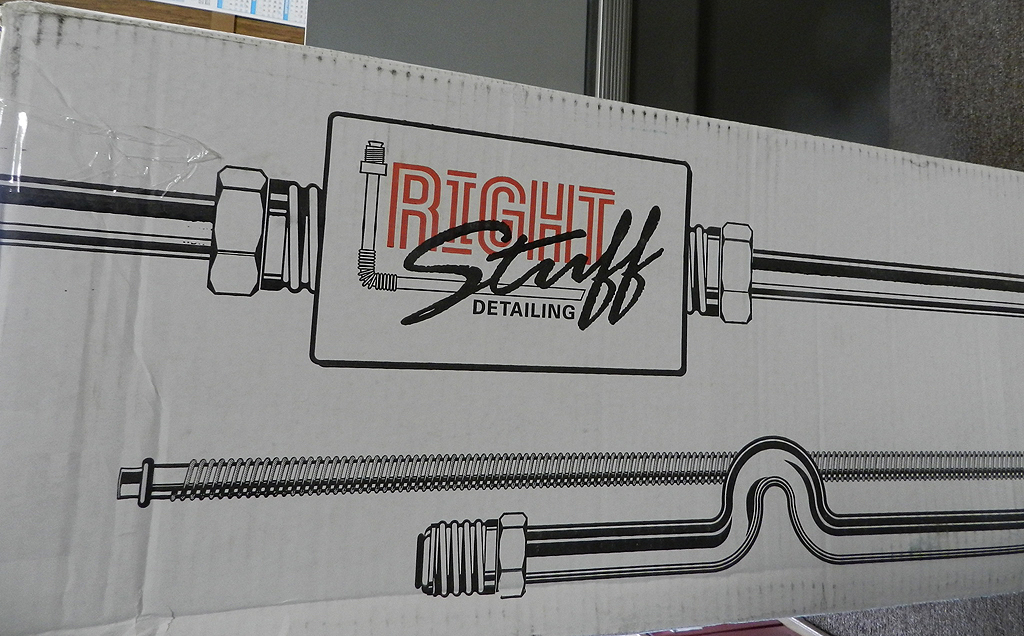
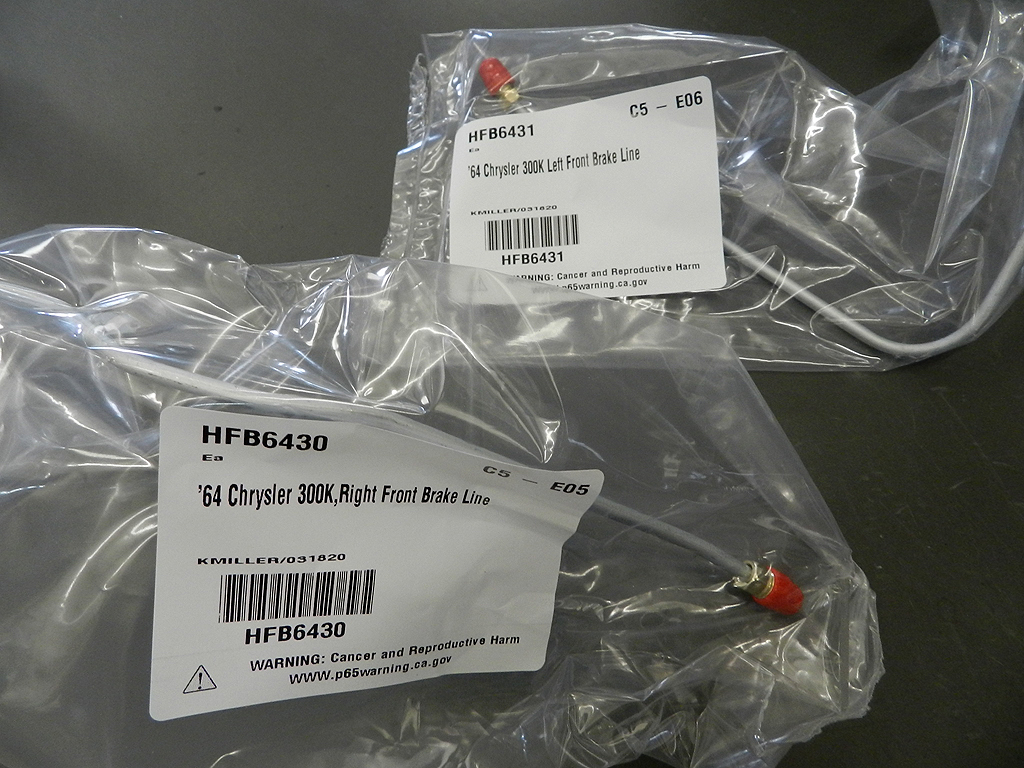
The front brakes looked very good. When flushing the system with alcohol, we could not get flow through either front hose. The hoses were plugged. Although easily corrected with new hoses, plugged hoses were a surprise. The nuts on the steel brake lines had been over-tightened during install. 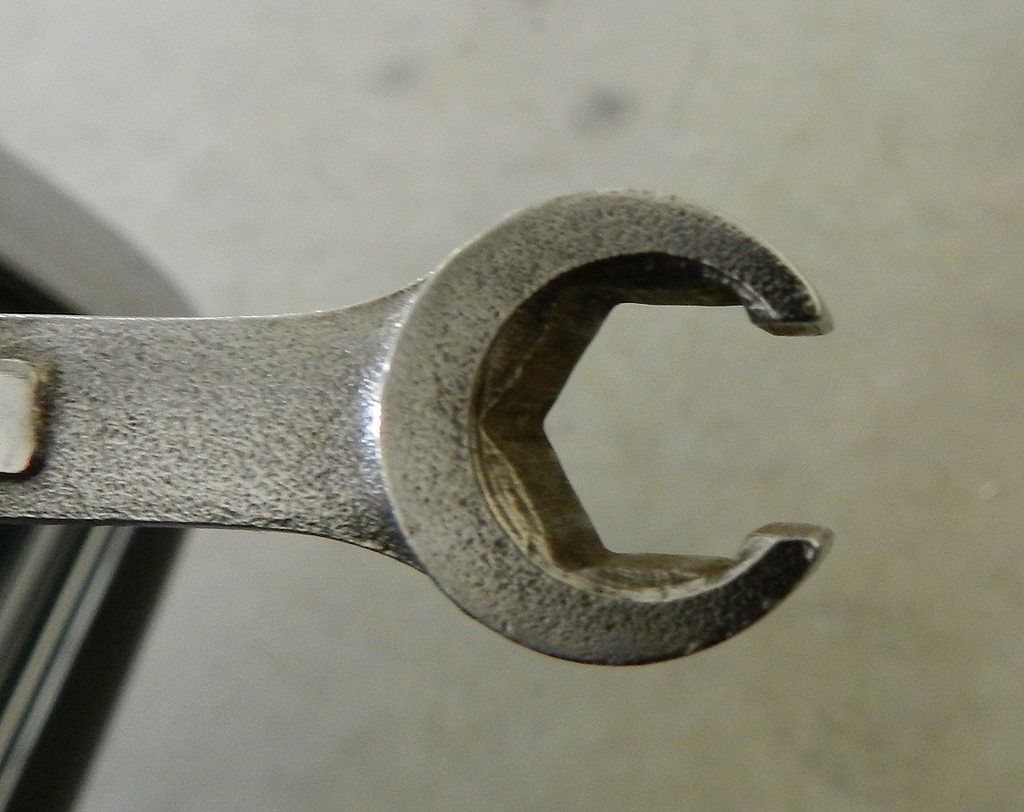 Even line wrenches didn't work, so out came Vice Grips
which naturally damaged the nuts. I ordered new lines.
The Right Stuff Detailing had the pieces
delivered within two days.
Even line wrenches didn't work, so out came Vice Grips
which naturally damaged the nuts. I ordered new lines.
The Right Stuff Detailing had the pieces
delivered within two days.
|
|
The brake pedal is high and solid. A bit of use is needed
to get the adjusters up and we will be ready to go.
Except I can't see out of the rear window.
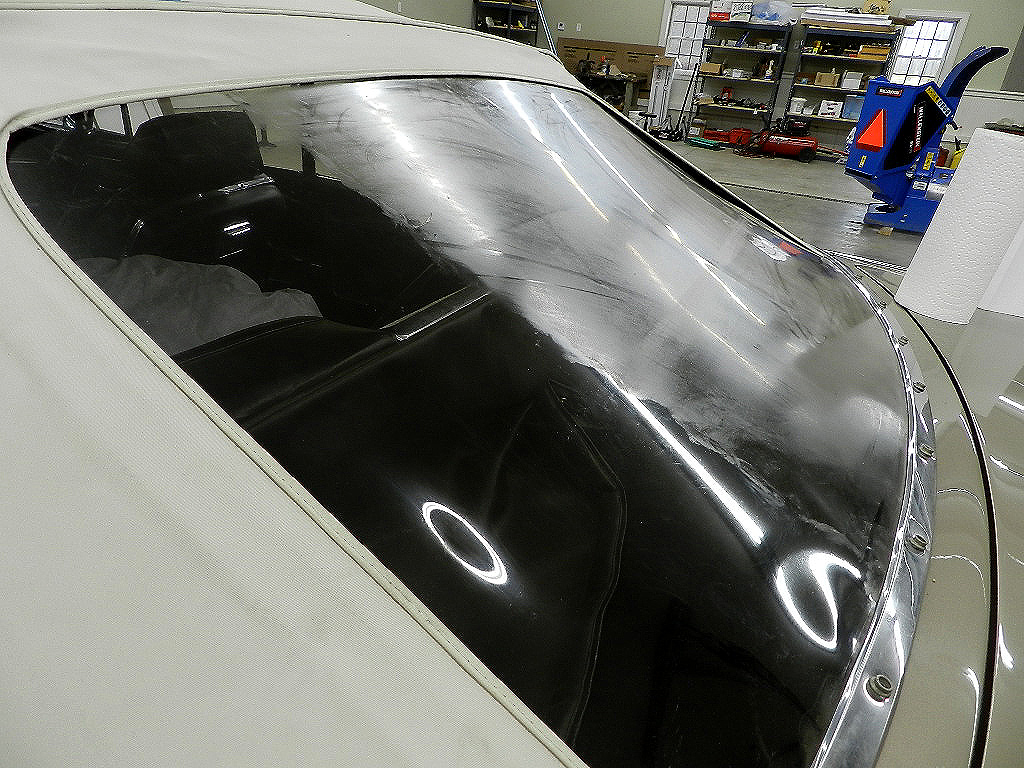
Replacing the rear window is a big effort so I am polishing it with
Novus. Their #3 product is too agressive. I am using #2.
A drop on an area the size of a business card, work it in,
wipe it off and move on. I am doing it by hand.
I think any machine buffer will be too much.
The results are very good.
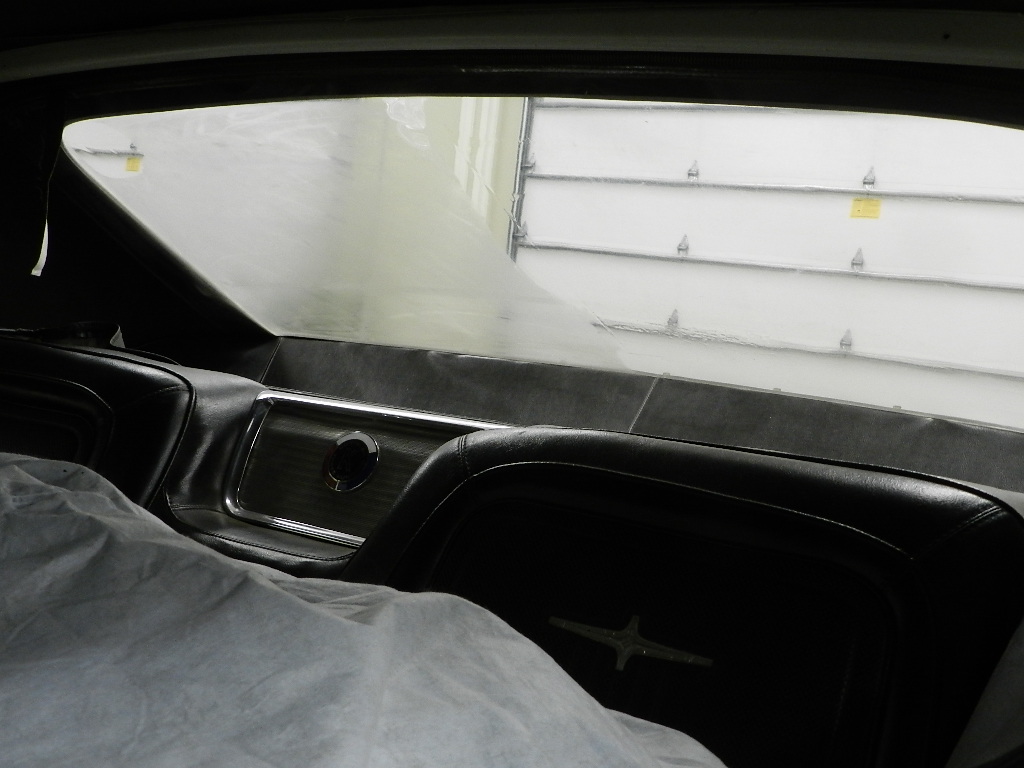
Looking from the inside out, you can see the difference.
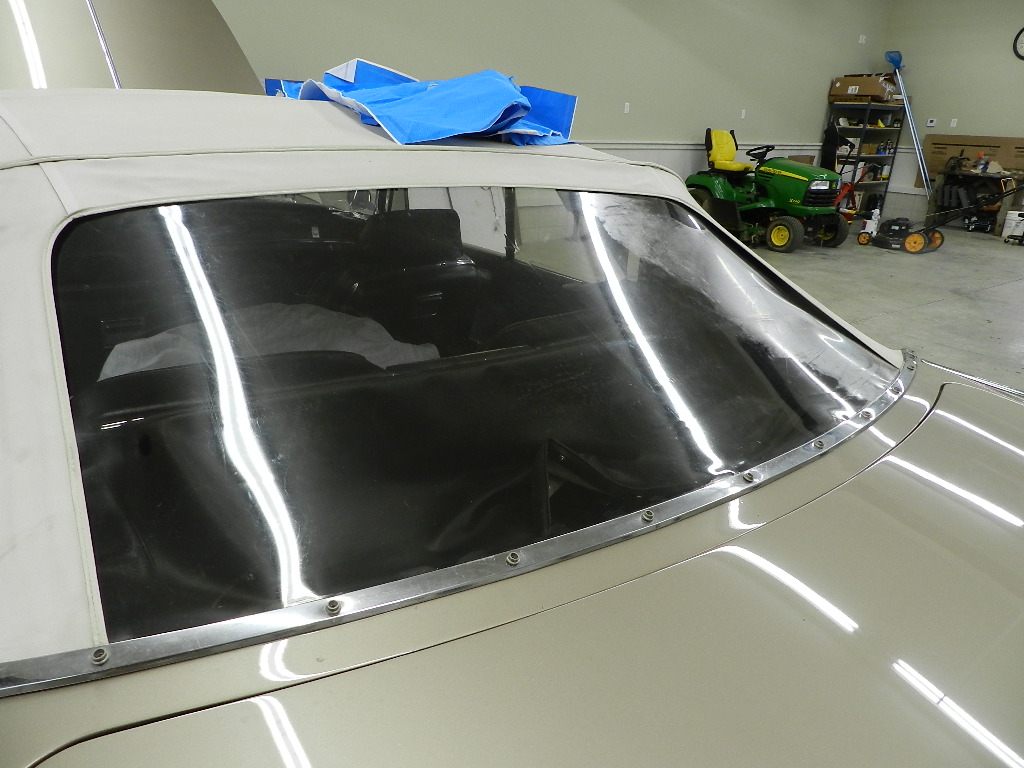
Almost done. The difficult part is the center section. I need
longer arms. Where is a giraffe when you need one?
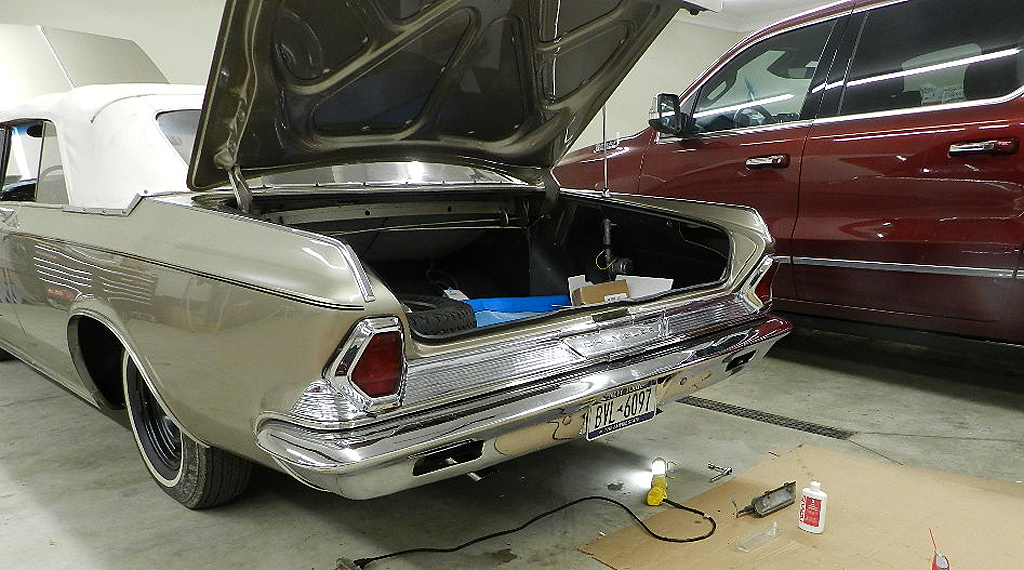
Installing the newly chromed rear bumper. Do you see the mistake?
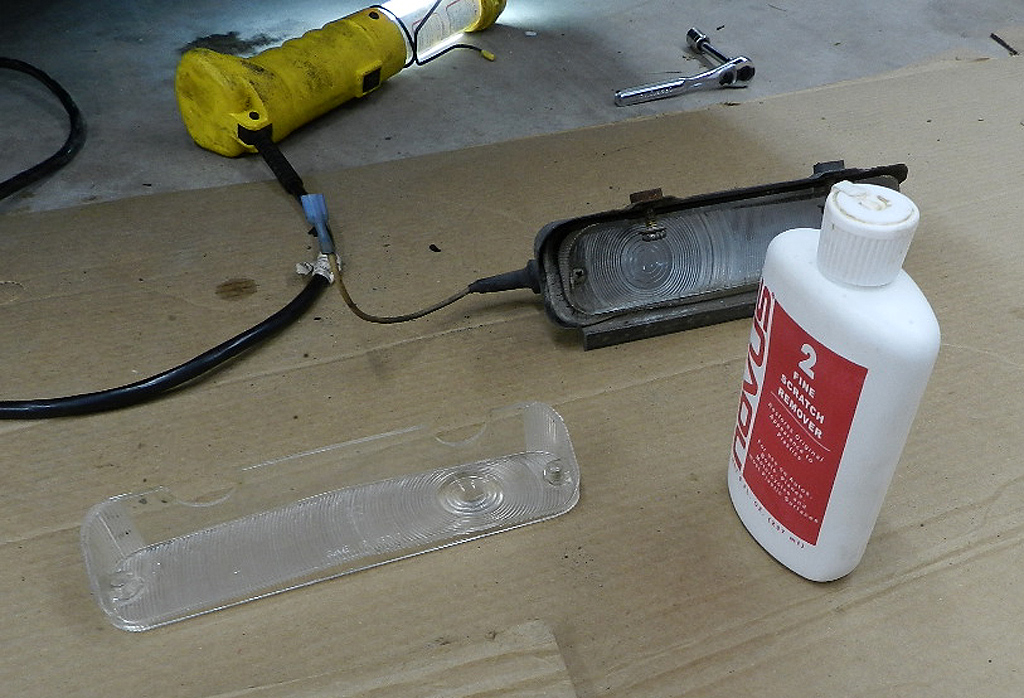
Polishing the lenses for the back up lights. Do you see the mistake?
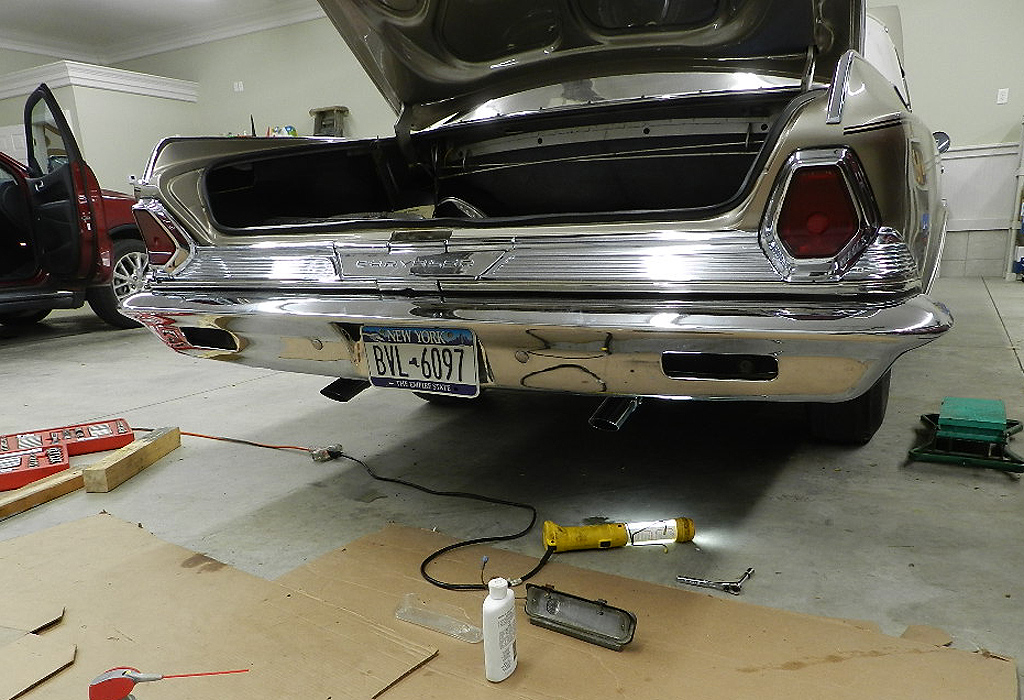
The mistake. You can't install back up lights with the bumper in place.
There isn't enough room between the bumper and the bumper braces.
So this nicely aligned bumper (which took a while to do) has to come back off.
Some days the supply of curse words is insufficent to meet my demands.
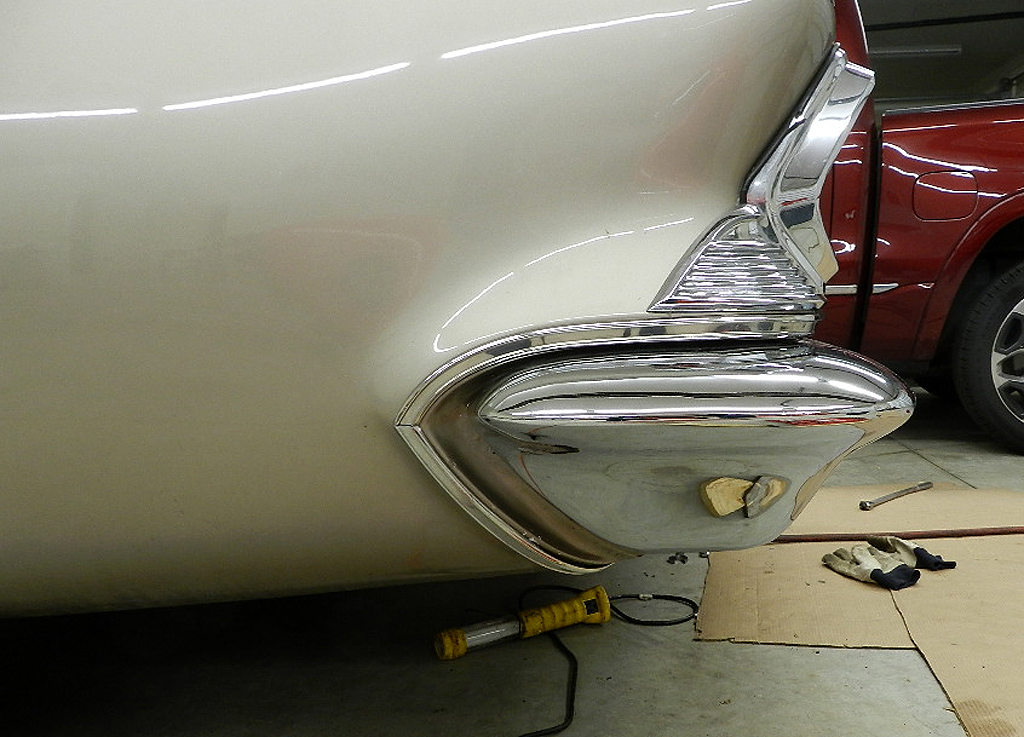
Bumper alignment. Note how the bumper point matches with the trim.
When first installed, the point had a pronounced tip downward.
Partial shims between the bumper and the brace corrected that.