Page 7
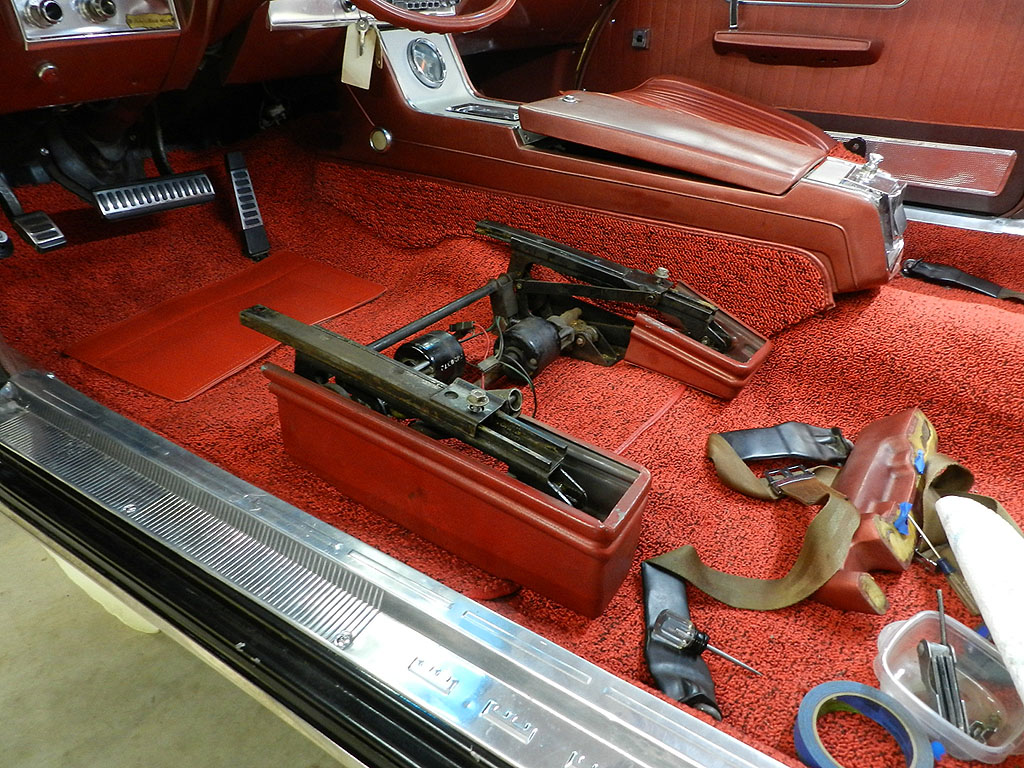
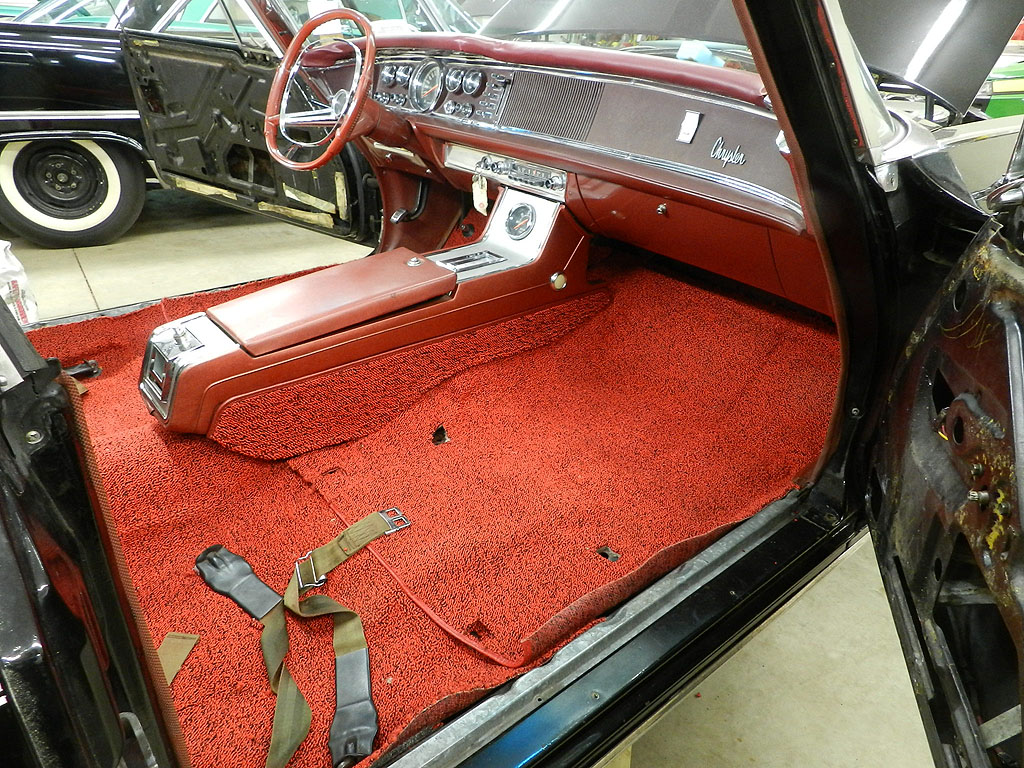 Let's jump into the installation of the new interior from Legendary. We have the carpet completed so we can install the front console along with the side carpets. Installation of the side carpets works better if you start at the front and work back. Some holes don't line up with clips but you don't really need all the clips. Rotating the clips may get you better alignment.
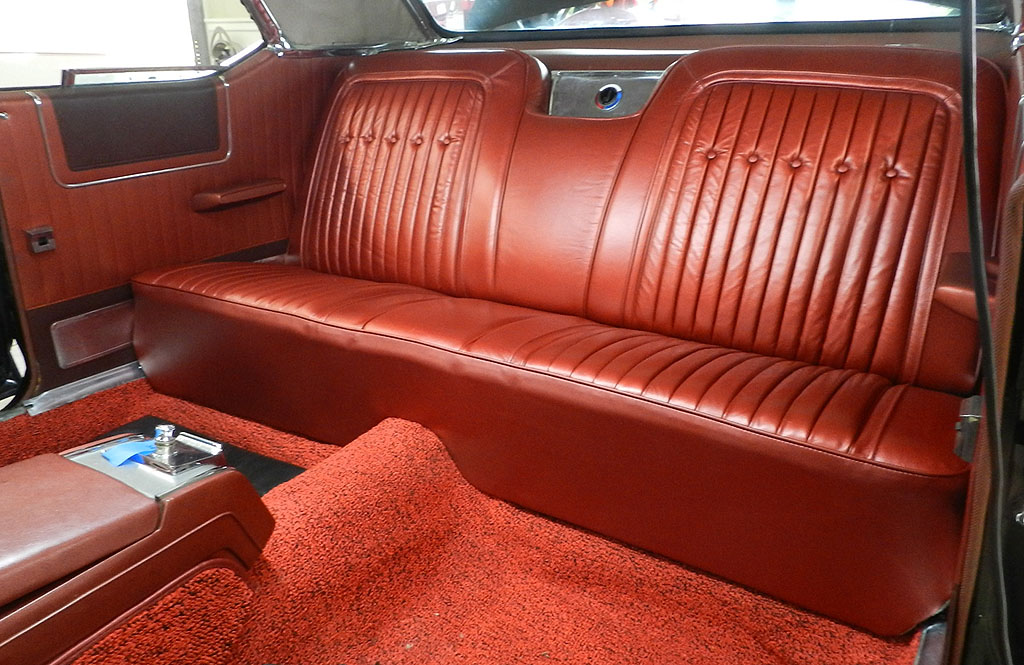
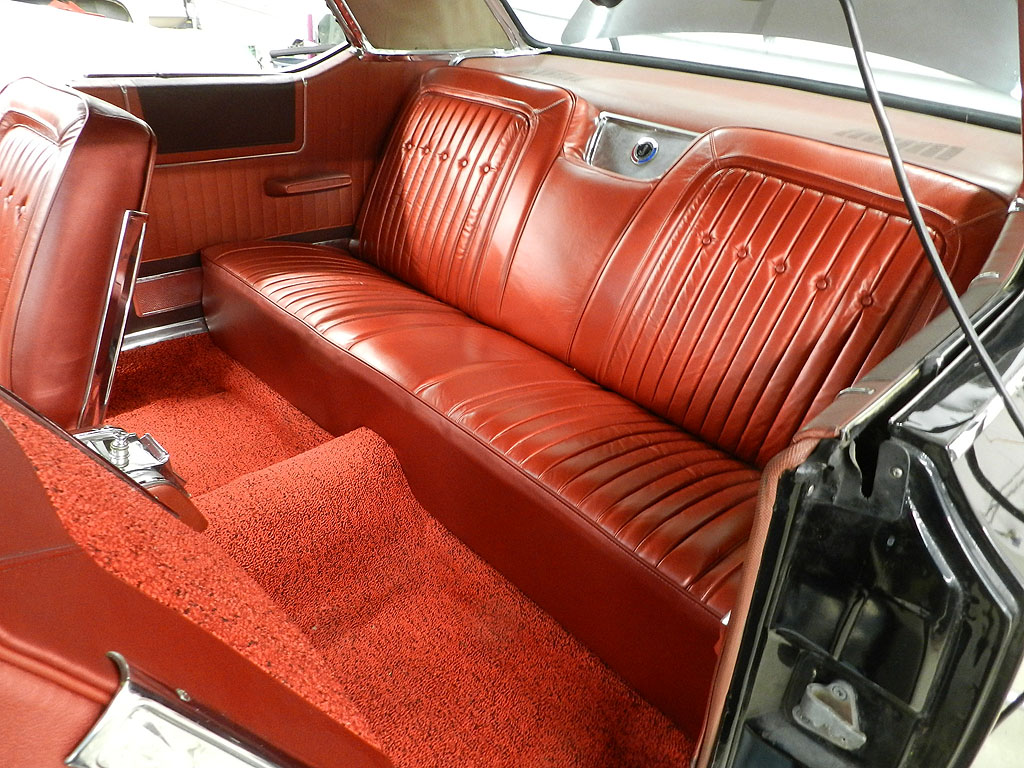
The rebuilt power window motors are installed in the rear quarters. Check now that up is up and down is down on the window switches, then install the interior panels. Install the left and right sill plate extensions because you can't get the rear screw in once the lower seat cushion is installed. There are
screws on the chrome
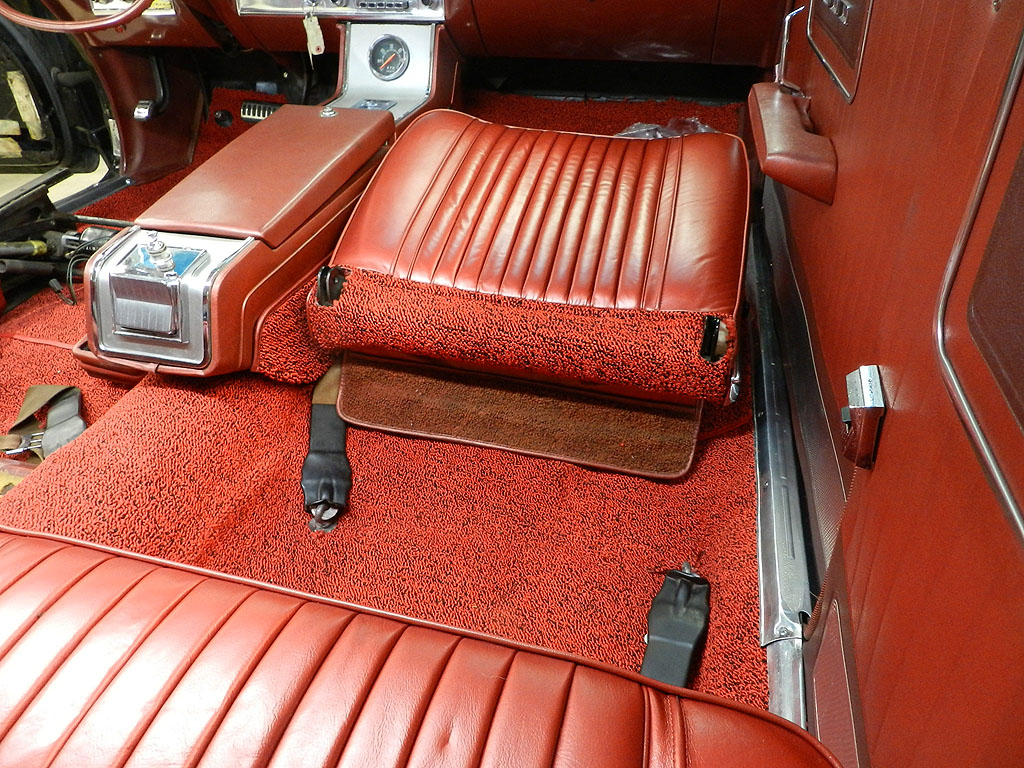
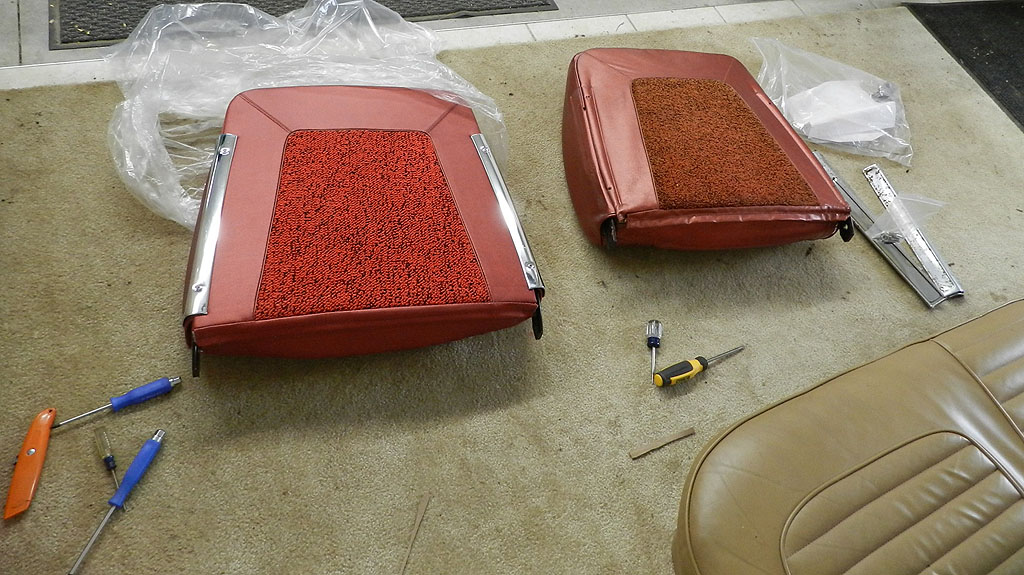
The passenger front seat is a manual seat.
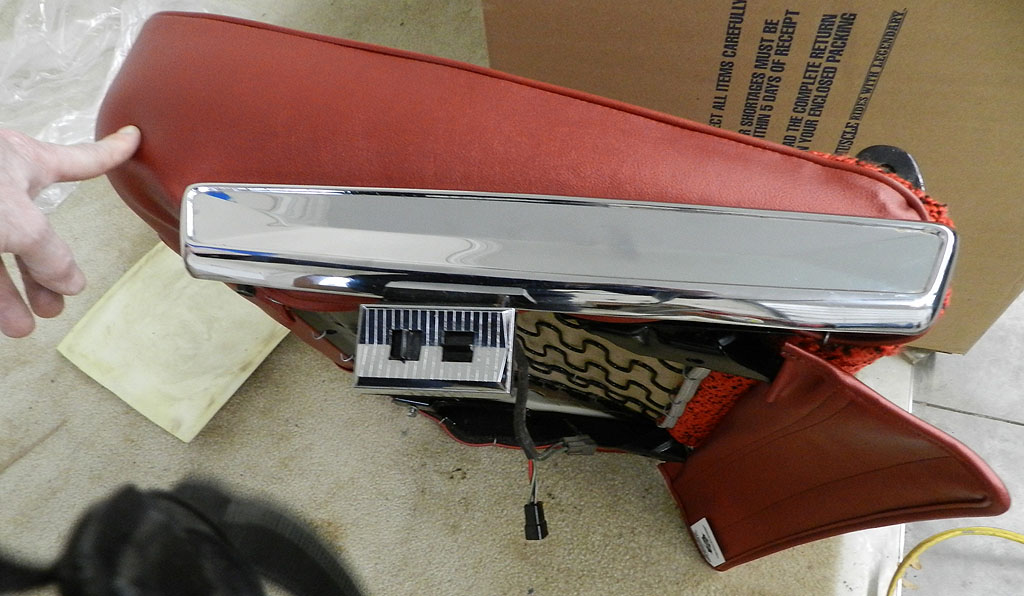
Install the lower chrome to the driver seat cushion.
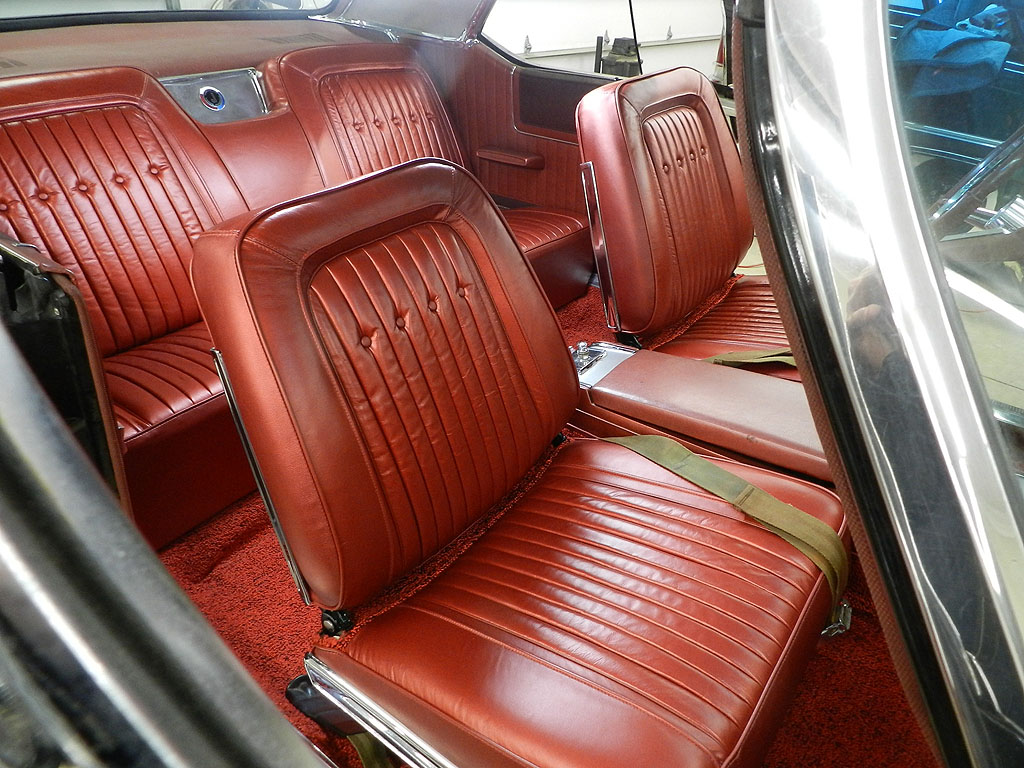
The roof rail gaskets and the quarter window gasket were replaced. Quirey has the new pieces. Removal of the roof rail gasket is easy. Except for the forward pieces by the vent window, the gasket is not glued and the old gasket pulls out of the retainer. Same for the quarter window vertical gasket. Be prepared to adjust your front window glass; the new gaskets are bigger and will cause the glass to tilt out. Adjusting the top stops should take most of the problem away. I adjusted both top stops to be a little lower and set the rear stop again a little lower. This gives the glass a little rearward tilt which helps close any gap between the front and quarter windows. We have a video here.
I was under the hood and just happened to look at throttle shaft bracket. The plastic bushing was very worn with lots of movement on the shaft. I removed the bracket, put in a new bushing, installed the bracket. On only the first or second try, the shaft popped out. The bracket itself is too worn to hold a new bushing. Removed the bracket thinking I'd swap in a spare but found ram brackets are different than non ram cars. I don't have any spare ram brackets but found one that will work and installed. It might even work better since the force tends to push the rod into the bushing and it is unlikely to pop out. During all this the throttle shaft connection fell off at the bottom of the ram bail lever. With long 1/4" drive extensions we got in there and tightened.
There was light surface rust on some of the parts in the engine bay from storage.
Most of it was on pieces that had been painted years ago with Nyalic clear. This
is disappointing. I've used Nyalic for years without problems.
2017 was the last time we had this car running. A check of the fluids, some cranking to circulate the oil, then prime down the carbs and it fired right off. The oil light went off, the ammeter charged and I was reminded that the exhaust system needed attention; the passenger side muffler was in pieces. Although some of the other pipes were adequate, I decided the car deserved a new exhaust system. I used Classic Exhaust out of Ohio. I bought regular steel pipes with standard mufflers. The pipes should be here before Christmas.
|
|||||||||||||||||||


To the next page
Back