Golden Lion Grrrages
1962 Chrysler 300 H Convertible
Page 2
|
 The car arrived in December to cold and snow. We moved it into the
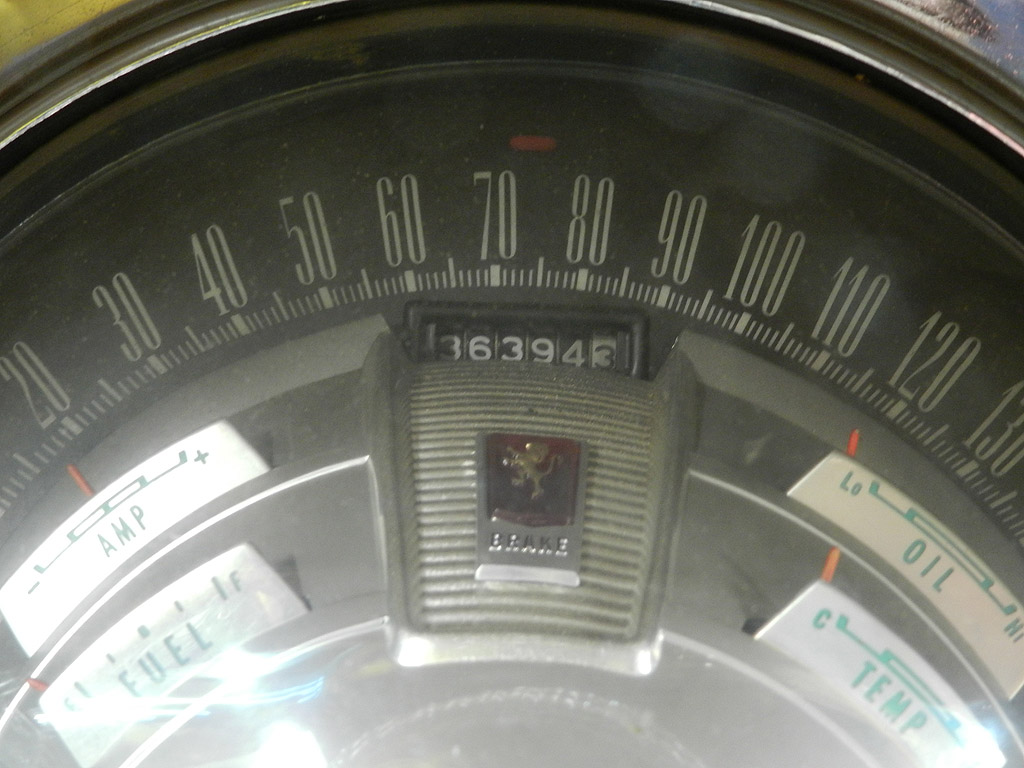
garage and learned this is a quarter million mile H. The odometer reads 36,394
and paperwork from Gil shows this is 236, 394. This might be the
highest mile H convertible in existence. We have a summary of miles here.
The car arrived in December to cold and snow. We moved it into the
garage and learned this is a quarter million mile H. The odometer reads 36,394
and paperwork from Gil shows this is 236, 394. This might be the
highest mile H convertible in existence. We have a summary of miles here.
The engine runs but will need attention. The power
windows work, the top motor does not.
Body repair will be needed to the driver front fender, to the quarters, to the trunk and to the foot
wells. This car is not going to be a quick project.
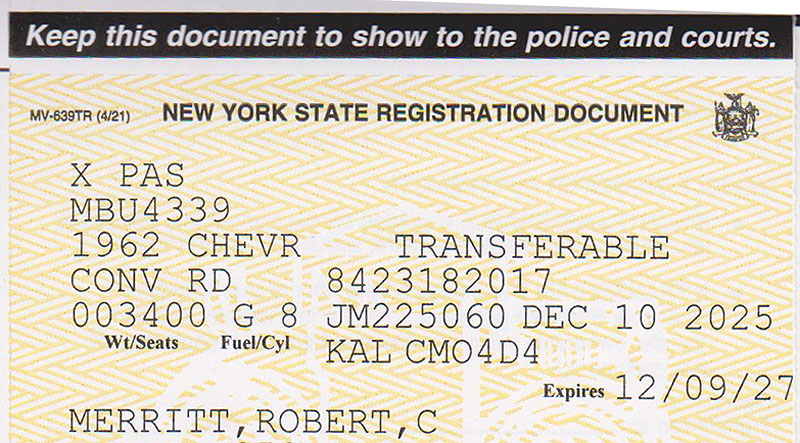
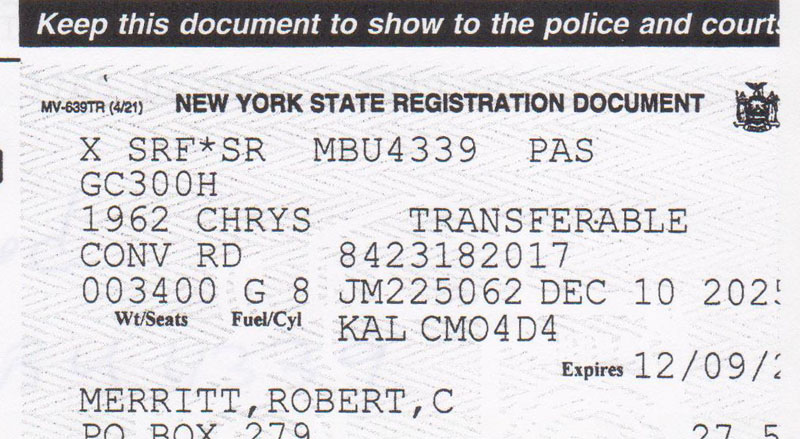
I went to the DMV to transfer the Florida title to a NY version. Look closely at the picture on the left to see
what their system prints: "1962 CHEVR". This has happened several times before on other old Chryslers.
My guess is the DMV's "auto-fill" puts CHEVR even though
everything else says CHRYS. Bring it to their attention and the DMV can force their system to issue CHRYS.
Check your papers before leaving their office so
you don't have to make a second trip.
|
|
For no particular reason we decided to start with fixing the power top motor. You might think you
can access the top motor from the trunk, and you can, but only to add fluid. Removal requires
you get to the other side and that means the back board has to come out. That means the rear
console has to come out, which means the rear seats have to come out. You might as well
take out the front seats. It is easy enough and gives you the access you need. We have
a video on console removal.
Removal of the rear seat cushions was difficult; the lower cushions wouldn't release.
The trick is to raise the rear seat upper cushions -- remove entirely if you can. Then the lower
cushions will slide back far enough to release from the hooks. With the FGH, the rear upper
cushions are small. They should be held with 2 screws at their lower retainers which you can get at
with a long Phillips. These seats didn't have the screws -- if people have been in here before
they often don't reinstall the screws.
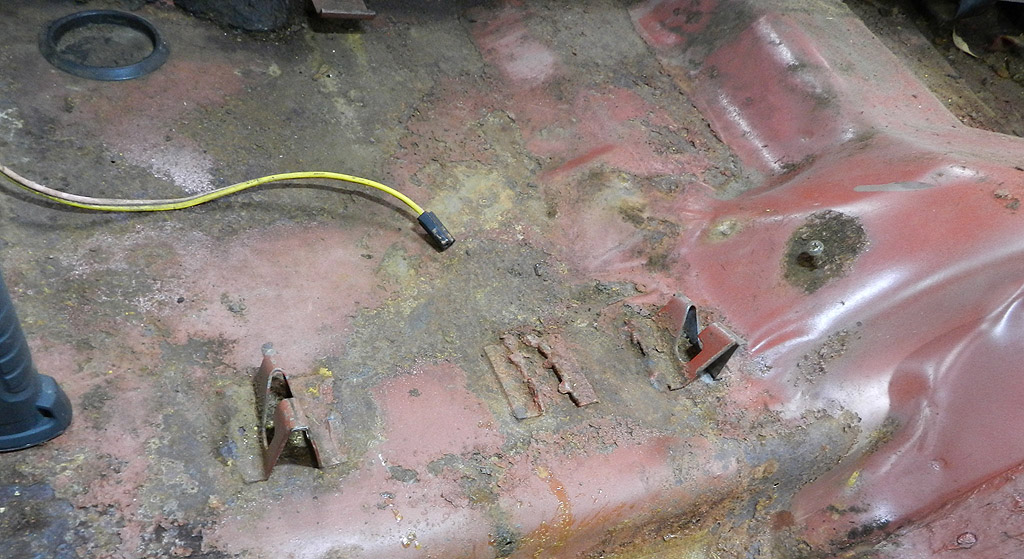
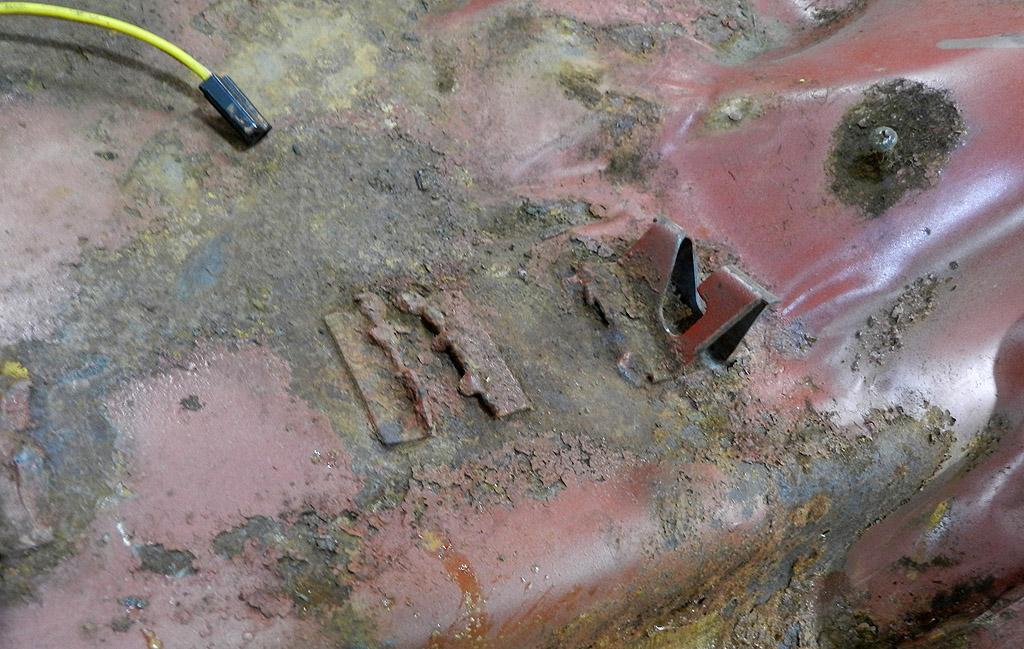
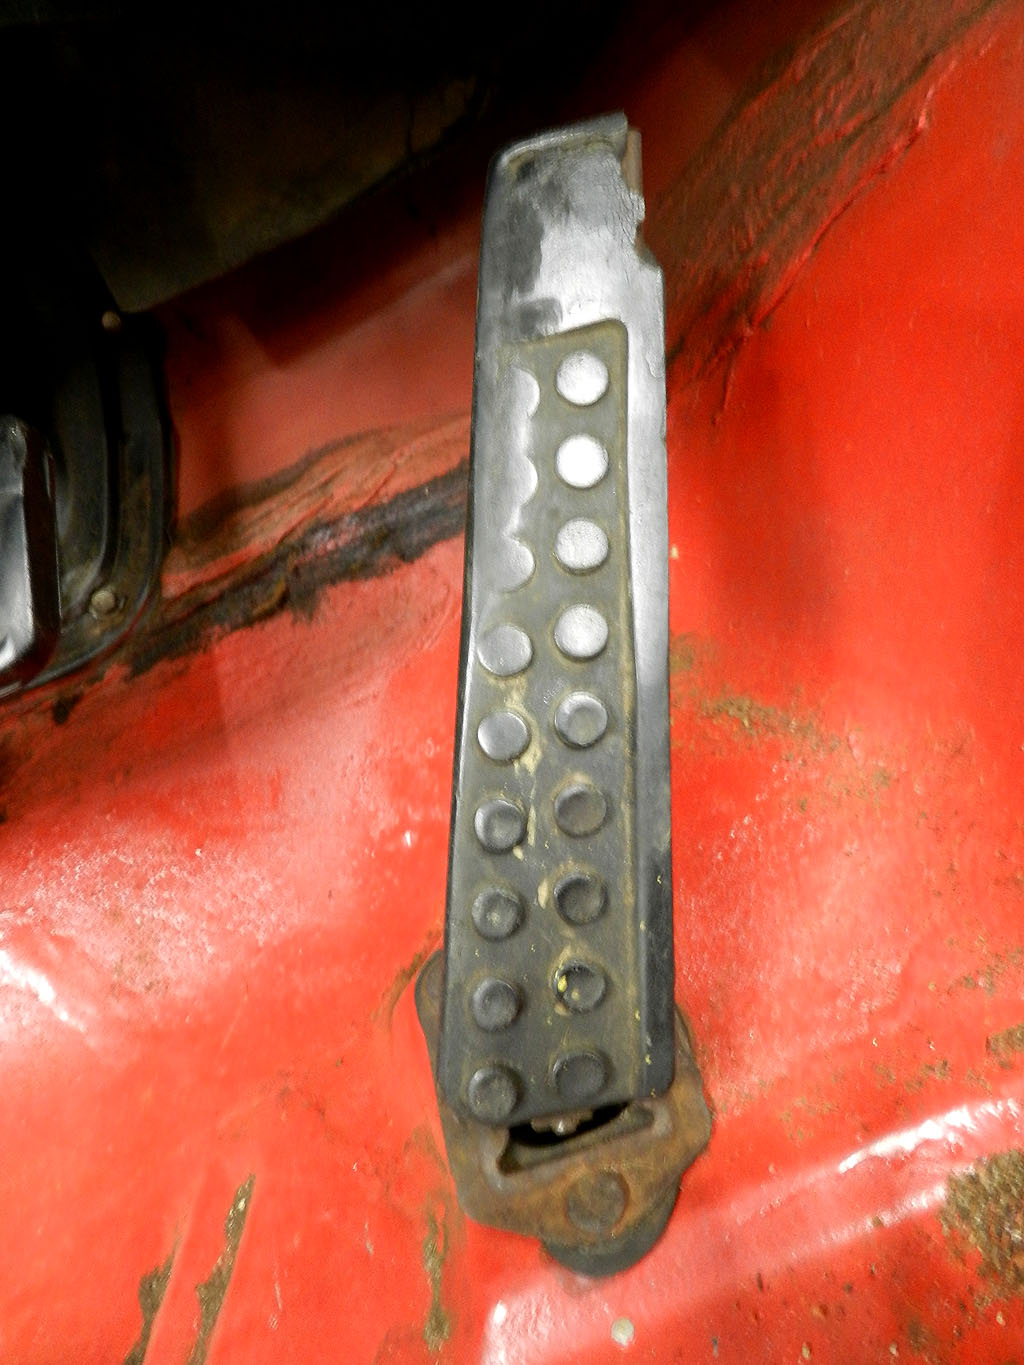
Those lower cushion hooks -- take a look at this picture of the floor. You will see that something
has been cut off. That is the remains of the standard rear seat hook which is welded on
all floor pans expecting that a bench seat. It is in the wrong location for the F G or H
so it gets cut off and two other hooks
installed for each bottom.
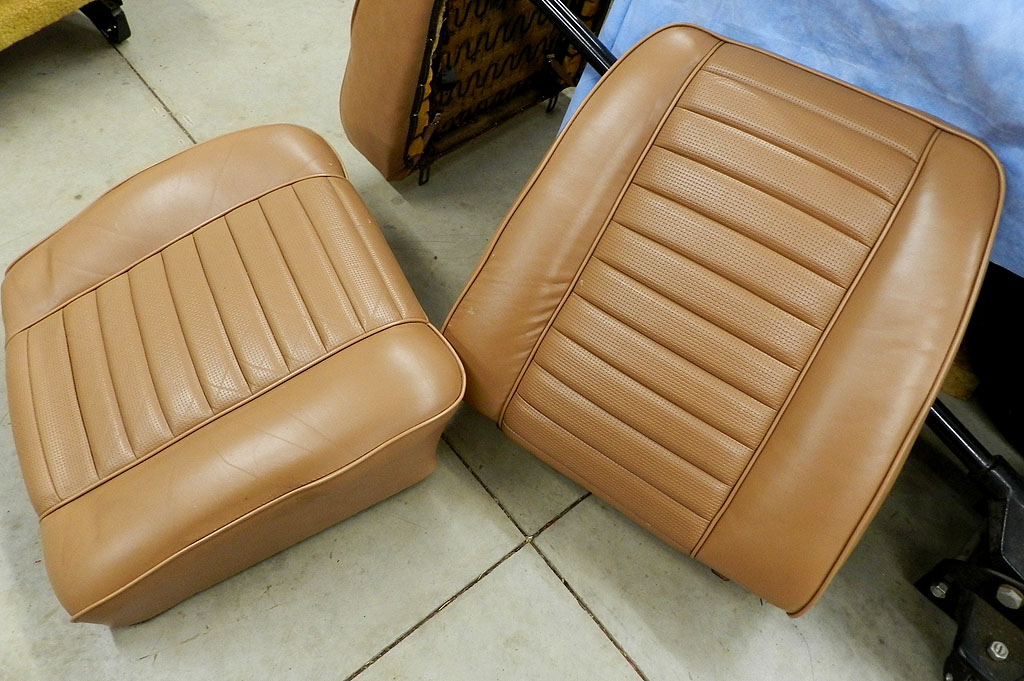
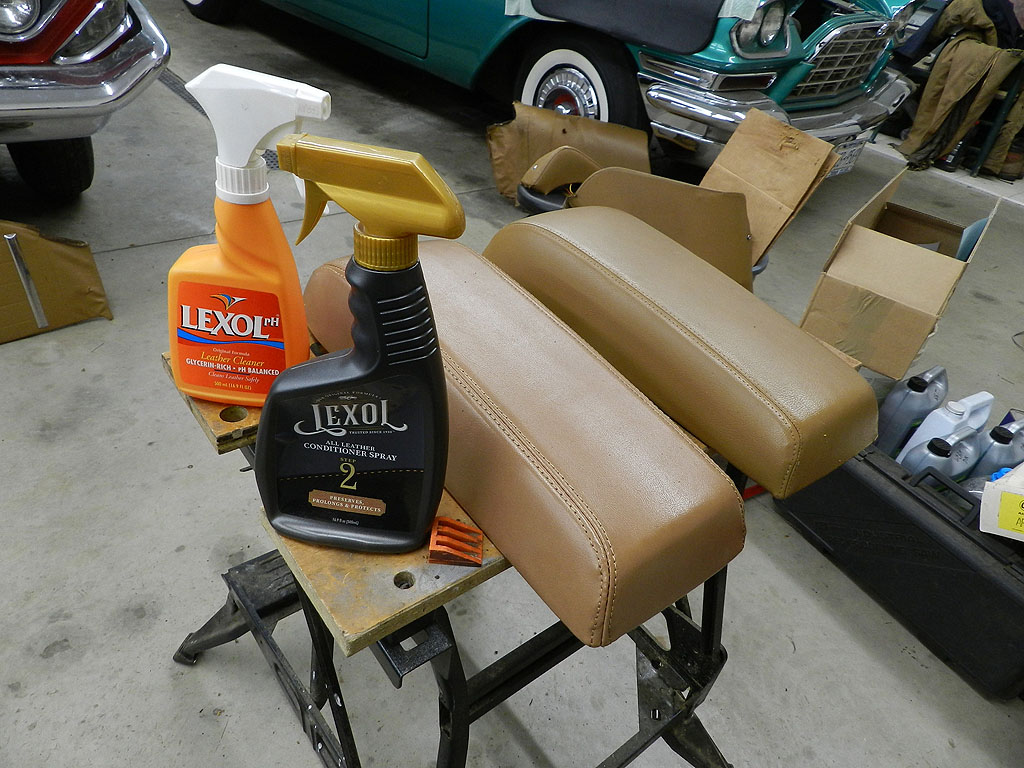
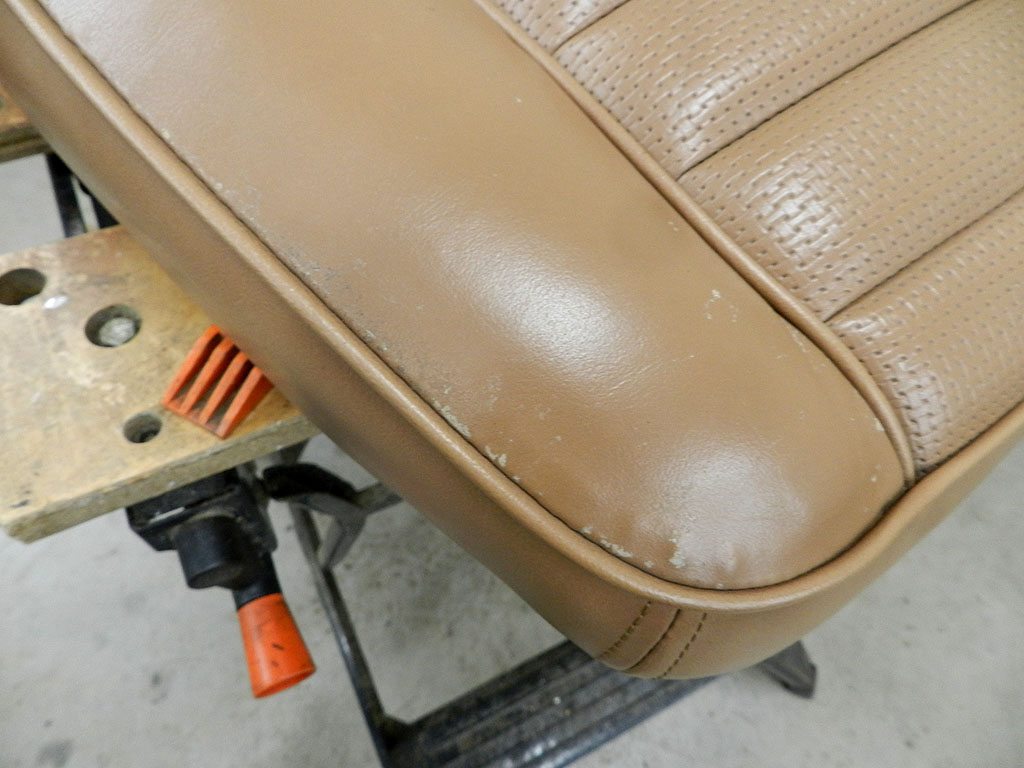
I was surprised to find the seats in good shape. The covers are the club's repop
items, likely more than 20 years old now. Lexol does a great job cleaning and
conditioning. The rear seats won't need any more attention while the front seats
need some attention to their seat back panels and new foam for the seat bottom.
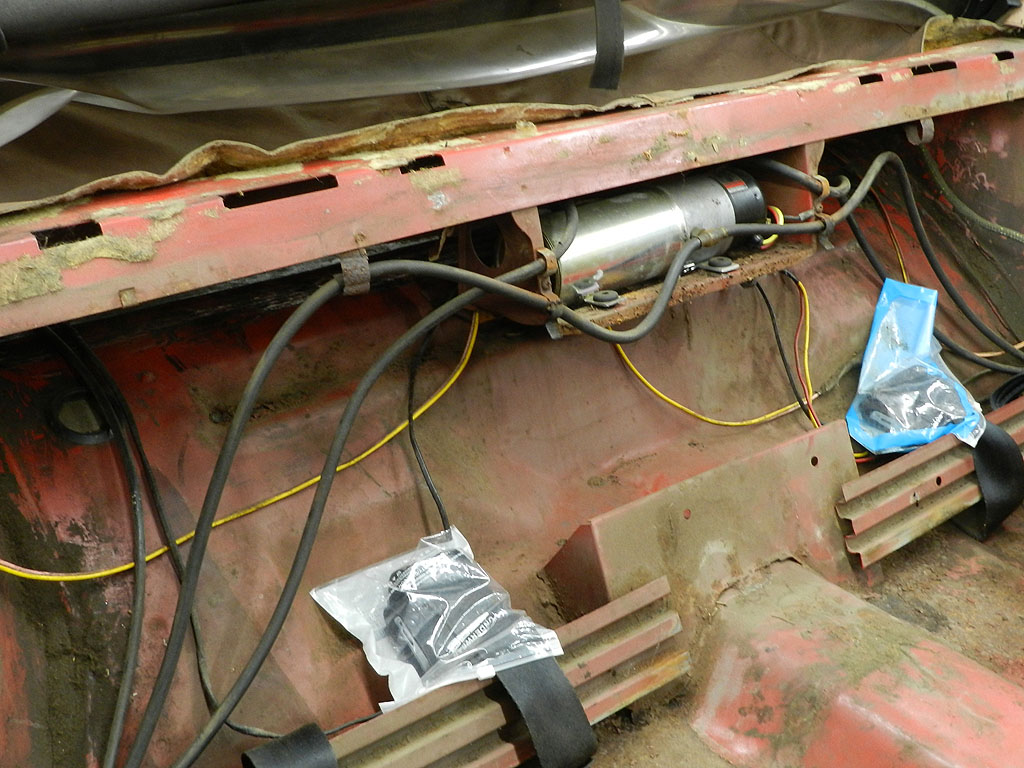
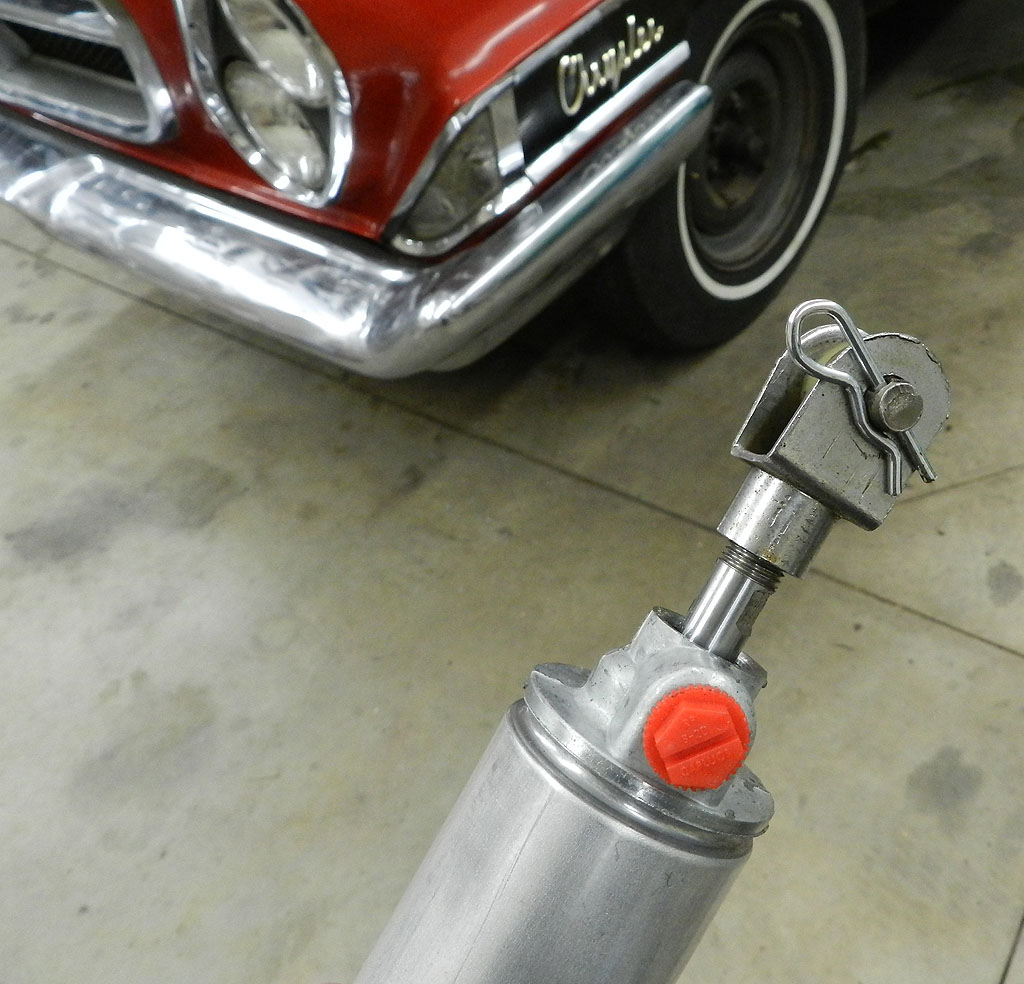
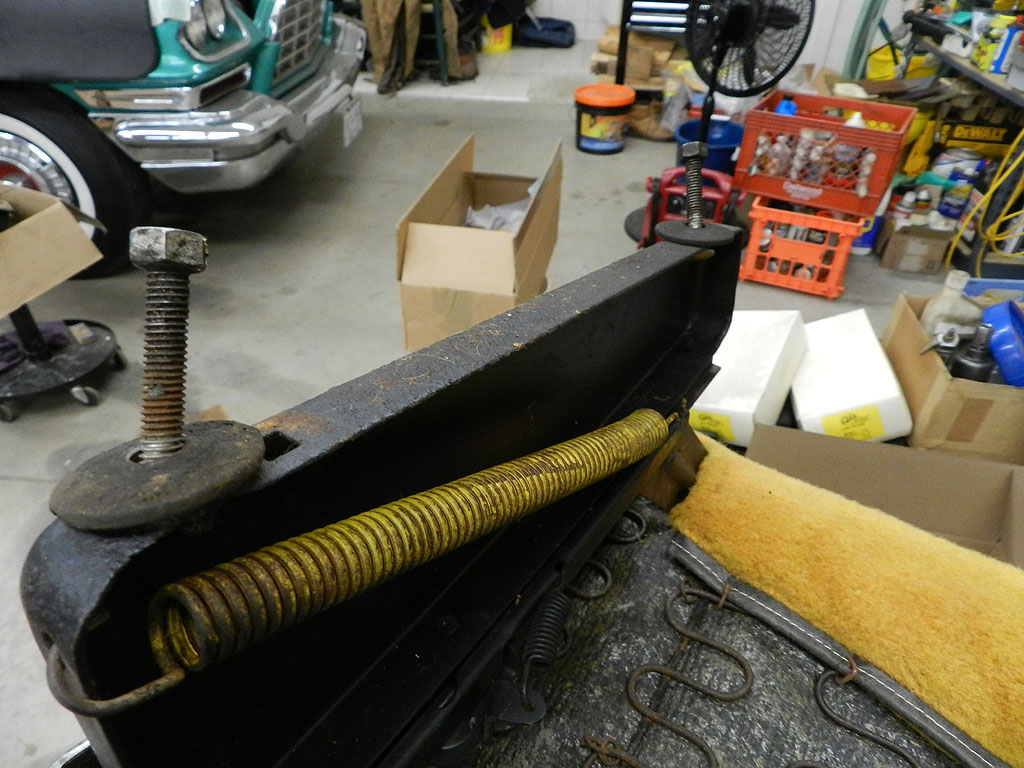
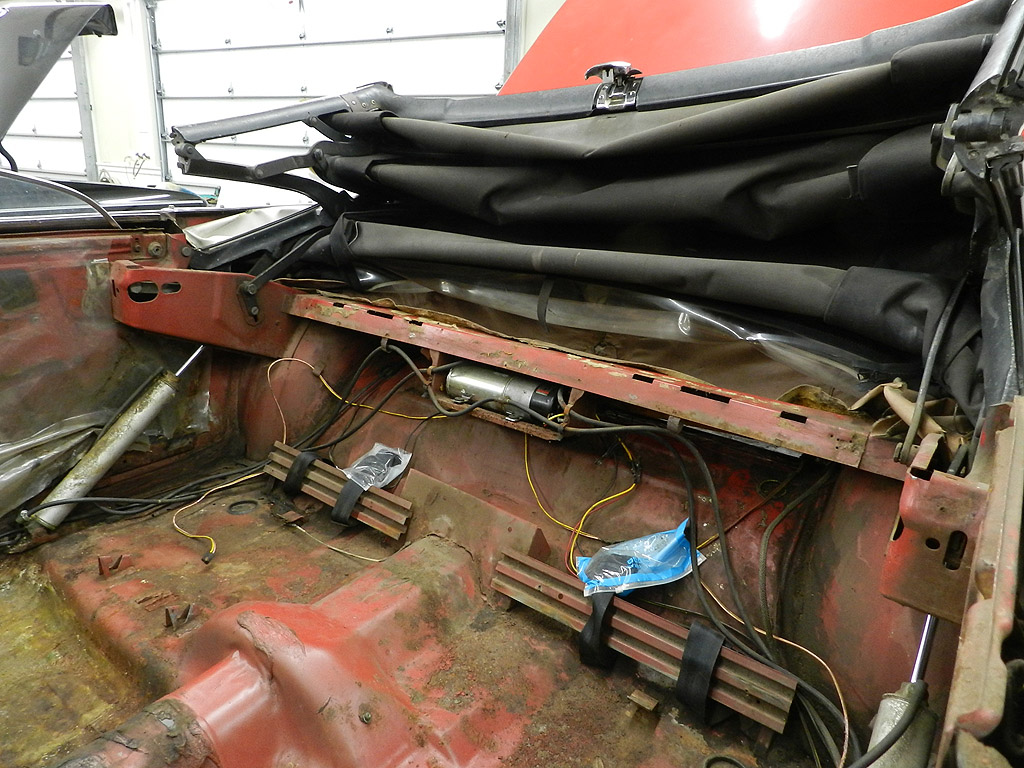 The motor for the convertible top is stuck. No amount of fussing broke it free. I bought
a new motor, cylinders and hoses from Hydro-E-Lectric. I disconnected the old cylinders
from the top and was able to get the top to move. I removed the old motor and cylinders. The
cylinders were also stuck, but no matter since they will be replaced. The cylinders attach
to the body and to the top frame with pins. The pins are retained by cotter pins. Getting to
the cotter pins is a pain, so when it comes time for assembly, I am going to use hitch pins.
Since we have floor repair to do, installation of the new top parts will wait until the floor
welding is completed.
The motor for the convertible top is stuck. No amount of fussing broke it free. I bought
a new motor, cylinders and hoses from Hydro-E-Lectric. I disconnected the old cylinders
from the top and was able to get the top to move. I removed the old motor and cylinders. The
cylinders were also stuck, but no matter since they will be replaced. The cylinders attach
to the body and to the top frame with pins. The pins are retained by cotter pins. Getting to
the cotter pins is a pain, so when it comes time for assembly, I am going to use hitch pins.
Since we have floor repair to do, installation of the new top parts will wait until the floor
welding is completed.
The brake, gas, and parking brake pedals show the wear you would expect from
a quarter million miles. They can be remolded by Quirey if I can't find better ones.
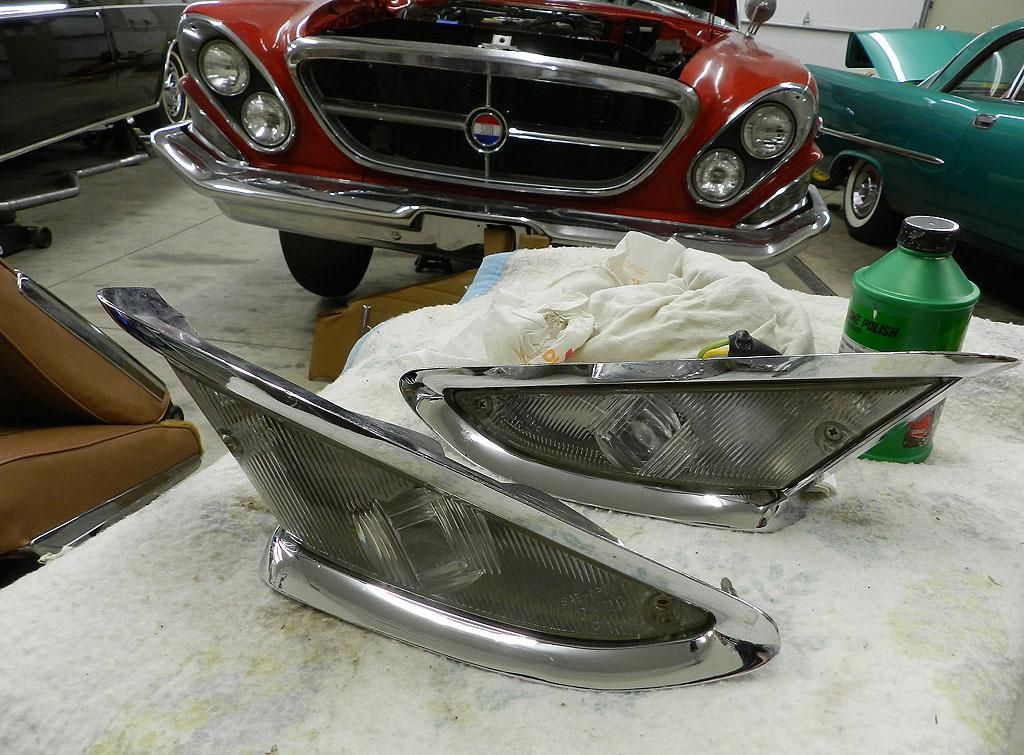
Gil had hard-to-find NOS parking light housings and tail light bezels. They cleaned
up nicely with polish. I had some decent tail lenses and with a polish from
Novus #2 cleaner, they brightened up well. Use the cleaner on the outside and on the
inside for best results.
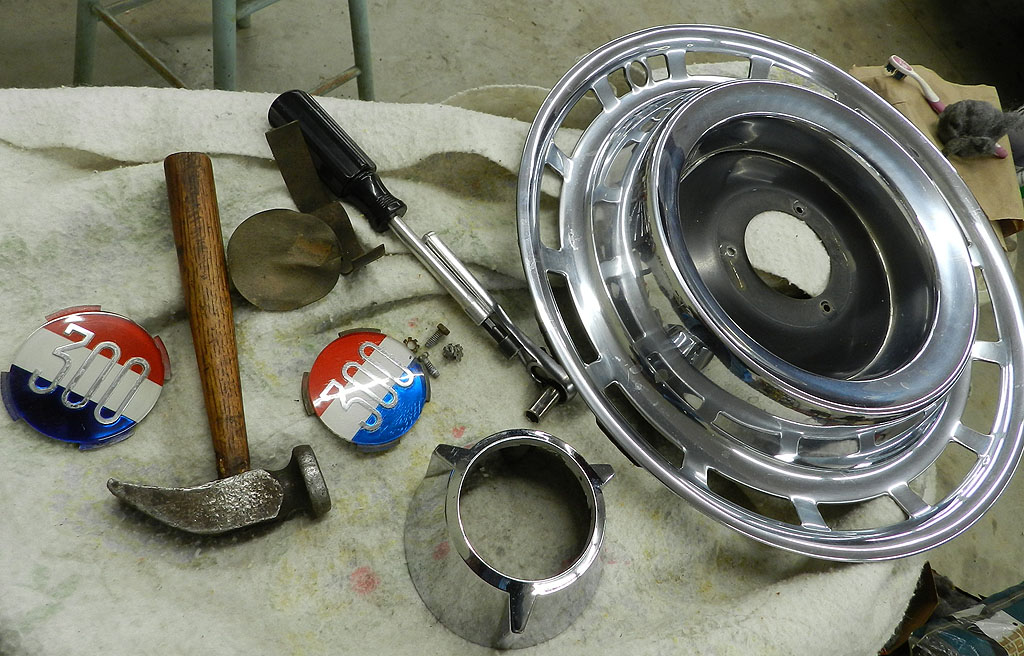
There were 4 wheelcovers with the car. Three were in very good condition
and needed only new medallions and a cleaning. One had a large dent in the upper section. Although
I have removed dents in wheelcovers before, this dent is beyond my ability. My best effort would likely
leave obvious wrinkles and defects so I selected another wheelcover from spares and made a nice
set of four.
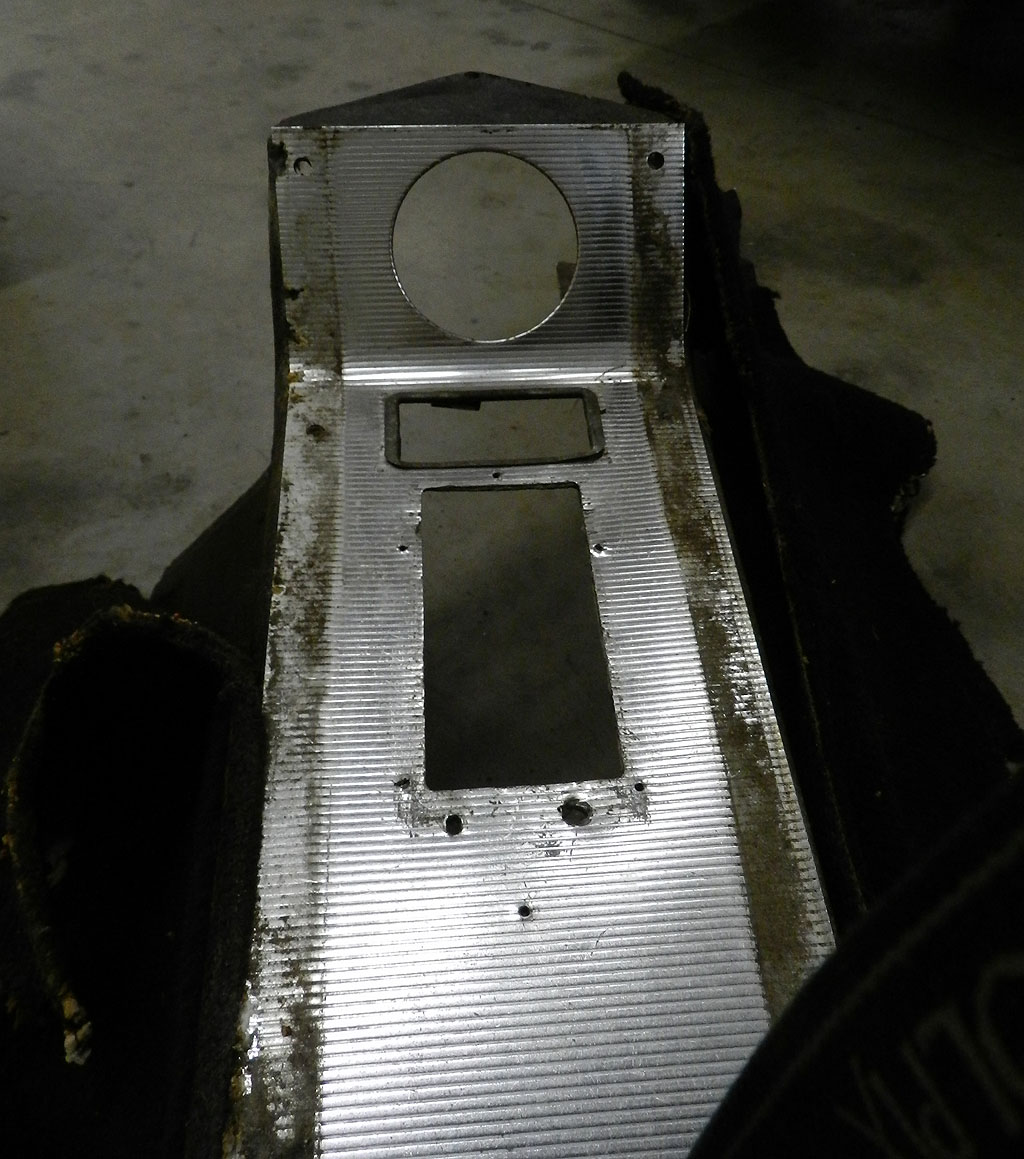
The center consoles are going to take some work. Both need the correct gold
carpet. I bought some of the carpet the club had produced by special order
back in 1997 and have enough left (I think). The top trim runners are held on by
7/16" Pal nuts on the under side. The bolts are carriage bolts and are retained in channels in the
trim runners. Once the nuts are loose enough, the bolts will come off of the channels
and start to spin with the nuts. Use a screw driver under the nut as you turn to hold
the bolt head in the channel.
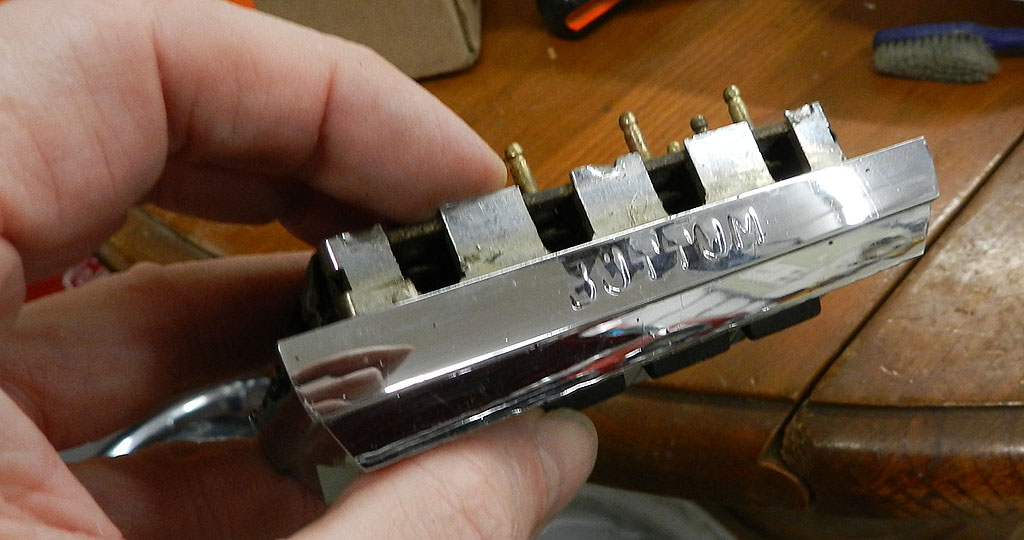
The top decorative ribbed piece has
holes drilled around the ash tray area. Years ago Gary Goers had new ones
but that stock is long gone. I have a spare piece that will do.
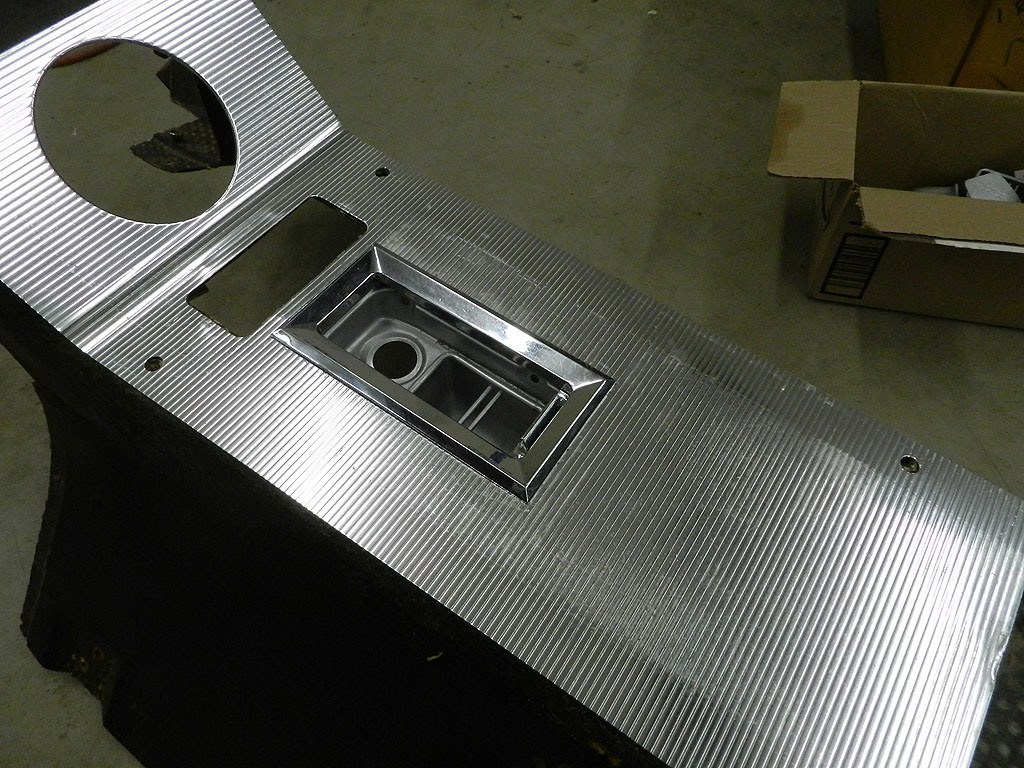
The front and rear
ash trays need freshening. Notice the top bezel is broken from the base. This is common. Perhaps
people don't know how to remove the ash tray and break it. The top can be reattached with
JB weld.
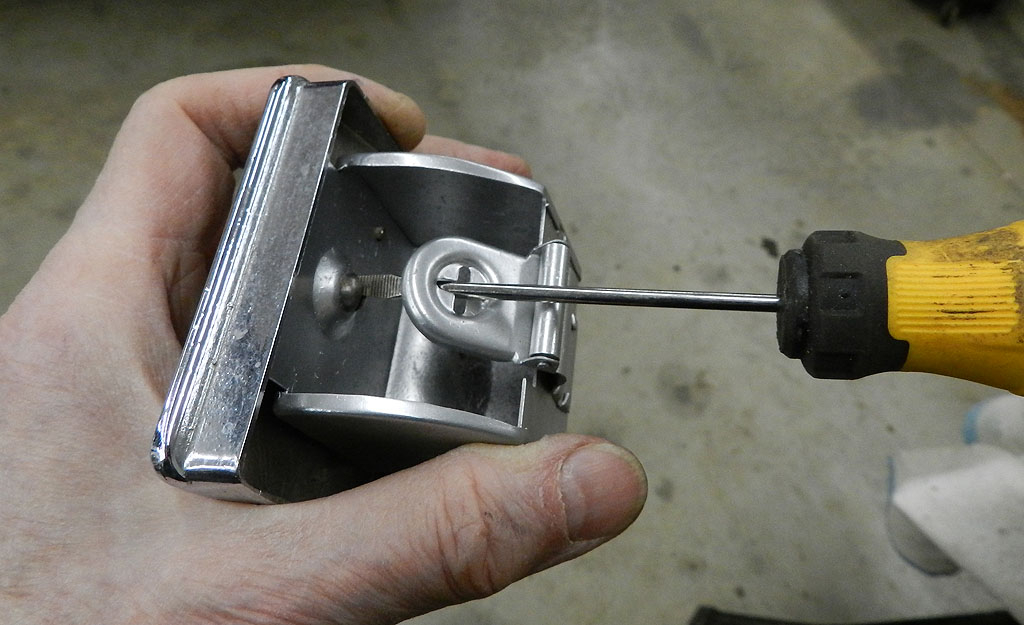
On the rear ash tray, there is a trick to disassemble. Get a thin shaft screwdriver, thin enough to fit
in the slots, and reach the screw.
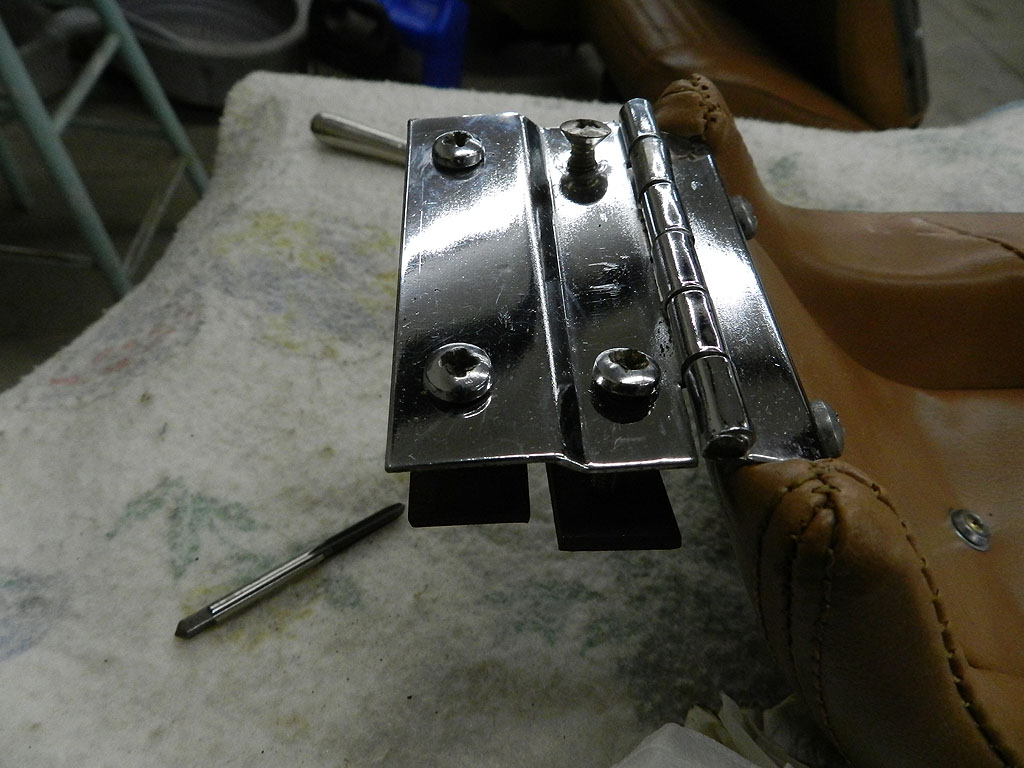
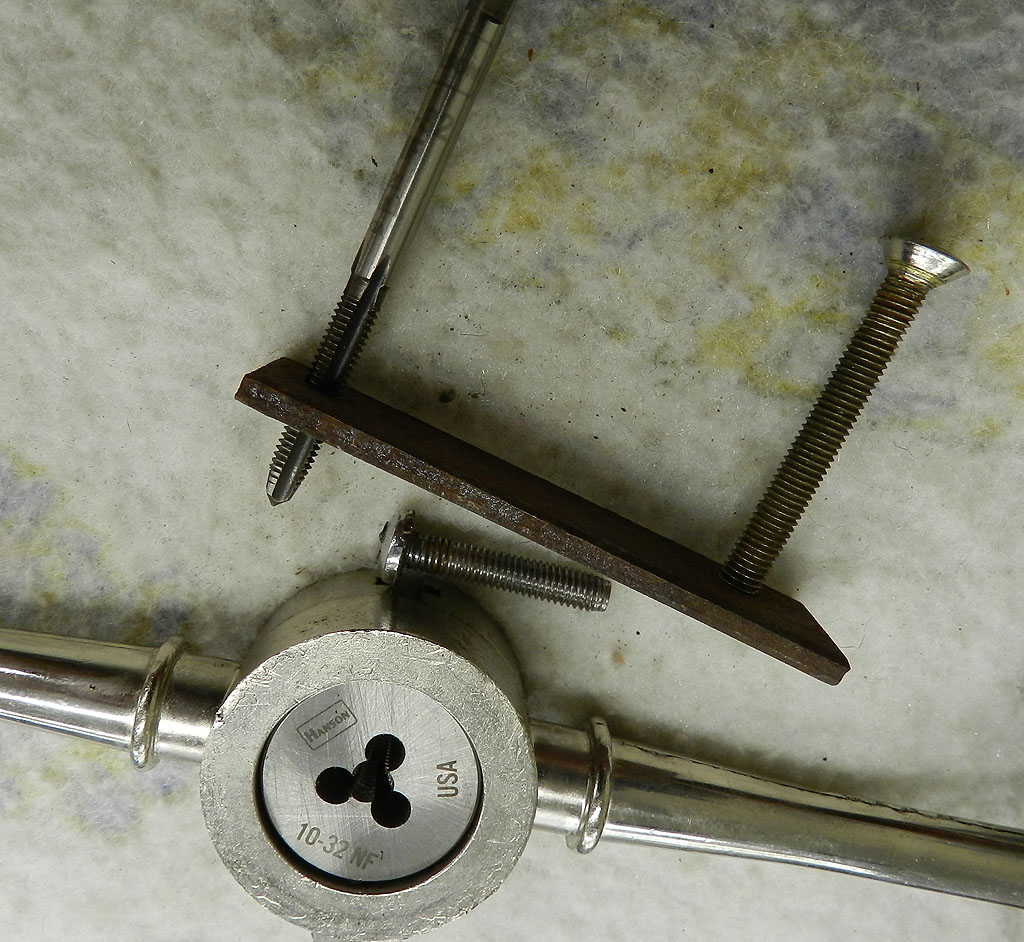
The console cover hinge screws (10-32x1.5 Philips pan head)
are damaged but replacements are available. Make reassembly easier by dressing
retaining plate threads now.
I tested the master power window switch with the VOM. All positions good.
This is a replacement switch because it says BOTTOM on one side. The finish came up nicely.
 Removed seat tracks from front seat cushions. Front bolts are 1/2 while rear bolts are 9/16.
The seat tracks need new lower seat bolts. Original bolts are spot welded to the frame so
they stay in place.
Removed seat tracks from front seat cushions. Front bolts are 1/2 while rear bolts are 9/16.
The seat tracks need new lower seat bolts. Original bolts are spot welded to the frame so
they stay in place.
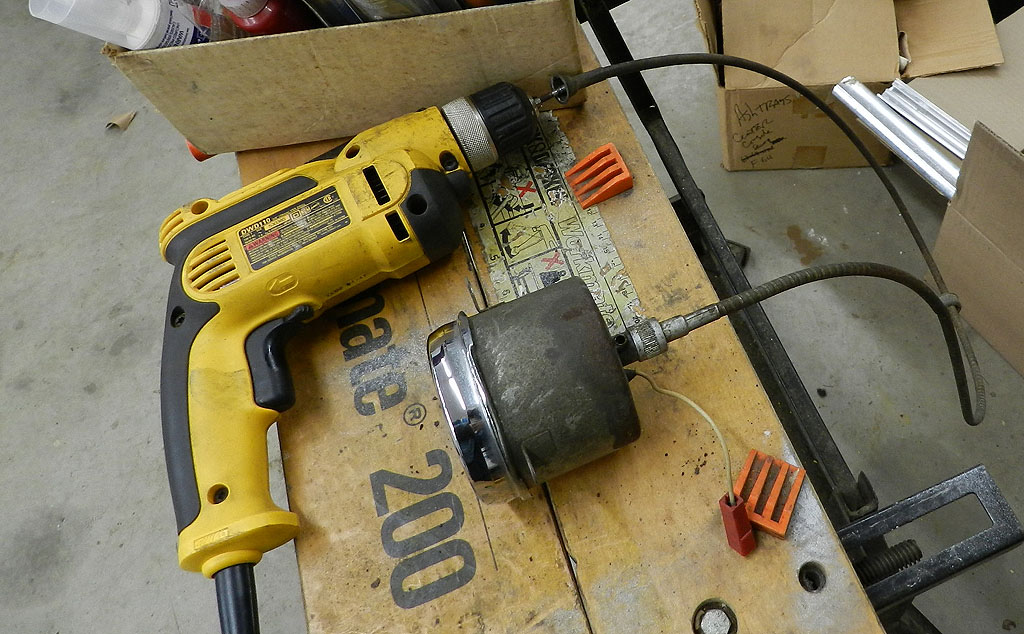
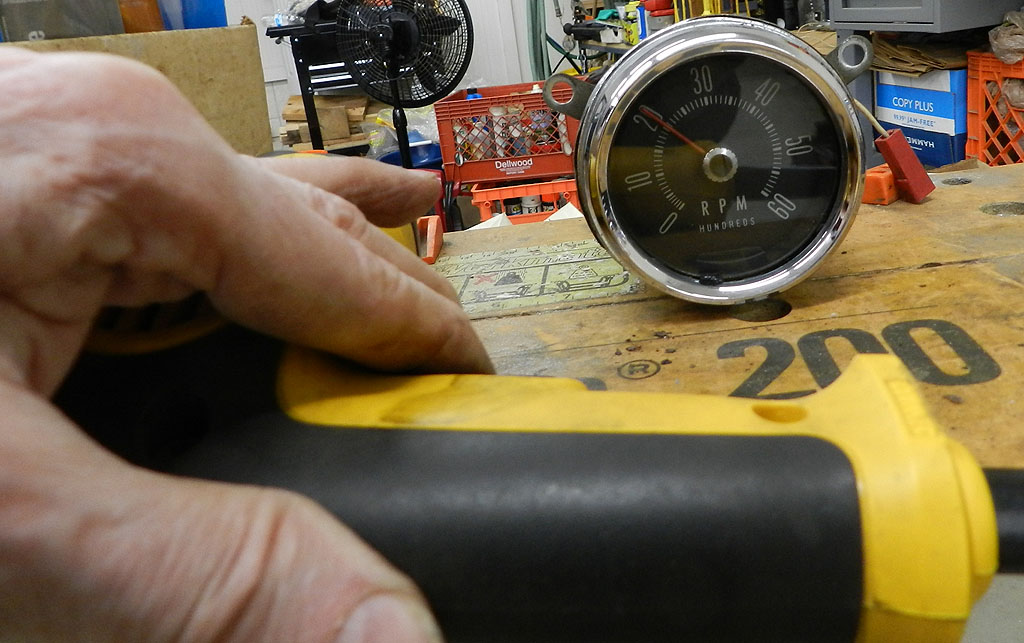
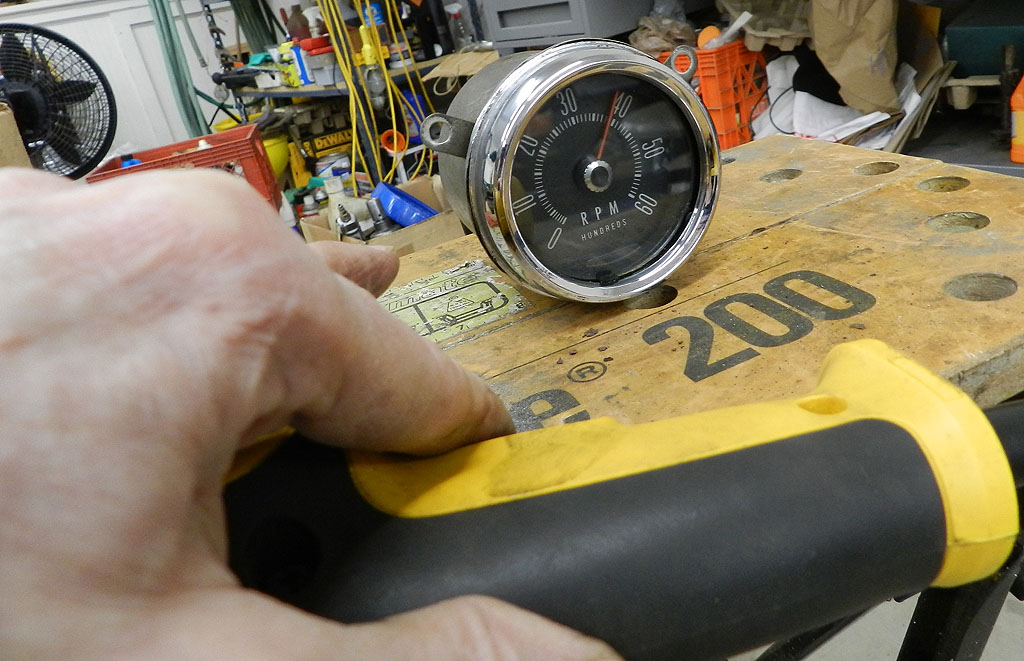
I looked at the tach cable and found there is no cable in it. New cables are available (Murray).
I found an old tach cable and tested the
tach with a drill. At first there was a howling noise. A few drops of speedometer cable lubricant
to the wick and the howl went away. The tach will be reused.
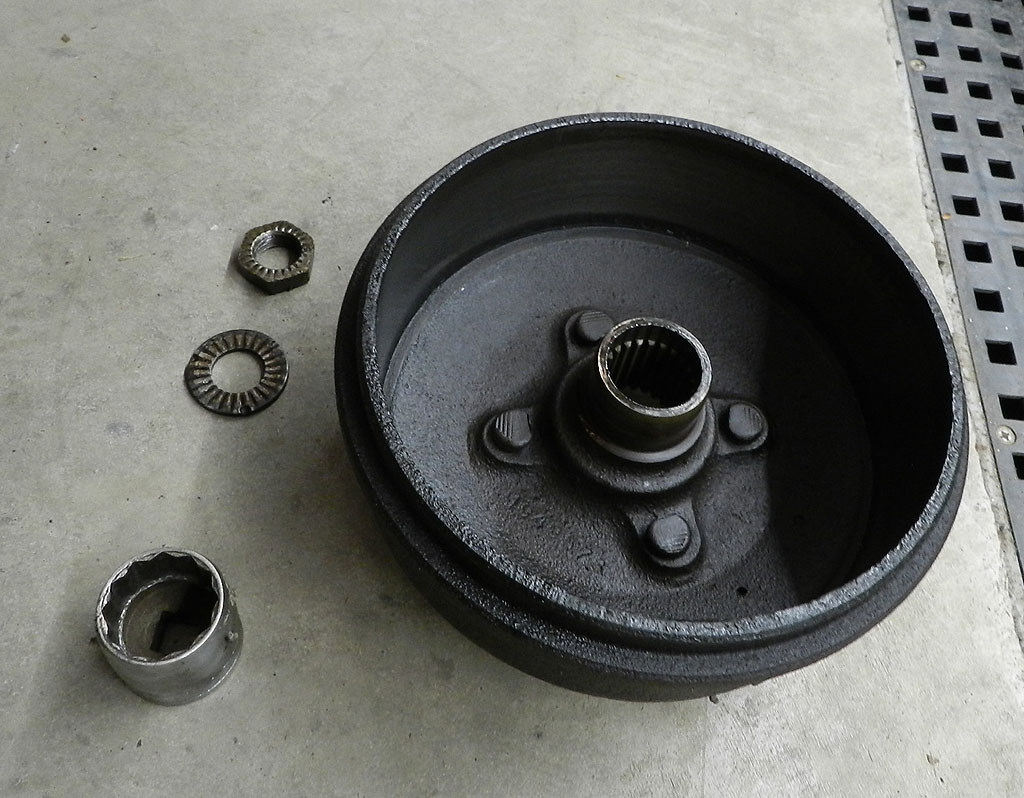
I wanted to check the life left in the parking brake shoes. With the drive shaft already out, the center nut (1-1/8) and
an impact gun makes short work. I was delighted to find the park brake shoes are fine with very little wear and
the adjuster is free.
I checked the rear brakes and found the shoes had lots of life and no signs of
leaking from the wheel cylinders. The drums are in nice shape.
Just for kicks, I used Gil's three leg drum puller on the passenger side.
It didn't want to move. I used my 5 leg drum puller on the driver; quick and easy.
I really think you need to exert force on all 5 studs for best results.
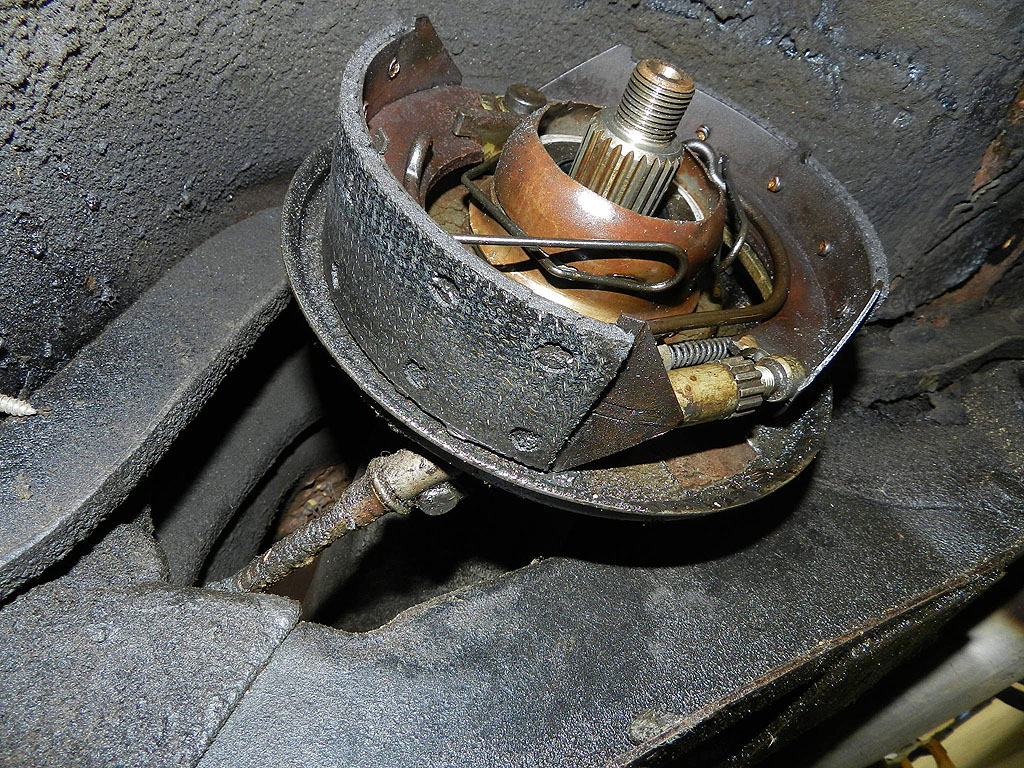
I checked the front brakes and suspension. I was pleased again that the shoes had lots of life and no signs of
leaking from the wheel cylinders. The drums are in nice shape. Ball joints, center link, Pittman and idler arms are tight. New wheel
bearings and front seals are installed.
I had a note that the rubber fuel line sections had been replaced at the tank to the fuel line and
from the fuel line to the fuel pump. They missed the connection at the stub frame so I replaced that piece and discovered the main line has a rubber patch. A new fuel line is on its way from InLine Tube.
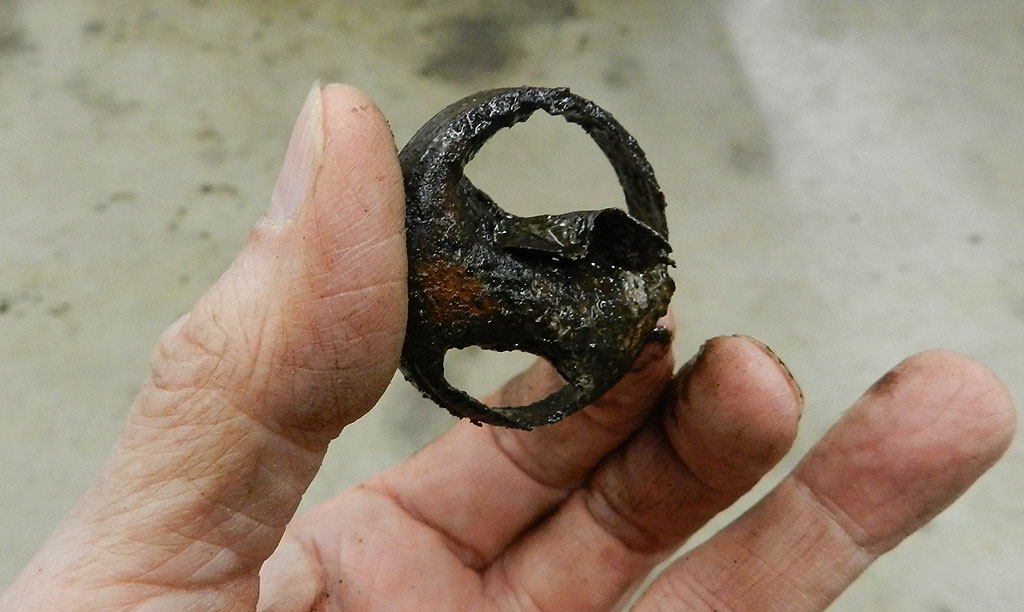
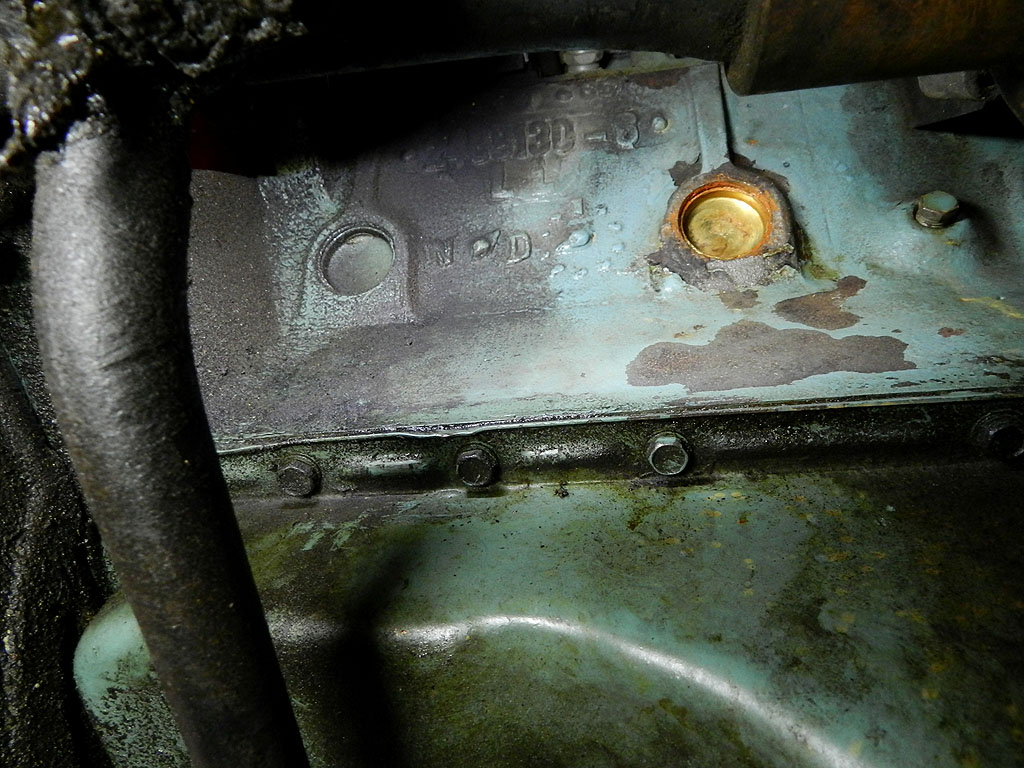
While I was in that area I noticed a gruesome core plug on the passenger side of the engine block. I drained coolant from radiator and was able to remove the 9/16" block drain plug to minimize coolant mess. The core plug was so weak it started to leak just by poking with a screwdriver. With a little wrestle the core plug was removed and a new one installed.
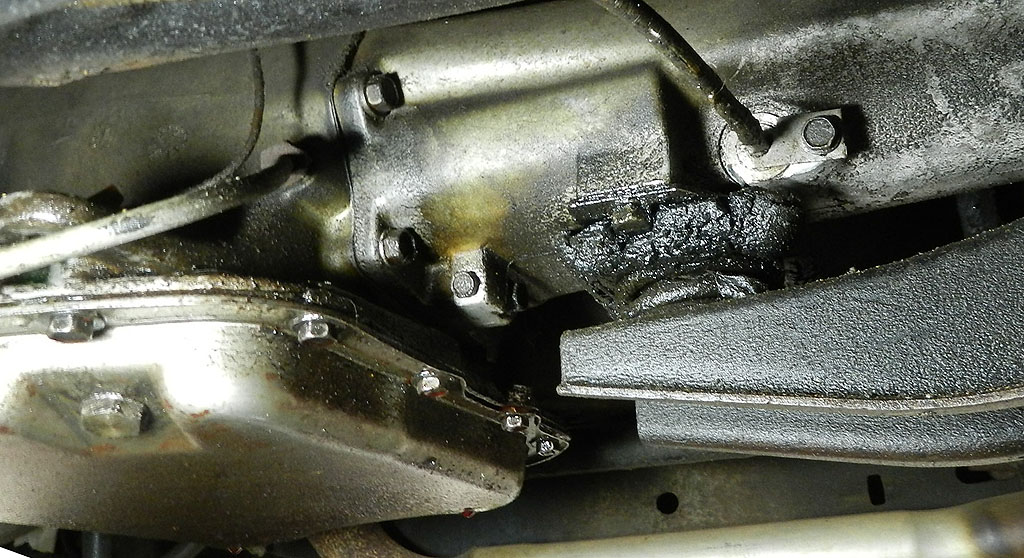
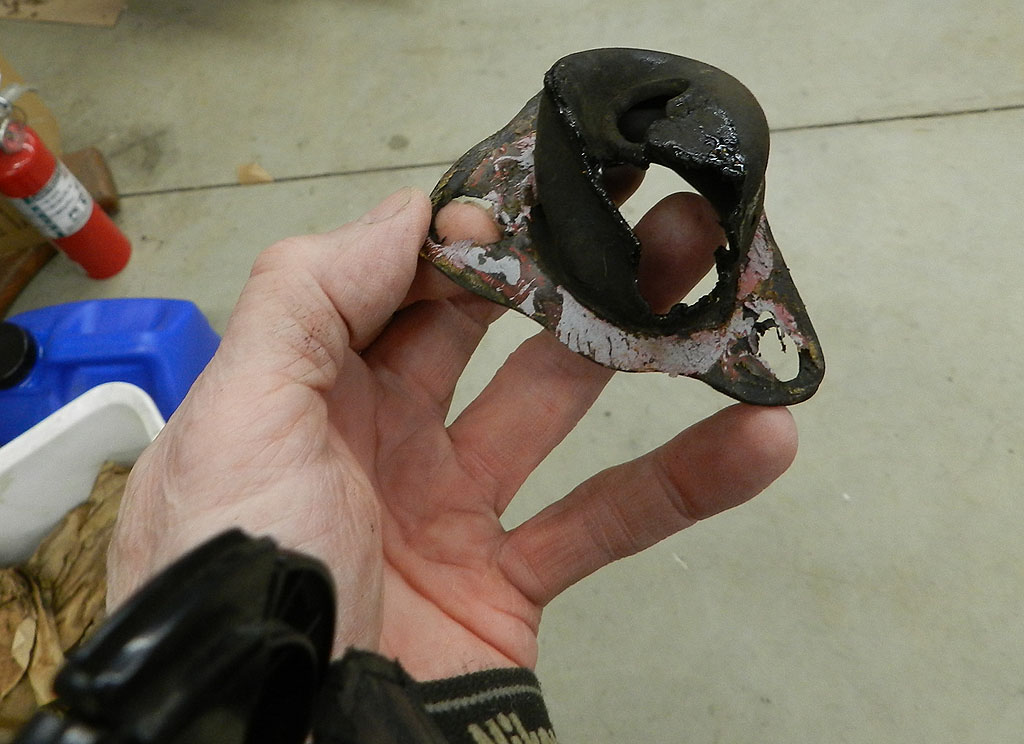
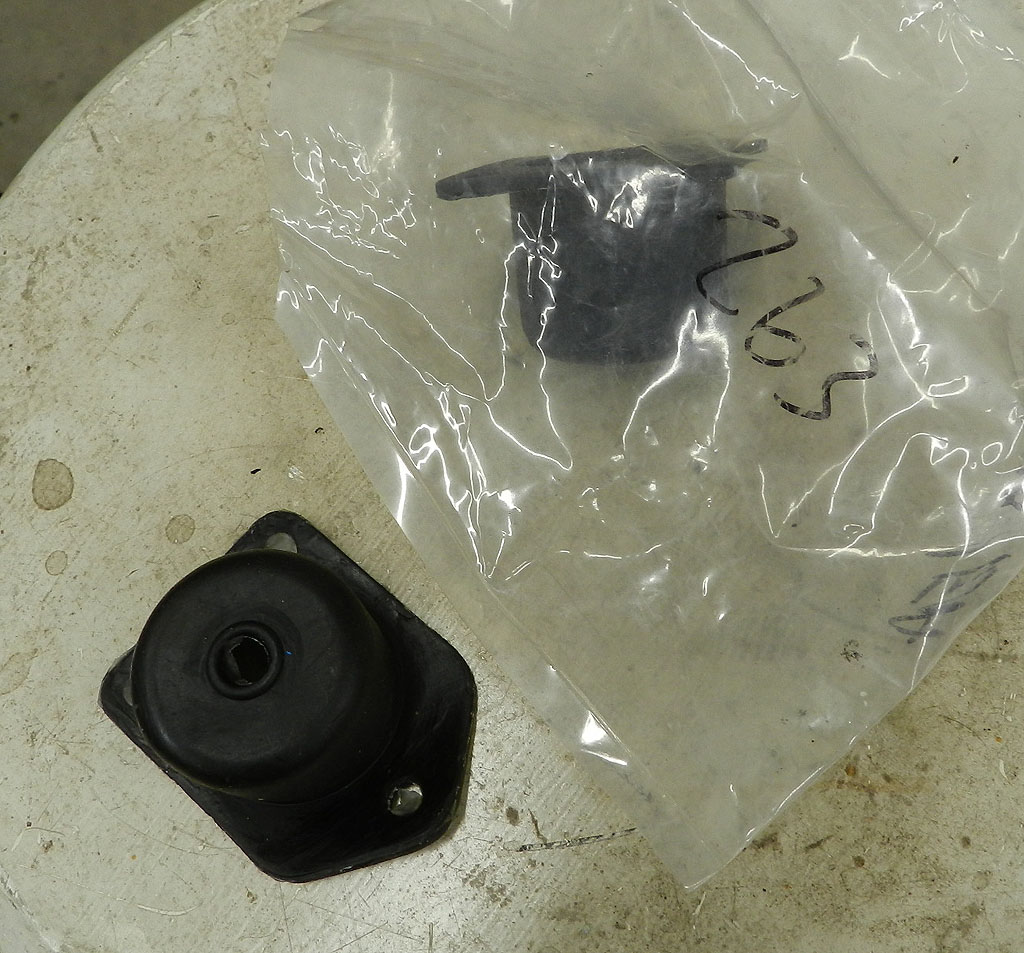
The transmission mount was one of the worst I've ever seen. Murray had a NOS replacement.
It was filthy, dirty, oily job and a lot of shop rags were sacrificed.
While I was under there I noticed the boot for the gas pedal was worn through.
I had new boots in stock (Quirey #263) so I made the replacement. Turns out the parking
brake cable had popped out of the clip on the underside of the floor and it
wore a hole in the boot.
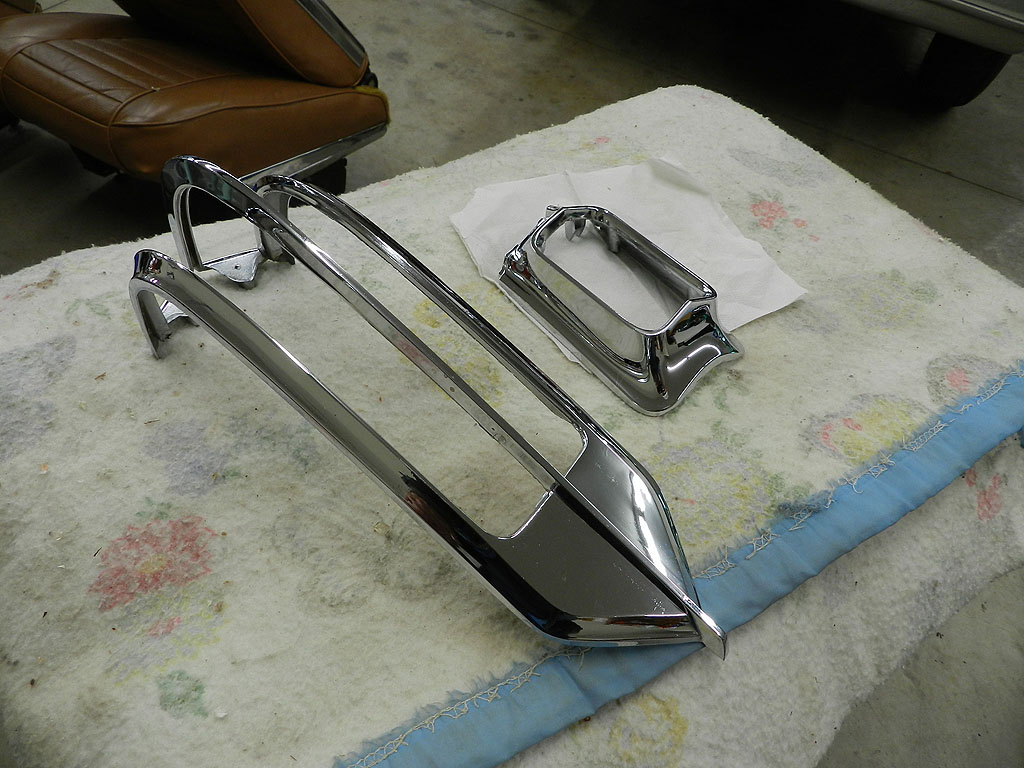
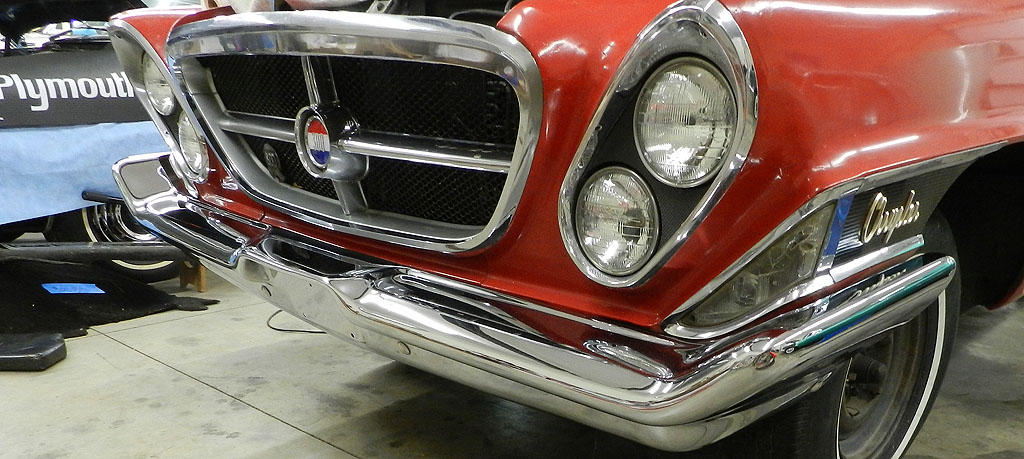
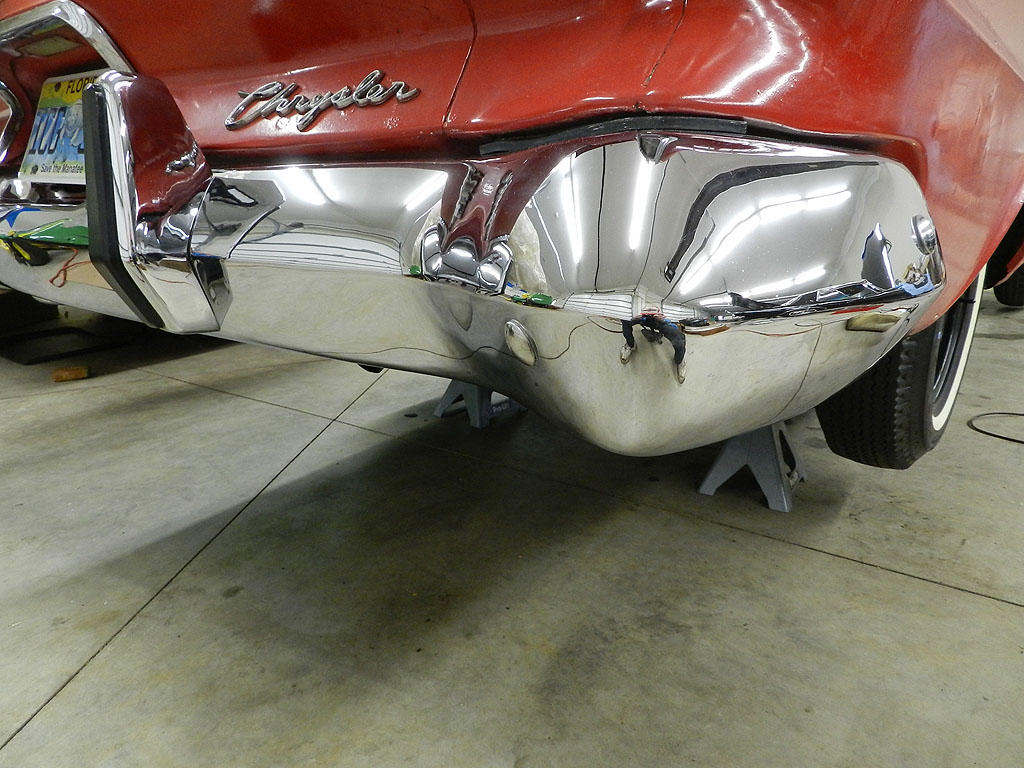
I had a minute so I washed the front and rear bumpers. They had been rechromed some time ago but still
had potential. I used the Quick-Glo polish. I had forgotten how good this stuff is. It comes in two grades; regular and fine. I used fine. If you find Quick-Glo, buy it.
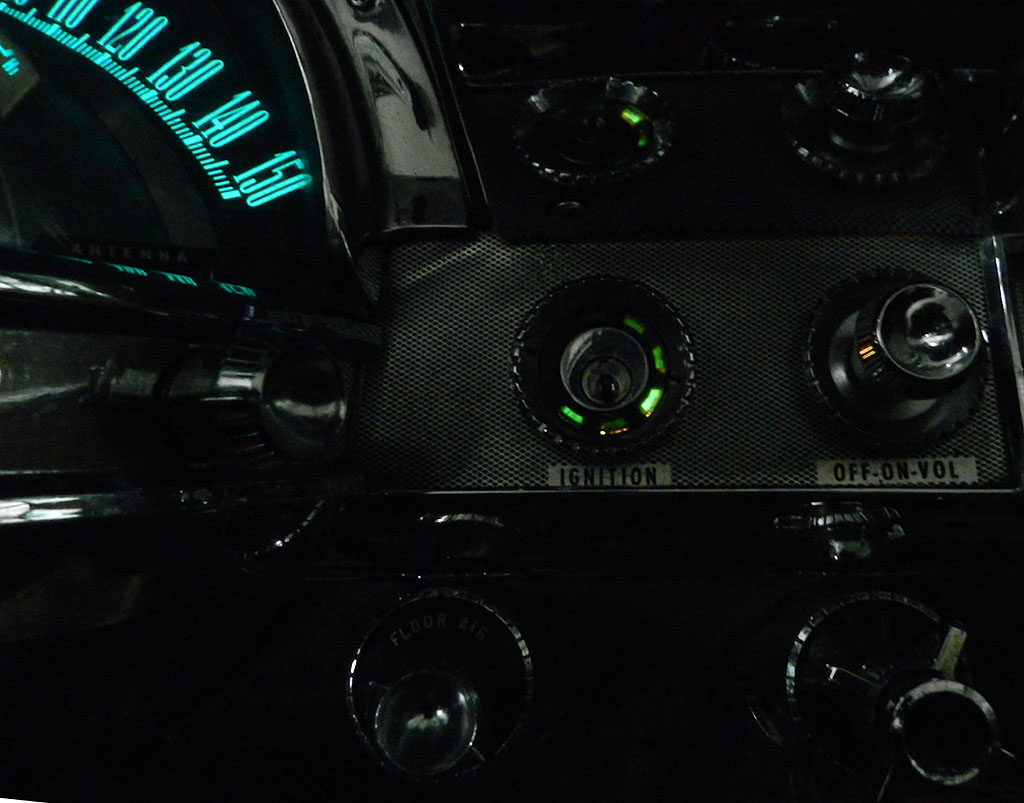
The ignition switch was a problem -- it was worn plum out. Someone had attempted a repair and reassembled
with pieces out of alignment; the engine would crank with the ignition key at 6:00 instead of 3:00 and the off position
was actually the accessory position. A new switch with new keys was the answer. Getting an ignition switch reinstalled
can be a problem. You are working blind and there is not much access under the dash. And if you don't notice,
you can leave the key light bezel off. The little things such as the key light are important (at least to me) and worth the wrestle.
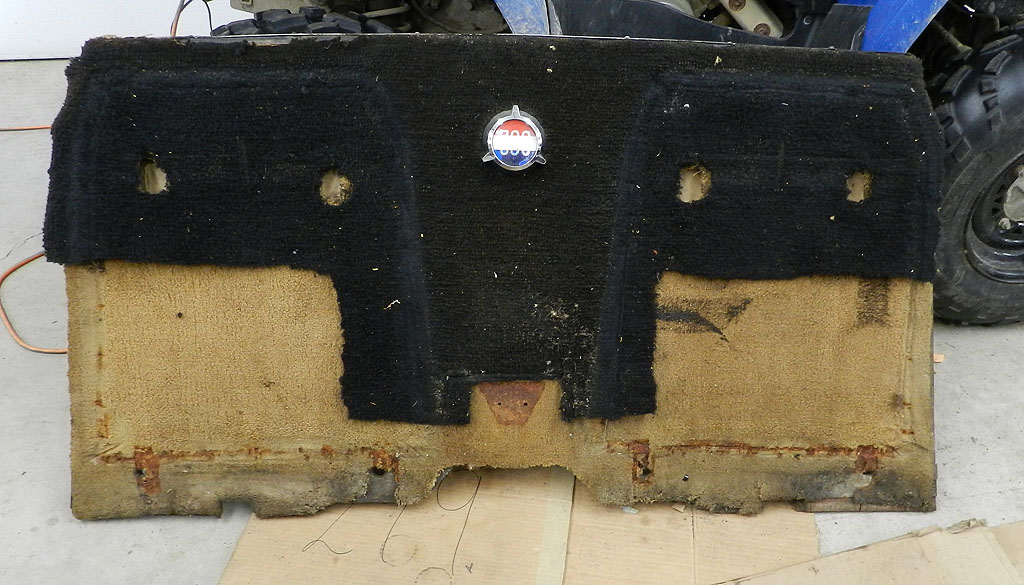
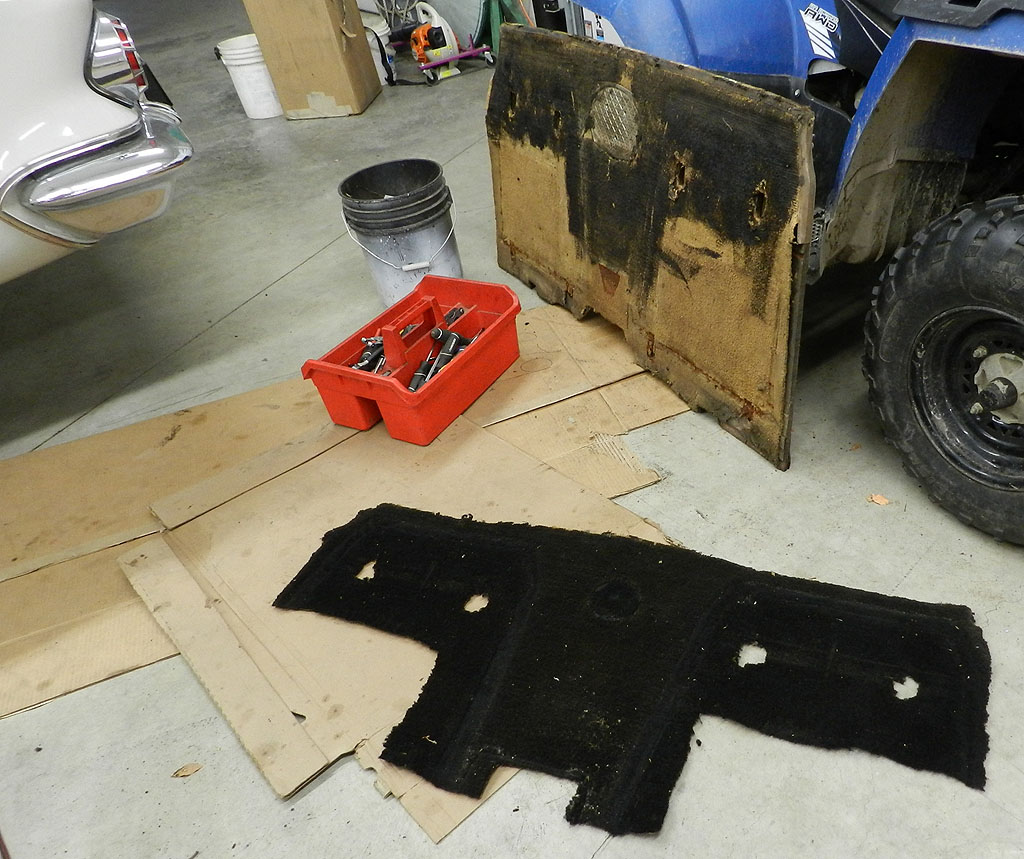
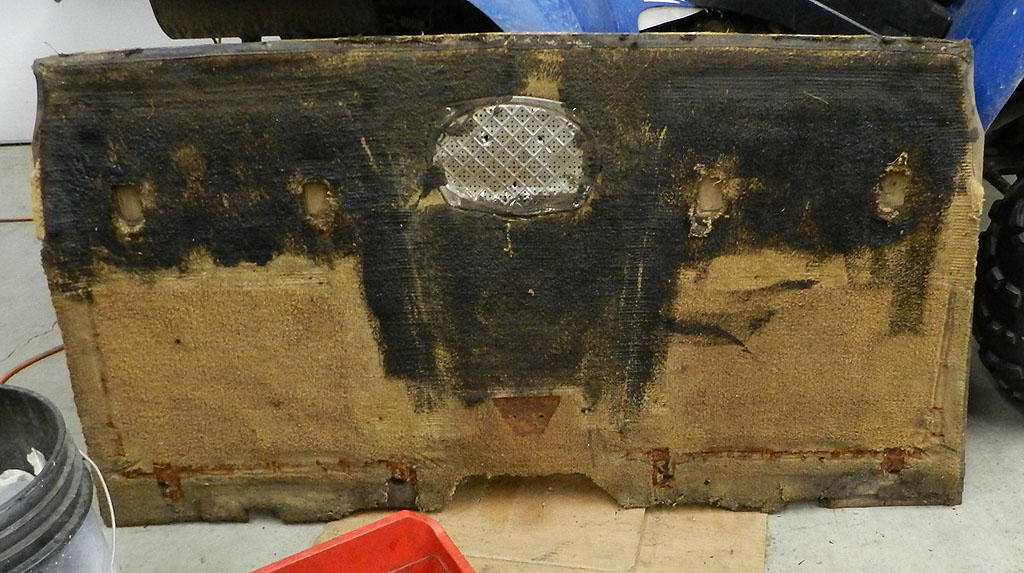
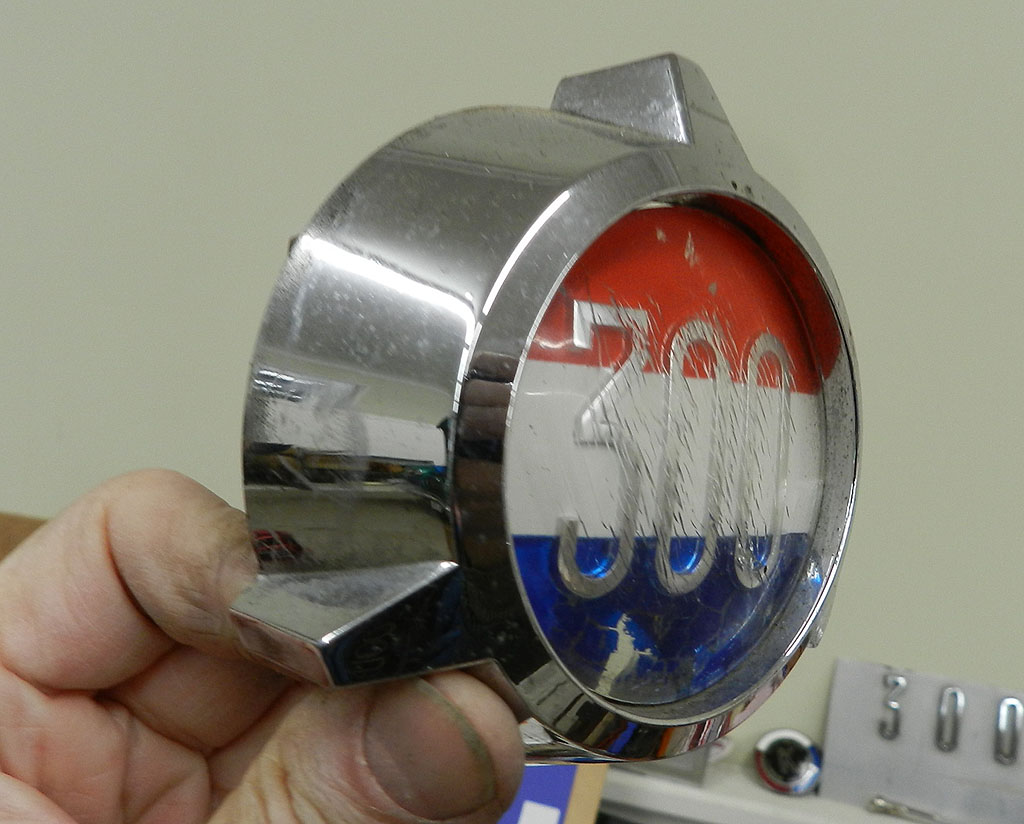
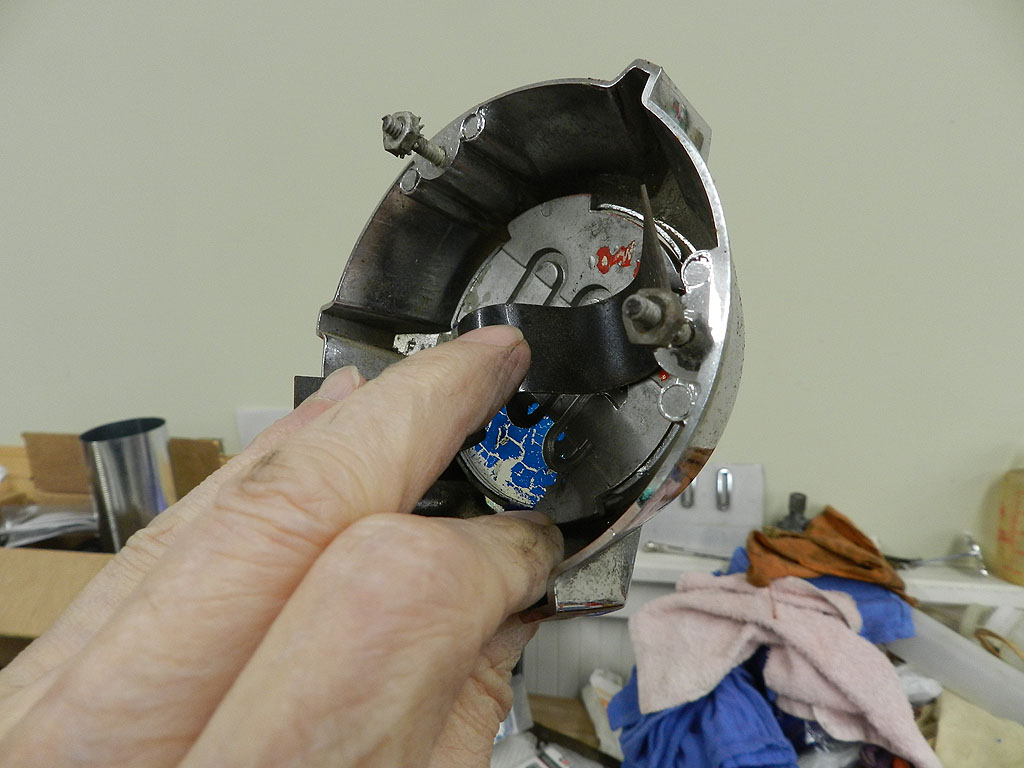
I started in on the back panel disassembly. It has a rear speaker from a previous owner. He cut an oval into the plywood, added a screen so he could attach the 300 bezel, laid over the black carpet. I removed upper trim and sanded with 000 steel wool to remove over spray and tarnish. I cleaned the rear panel medallion bezel and installed a new medallion.
The old carpet was removed easily from the back board, which is an old substantial piece of plywood. The back board
is narrower on the convertibles than on the coupes to allow room for the top cylinders, by the way. The new carpet
is an easy installation. I used just a little adhesive along the top and the sides -- most of the carpet will be retained by
the rear seats and there isn't any need to glue the whole thing.
To page 3
Back
|
|